Add or Edit Material
Add or update material to add to a work order. You can add images or attachments to the material, as well as add keywords to make it easy to search.
|
|
 PREREQUISITES:
 NOTE: If you are licensed for Storeroom, the Material page is accessed through Storeroom. See Add or Edit Material in the Storeroom 2.2 Guide for more information.
NOTE: Material can also be added using the Table Editor. See
- From the home page, click Configure and click Material.
The Material panel lists all material. Any material that is inactive appears grayed out in the list. You can filter the list by clicking Filter records and entering the first few letters or numbers of the material's description.
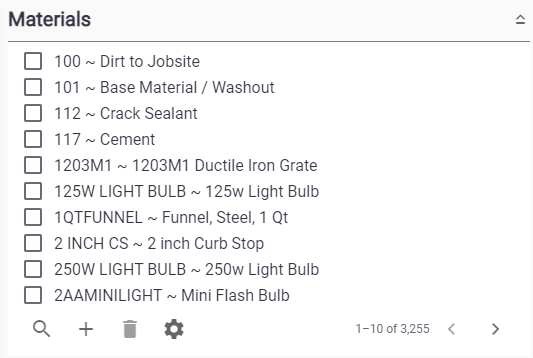
- Click Add record on the Material panel.
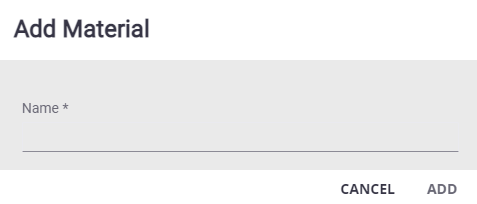
- Enter the Name and any custom fields that have been set up for material.
- Click Add.
The new material displays in the Material panel.
- Select it and finish editing the details of the material in the Material Details panel, including any Custom Data Fields configured for materials.
For an explanation of fields on the Material Details Information panel, see Material Fields.
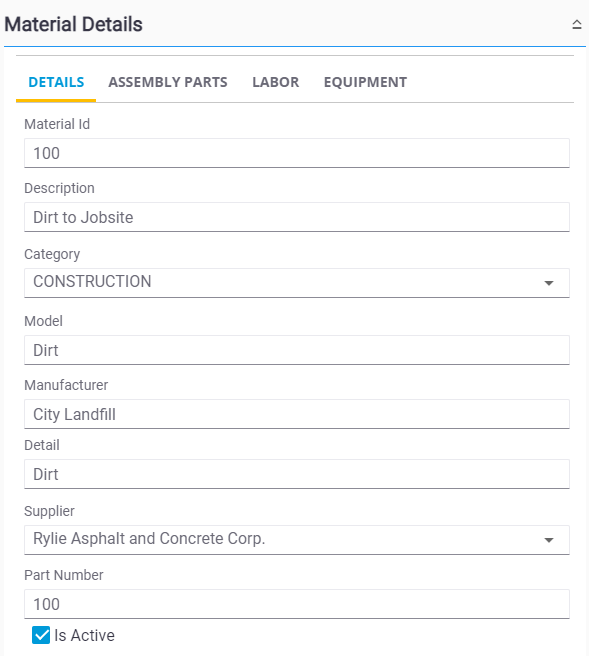
- In the Custom Fields section enter any custom fields that have been configured for material. For more information, see Custom Data Fields.
- To edit a material, open it from the Material panel and make the desired changes.
NOTE: Admin automatically saves the changes you make. A message appears at the bottom of the page when you make changes.