Assign Licensing
|
|
 PREREQUISITES:
- From the home page, click Admin and click Licensing.
The Summary panel has two tabs: the Summary and Extensions tabs. The Summary tab lists your License Key, the Maintenance End Date, and the Date Activated.
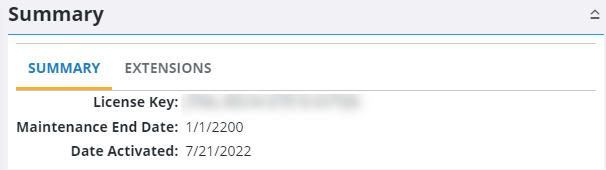
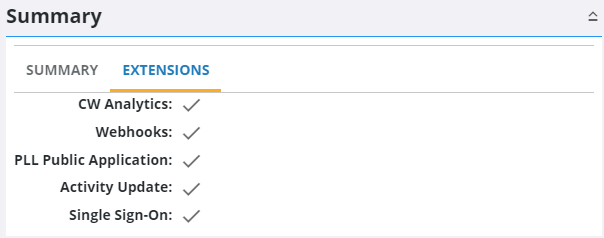
The Extensions tab lists any extensions you are licensed for, like Cityworks Analytics.
- Activity Update: This indicates if you are licensed for activity updates within Action Manager. See Configure an Activity Update for more information.
- PLL Public Application: This indicates if you are licensed for Public Access.
- Webhooks: This indicates if you are licensed for webhooks within Action Manager. See Configure a Webhook for more information.
- CW Analytics: This indicates if you are licensed for Cityworks Analytics.
- Single Sign-On: This indicates if you are licensed for Single Sign-on.
The Details panel lists each user and the rights of each user. You can filter this panel by typing the first few letters of the user's name in the row search (users) box at the top of the panel, or by typing the first few letters of the license in the column search (licenses) box in the top-right corner of the panel.
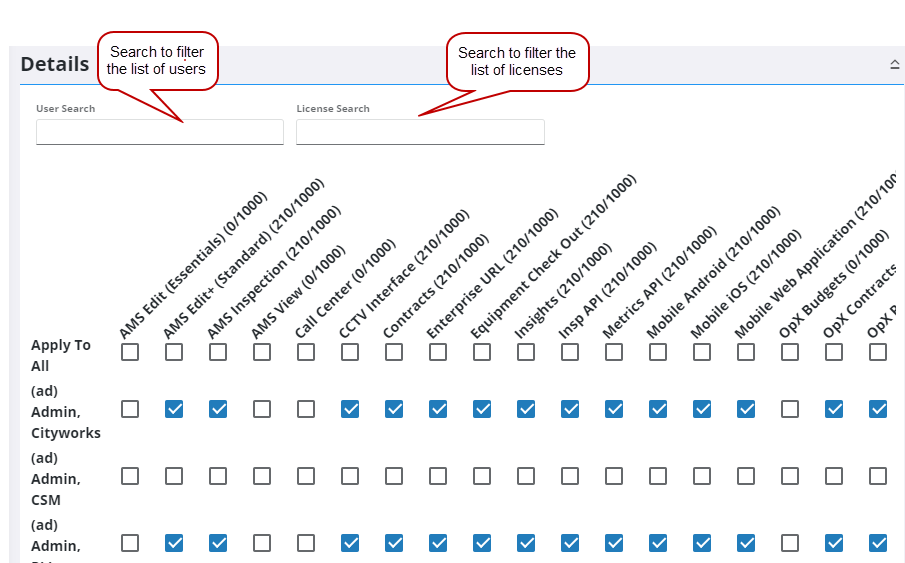
- To give rights to an employee, select the applicable check boxes in the Details panel.
- To give rights to all employees, select the check box under the applicable right on the Apply To All row.
 NOTE: Style, Admin, and Web Map Manager are available with any Trimble Unity HTML5 application. For example, if your organization is licensed for Respond, additional licensing is not required for Style, Admin, or Web Map Manager. The Style or Web Map Manager apps can be downloaded and installed to your site if desired.
For an explanation of fields on the Details panel, see Licensing Fields.
NOTE: The licenses shown in the Details panel are determined by your license key. Your site may not have every license seen above.
 IMPORTANT: License assignments are not automatically cleared when employees are removed. Administrators need to clear the assigned licenses for the employee profile before removing them.
- To remove rights from the users, clear the check box under the applicable license.