Add a Case Template
Case templates are the foundation upon which PLL is built. Templates include predefined items such as fees, workflow tasks, and roles to assist users to easily create a case based off of the template. By creating a template, you save the user from having to find and add these items to each new permit or license case individually.
|
|
 PREREQUISITES:
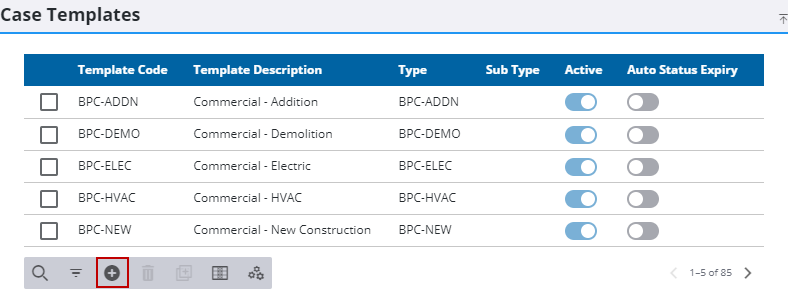
- From the home page, click PLL and click Case Templates.
- On the Case Templates panel, click Add record.
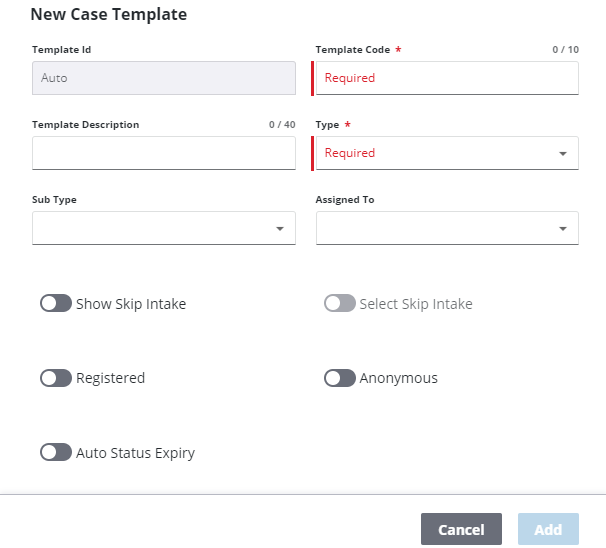
- In the New Case Template section, enter a code in the Template Code field. This code will appear in drop-down lists and is limited to 10 characters.
- Select a Type.
- If desired, use the Assigned To drop-down list to select a user to whom cases based on this template will be assigned by default.
- Enter additional information in the remaining optional fields as desired.
The Show Skip Intake switch allows users to bypass the normal process for entering specific information related to the case and proceed directly to the Case Summary page. Users can add all the applicable information at a later time using the panels on the Case Summary page.
 IMPORTANT: If the Show Skip Intake switch is not turned on, the case template will not be available to users working in Respond.
- Select Auto Status Expiry if you want the status on cases created with this template to automatically move to the Expired or BL-Expired status when the case reaches the expiration date. See Status Codes for more information.
- Click Add.