Create the Microsoft Azure Client
The Microsoft Azure Client must be created to sent emails through a Microsoft Graph API.
|
|
 PREREQUISITES:
- From the home page, click the Admin tab and click OAuth2 Clients.
- Click Add record to add a client.
- Enter a Name for the client.
- Select Microsoft Azure as the Type from the drop-down list.
- Click Add.
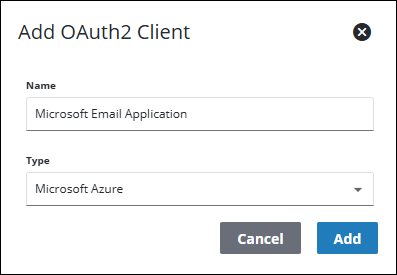
The Microsoft Admin must create a new app registration in the Azure Portal or Entra.
- Under the Microsoft.Graph permissions, the app needs the Mail.Send application permission (not delegated).
- Give the permission tenant-wide permission.
- From the app's overview in Azure Portal or Entra, copy the Application (client) ID and paste it in the Id field.
- In the app's Certificates & Secrets section, create a new client secret.
- Enter this new client secret in the Secret field.
- From the app's overview in Azure Portal or Entra, copy the Directory (tenant) ID and paste in the Tenant Id field.
- The Type displays the type selected when the client was made, but can be changed using the drop-down list.
- Select the Active check box to mark the client as active. Only one email client can be active at a time.
- Click Save.
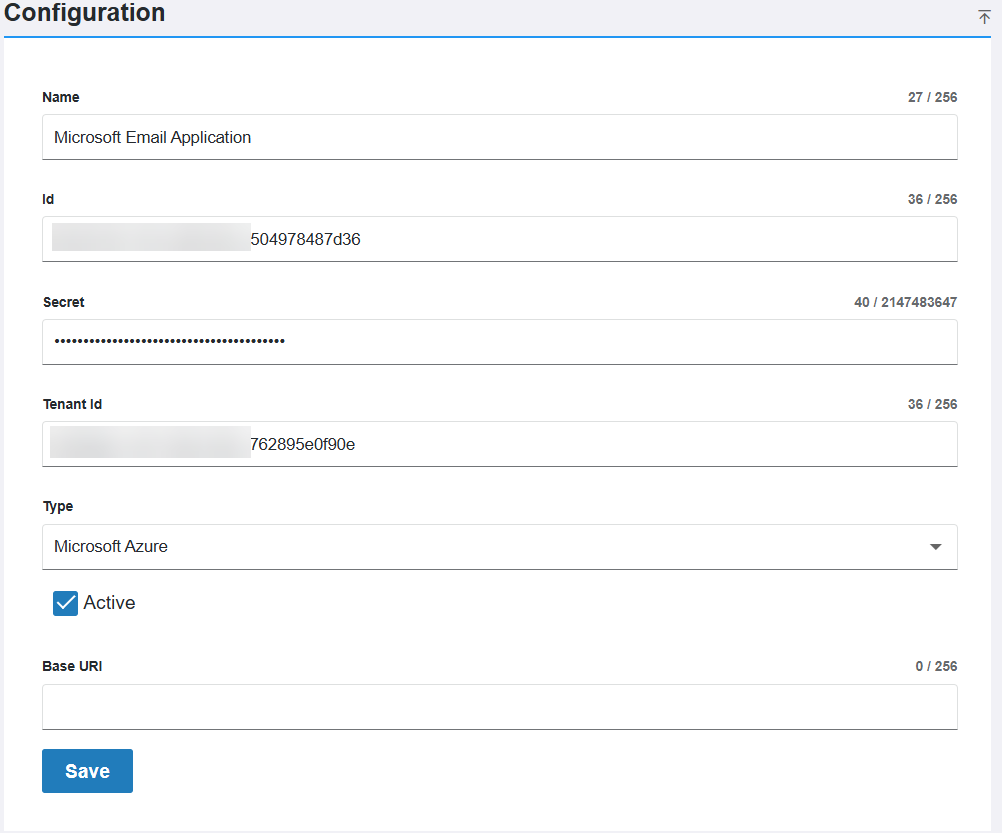
Once this is done, see Configure Email Settings to finish configuring your email settings.