Configure Service Request Template Hierarchy
The Hierarchy panel is used to organize the service requests into groups to make them easy to find when creating a new service request. A service request can reside within more than one group.
 NOTE: Once changes are made to the hierarchy, the cache may need to be cleared in the Respond app to view the newly updated hierarchy. See Clear Cached Data in the Respond 5.10 Guide for more information.
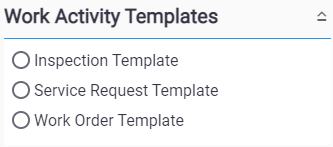
- From the home page, click Configure and click Work Activity Templates.
- Select Service Request Template from the Work Activity Templates panel.
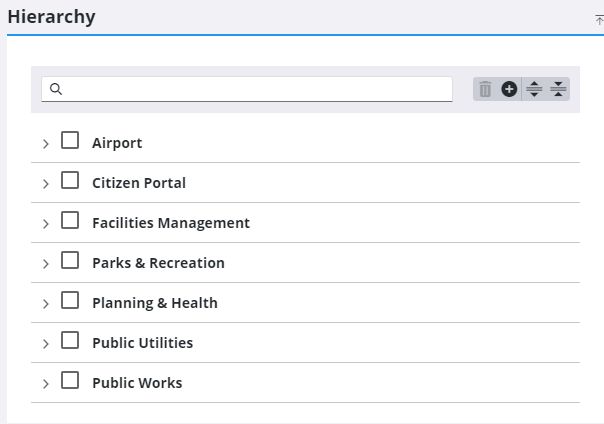
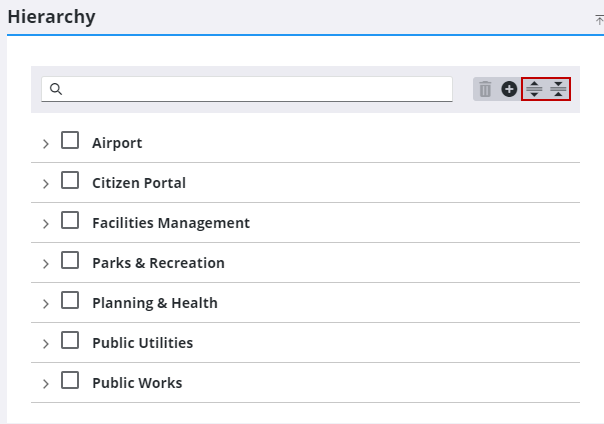
The existing groups display in the Hierarchy panel. The groups are arranged alphabetically within the hierarchy and can be searched using the search bar at the top of the panel.
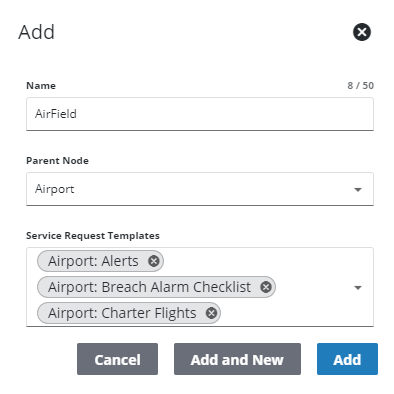
- Click Add to add a new group.

- Enter the Name of the hierarchy.
- Select Service Request Templates to assign them to the group.
- Click Add or Add and New to add the group and create another one.

- To add a child group, click Add.
- Enter the Name of the child hierarchy.
- Select the Parent
- Select Service Request Templates to assign them to the group.
- Click Add or Add and New to add the child group and create another one.
- Once a group has line items within it, you can click the arrow to the left of the group to expand it.
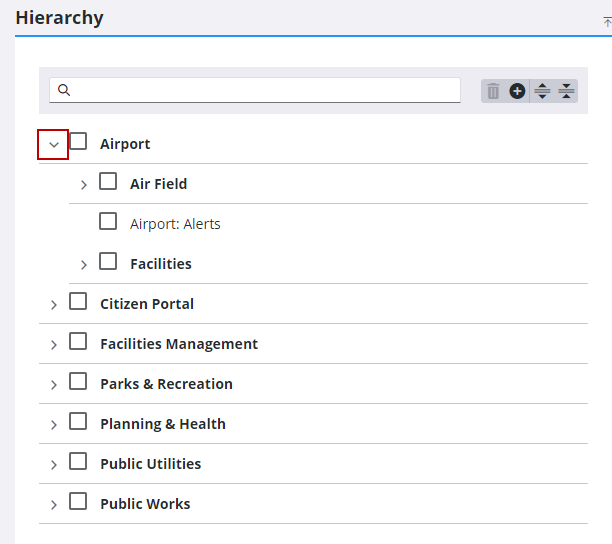
- To expand or collapse all of the groups, click Expand All or Collapse All.
- To remove a service request, select it from the group and click the delete icon.
NOTE: This does not delete the service request templates from the system, but removes it from the group .
- Click Delete on the Delete From Hierarchy panel.
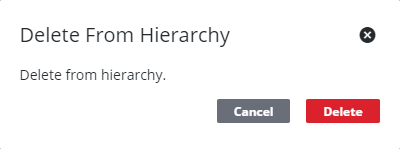
- To remove a group, select it and click Delete.
NOTE: If you delete a group, it also deletes all the service request templates in that group from the hierarchy.
NOTE: Admin automatically saves the changes you make. A notification pops up at the bottom to verify changes have been saved.