Import PACP Inspection Data
CCTV Interface for PACP stores the file path/file name and inspection IDs for all imported inspections to a single, dynamic text file named InspFlags that is stored in the same directory as the executable. When the number of rows exceeds 5000 during an import process, the next time the PACP Database field is populated, the number of rows over 4000 are removed, retaining the most recent 4000 inspections and making room to add new inspections to the file.
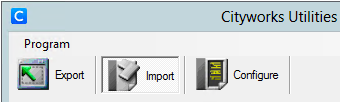
- Click Import to switch to the Import window.
- Click Browse, at the end of the PACP Database field, to open a Windows browser and browse to the location of the desired PACP database to load the file path.
 NOTE: The PACP version is listed to the right of the Browse button.
- Select the TV Inspection Entity type to load into Cityworks. The list is based on the entities defined for TV inspections in Designer under Standard Inspection Configuration on the Inspections tab.
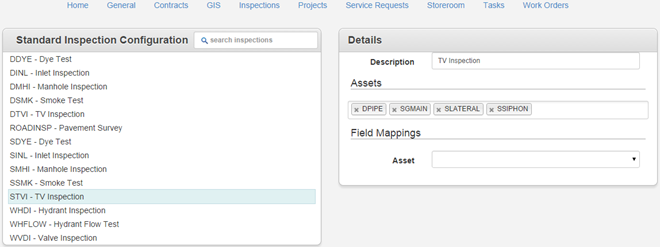
NOTE: Only one entity type may be moved at a time. To run an inspection on multiple asset types, repeat the steps for each entity type.
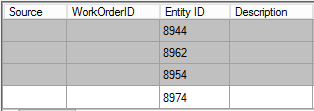
- Select the CCTV Database Entity IDs to load into the asset list for grouping. Use <Shift + click> or <Ctrl + click> to select multiple items or right-click in the table to open the context menu and Select All.
 TIP: Sorting by the Sewer Use column can group the information from the PACP database by type for Combined (stormwater and wastewater), Force Main, Other, Processes, Sanitary, and Stormwater. You can also sort by the Pipe ID and Street column.
- Select a Default WO Description using the drop-down list of possible work orders for the selected TV Inspection Entity.
NOTE: A new work order is created, using this description, for each pipe segment in the list which is not already associated to an open work order. By default, the first work order template in the list is selected as the Default WO Description. This setting is also used when the Force New WO check box is selected.
Verify that the correct Workorder ID Field is listed in the field.
NOTE: For PACP version 4.4, this field is grayed out because it is already linked. For PACP version 4.2, the field lists the header of the assigned custom field.
- Click Get PACP Data to load the inspection data and the associated asset information from the PACP data exchange database into the list. Any open work orders with matching entity IDs are included in the list.
NOTE: A single entity may be associated to more than one work order in the list. To avoid multiple work order numbers being listed for a single inspection record, be sure to record the preferred, valid work order number in the PACP WorkOrder field.
All fields from the PACP inspection table are loaded and are available for viewing by using the bottom scroll bar.
- Right-click a column header to open the context menu where columns can be set to be visible or hidden. The number of options shown depends if the next or previous column is hidden.
- Click an item to select it. If Visible Columns is highlighted, the list persists until the user closes it.
- Click the down or up arrow to see the rest of the fields.
- Right-click in the table to open a context menu with options.
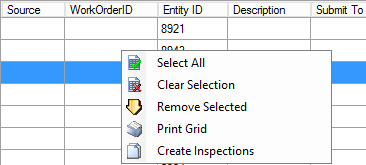
- Select Print Grid to print the list. Only the visible columns from the grid are set to print.
- Set the desired options on the Page Setup dialog box and click OK.
- Click Print to print the grid.
If needed, select record(s) to move from the list and click Remove From List to open and load the record(s) into the list at the bottom of the window.
If these records are needed at a future time, they may be added back in to the list at any time by selecting the desired record(s) and clicking Restore To List on the form or using the context menu option, Restore Selected.
- Select one or more records from the list to create Cityworks inspections using the selected data or click Select All to select all records in the list.
If the user wishes to add the selected pipes to an existing open work order, enter the work order ID into the blank field and click Assign WOID to load the work order's ID into the field. The work order ID may be edited by clicking the box in the grid or selecting multiple pipes, typing the ID into the field next to the Assign WOID button, and clicking the button.
TIP: If each inspection needs a different work order ID, enter the number directly into the grid.
- Select the Force New WO check box if a new work order ID of the default type is desired for the selected pipes, even if a pipe is already part of an open work order.
NOTE: In cases where emergency inspections were performed or contractors were assigned the work as a project rather than a work order, a new work order can be created for these inspections by selecting the Force New WO check box.
- Browse to the Image Path or Video Path to select the folder to store photos or videos.
NOTE: If the Image or Video Path fields are left blank, the image and video path information stored in the PACP database will be loaded to Cityworks and the files will not be moved. When these fields are specified, a copy of the files will be stored in the selected location unless the Do Not Copy Video or Image check box is selected. If the user has moved the files from the original location, the new location can be specified.
- Select the Do Not Copy Video or Do Not Copy Image check box for the image or video if the file is already stored in the selected file path.
- Click Create Inspections or the option from the context menu to create a Cityworks inspection for each segment and remove these pipe IDs from the lists. The inspection will be assigned to the specified work order. If the Workorder ID field is blank, the pipe segment is assigned its own work order.
NOTE: Click Create Inspections to remove the information for the selected pipe IDs from the CCTV Database Entity IDs list, main work order list, and the Removed Items list.
A message box opens to confirm the inspections that were successfully imported.
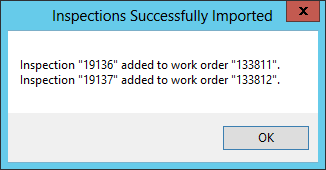
NOTE: If a pipe segment is inspected from one direction and then meets a blockage, another inspection may be created from the other direction so there may be two inspections for the same pipe.
Once the information has been imported, it is grayed out so it can’t be selected.
- Repeat the same procedure for each desired entity type and for any other PACP databases. Use Clear List to clear all the fields and lists, except for PACP Database.
- Log in to Office for AMS and open the work order.
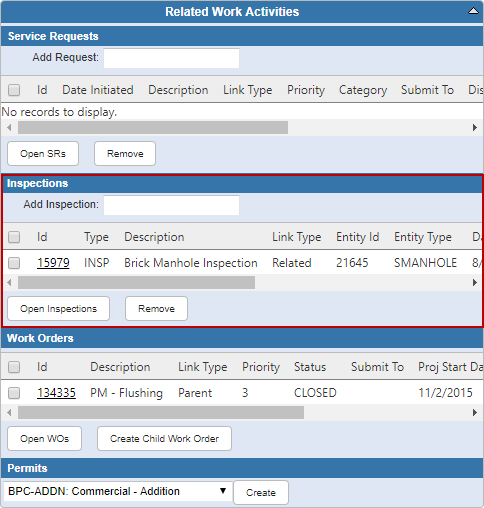
- Scroll to the Related Work Activities panel to view the inspections that were created.
 +
+
- Click the Id link for the inspection to view the transferred data on the inspection form.
NOTE: The Cityworks Inspection ID is not the same as the PACP Inspection ID since each number is generated by its respective software program.
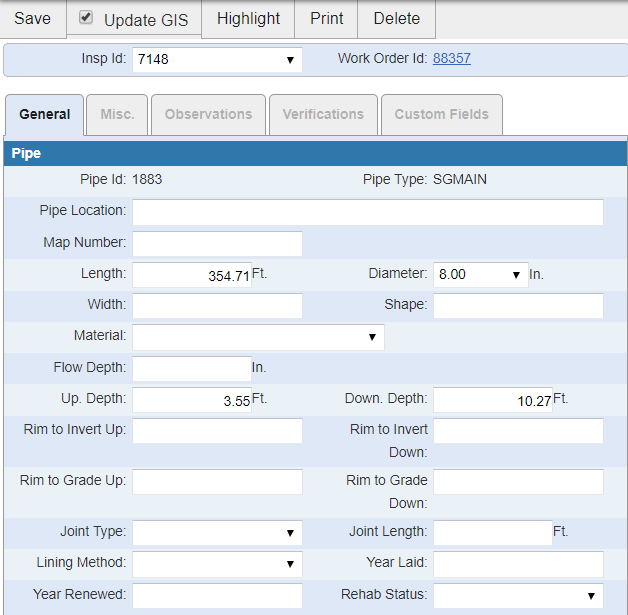
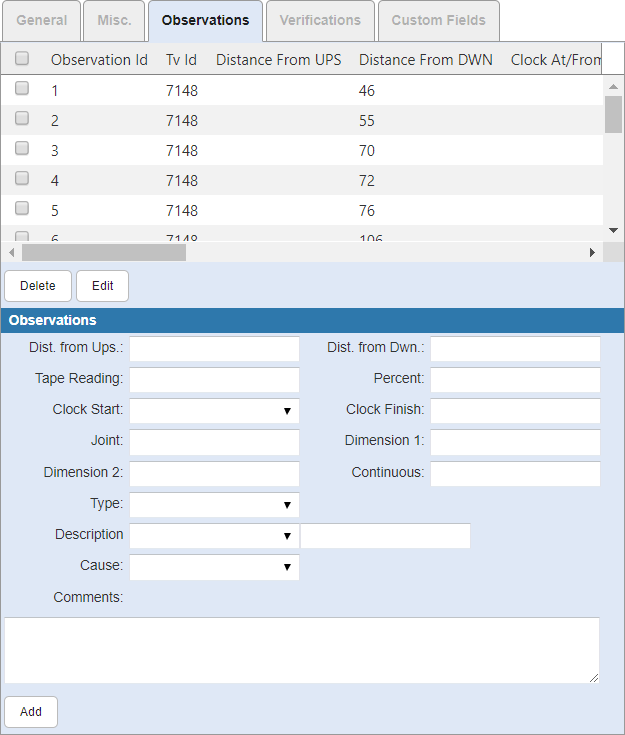
Observations from the inspection can be viewed on the Observations tab.