Configure Tab
The Configure tab sets the location of the blank PACP master export database as well as the default image and video paths. This has an option for writing the actions performed by the Cityworks Utility to a log file, and configure field mappings for exporting and/or importing between the PACP database and the Cityworks database or the geodatabase.
Every effort is made to map all fields from the PACP database to the Cityworks database. However, any user-defined field mappings for these fields overrides the hard-wired defaults.
 IMPORTANT The requirements for mapping height and width fields in the PACP database to height and width fields in the GIS have been altered to allow for any GIS numeric format to be converted to the long integer format in the PACP database. Any numeric decimal values are converted to its nearest integer value. Cityworks Utility shows a warning message if the data type doesn’t match, which the user can accept.
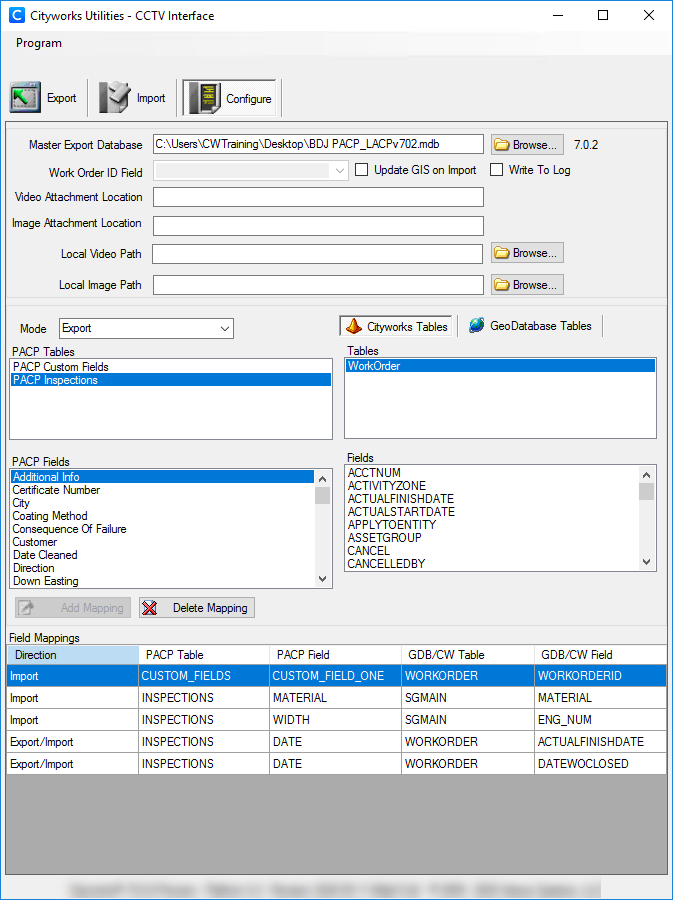
- Click Configure to set the default settings.
- Click Browse, at the end of the Master Export Database field, to open a dialog box and browse to the blank PACP master export database. The PACP version for the selected database loads to the right of the Browse button.
- Select the Update GIS on Import check box to update the GIS when importing.
- Select the Write To Log check box to keep a log of the transactions.
- Enter information in Video Attachment Location and Image Attachment Location to override the default attachment locations.
- Use Local Video Path and Local Image Path to provide a way to globally specify where the PACP attachments reside on the local machine.
To view the log file for the Export or Import, return to the Configure window, right-click on Write To Log to open the context menu, and select View Log File to open the file in Notepad.
- Select the desired Mode from the drop-down list for setting the direction of the field mappings.
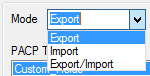
- Export: Select the fields to export from the Cityworks database or the geodatabase into the PACP data exchange database.
- Import: Select the fields to import from the PACP database to update corresponding fields in Cityworks or the geodatabase.
- Export/Import: Select the fields to export from Cityworks or the geodatabase into the PACP database and import from the PACP database to update the Cityworks database and geodatabase.
IMPORTANT: Mapping geodatabase fields for importing allows updating these fields, like asset attributes, in the geodatabase directly from the values entered in a PACP inspection. An ArcGIS editing license is required when importing to the geodatabase.
Set up the fields from the Cityworks Tables that correspond to the PACP Tables for Inspections and Custom_Fields by clicking the desired tables to load the corresponding fields. Then select the PACP Fields that match up with the Cityworks Fields, and click Add Mapping to place it in the Field Mappings list on the bottom screen. Until the fields are selected, Add Mapping is inactive (grayed out).
 NOTE: The configuration attempts to warn the user of invalid field definitions. However, the person creating the field mappings should pay attention to the two field definitions to make sure the data values are applicable to the destination field.
The Tables and Fields are in alphabetical order. Typing the first few letters in a box advances the list.
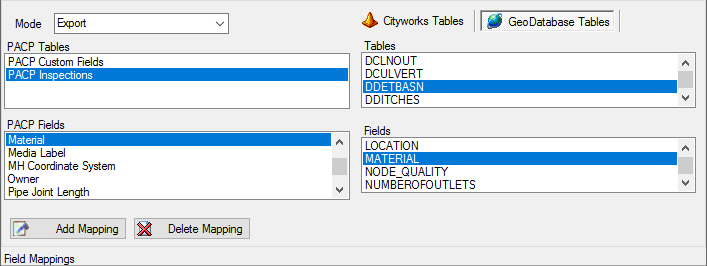
- Switch to the Geodatabase Tables. If users are not connected to the geodatabase, a message opens. Click OK to connect.
IMPORTANT: To import the Condition field from the PACP database into the geodatabase, at least one field must be mapped to the geodatabase to establish the connection to the geodatabase.
Right-click anywhere in the list of Field Mappings to open the context menu.
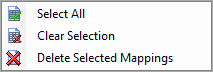
Click Delete Selected Mappings to remove mappings.