Add an Asset Type
Asset types can be added to asset groups.
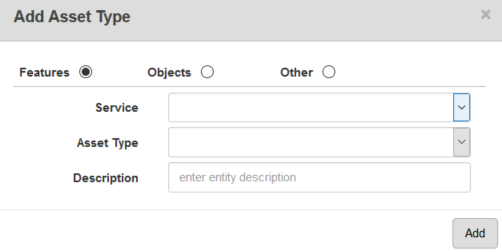
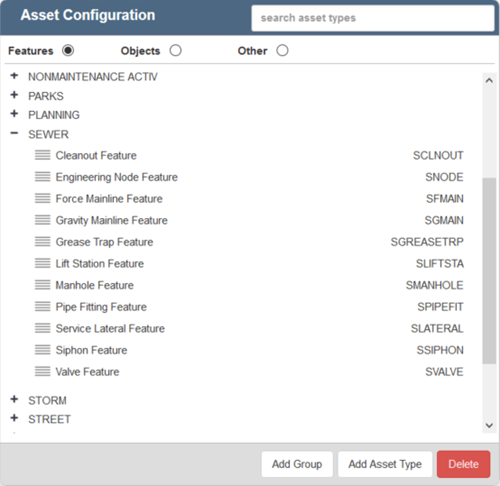
- Select an asset group from the Asset Configuration panel and click Add Asset Type to add an asset type to that asset group.
- Select the asset category (Features, Objects, or Other).
- If you selected Features or Objects, select the GIS Service endpoint for the asset type. If you selected Other, enter the Other Type and Description.
- Select the Asset Type and enter a Description, then click Add.
- Click the plus sign to any asset group to expand it and view the asset types in that asset group.
When you click an asset type, the Asset Field Configuration panel will display on the right.
The Asset Field Configuration panel identifies which fields are displayed on the Editor form (accessed via GIS Search) or the work order Assets panel, as well as on the inspection Assets panel under Editable fields (if configured).
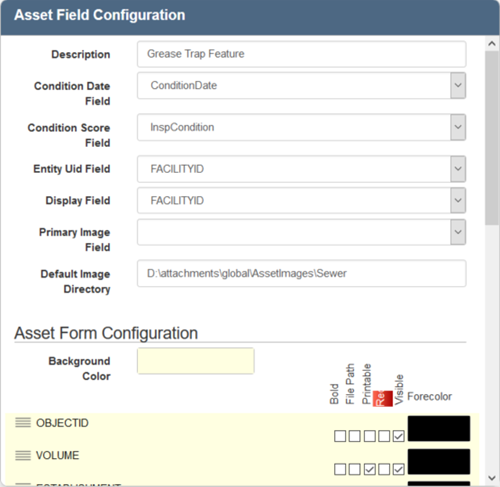
- Enter or edit the Description, Condition Date Field, Condition Score Field, Entity Uid Field, Display Field, Primary Image Field, and Default Image Directory.
For an explanation of fields found on this page, see Asset Groups Fields for more information.
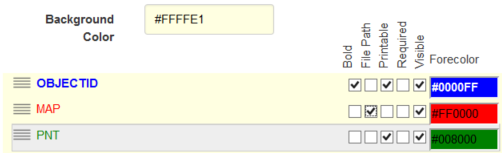
The Asset Form Configuration section of the Asset Field Configuration panel allows you to control the look of the fields on the Editor form.
 NOTE: See Server Functions that Utilize the Asset Form Configuration in Designer on MyCityworks for more information.
- To change the order that the fields are displayed in, click the icon next to the field and drag it to the desired location.
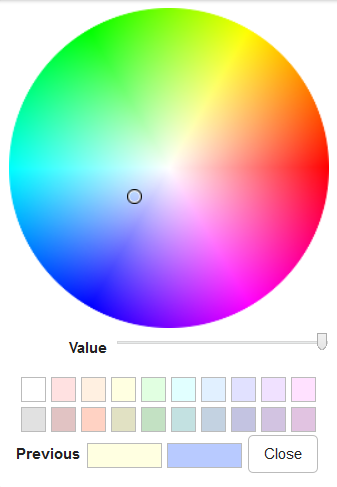
- Click in the Background Color box to set the background color for the fields.
- Select the applicable check boxes next to the field to edit its appearance.

- Select Bold to make the text bold.
- Select File Path if asset images are stored on a network drive.
- Select Printable to set this field as one that can be added to a customized work order .docx print template. Print preferences are configured on the General tab of the Preferences page.
- Select Required to make this field required on the Inspection form.
- Select Visible to set this field as visible on the Editor form.
You can change the color of the text by selecting a different color from the Forecolor box.
NOTE: If a field is no longer present or is not being read by the current GIS connection, an X will appear to the right of the field name.
Any changes that you make here will be reflected in the Asset Form Configuration section.
NOTE: Designer automatically saves the changes you make. A notification will appear in the top-right corner of the window that says Data Saved when you make changes to the page.