Configure Material Hierarchy
The Hierarchy panel is used to organize materials into categories to make them easy to find when adding material to a work order on the Material page and in ELM. A material can reside within more than one category.
- From the General tab, click Material.
 NOTE: If you are licensed for Storeroom, the Material page is accessed through Storeroom. See Configure Material Hierarchy in the Storeroom for 15.2 Guide for more information.
The existing categories display in the Hierarchy panel. The categories are arranged alphabetically within the hierarchy.
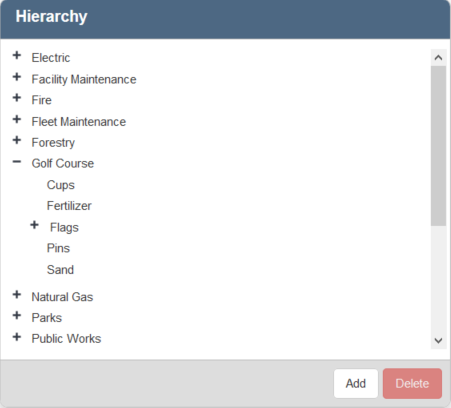
- Click Add to add a new category. Type the name of the category and press Enter or click Add.
- Double-click a category name to edit it.
- Add materials to the categories. Click the icon next to any material in the Material panel and drag it to the desired category in the Hierarchy panel.
- Once a category has materials within it, you can click the plus sign next to the category to expand it.
- To remove a material from the category, select it and click Delete.
NOTE: This does not delete the material from the system, but removes it from the category.
- To remove a category, select it and click Delete.
NOTE: If you delete a category, it also deletes all the materials in that category from the hierarchy.
NOTE: Designer automatically saves the changes you make. A notification will appear in the top-right corner of the window that says Data Saved when you make changes to the page.