Configure Task Hierarchy
The Hierarchy panel is used to organize the tasks into categories to make them easy to find when adding a task to a work order, or to find a task when searching for a work order based on the associated tasks. A task can reside within more than one category.
- From the Tasks tab, click Templates, or click Task Templates from the home page.
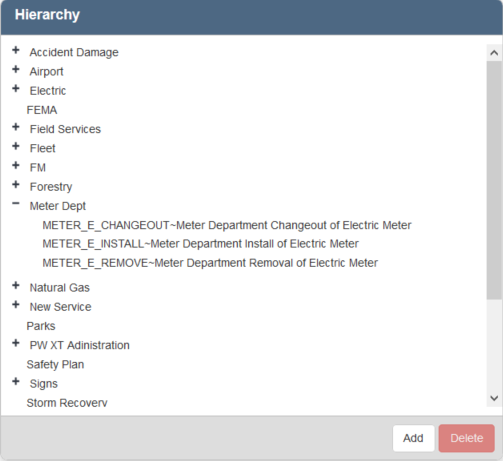
The existing categories display in the Hierarchy panel. The categories are arranged alphabetically within the hierarchy.
- Click Add to add a new category. Type the name of the category and press Enter or click Add.
- Double-click a category name to edit it.
- Add tasks to the categories. Click the icon next to any template in the Task Templates panel and drag it to the desired category in the Hierarchy. You can use <Shift + click> or <Ctrl + click> to select multiple tasks.
- Once a category has tasks within it, you can click the plus sign next to the category to expand it.
- To remove a template from the category, select it and click Delete.
 NOTE: This does not delete the task from the system, but removes it from the category.
- To remove a category, select it and click Delete.
NOTE: If you remove a category, it also removes all the tasks in that category from the hierarchy.
NOTE: Designer automatically saves the changes you make. A notification will appear in the top-right corner of the window that says Data Saved when you make changes to the page.