Configure the Cityworks Toolbar
- From the home page or General tab, click Site Menu.
|
|
 PREREQUISITES:
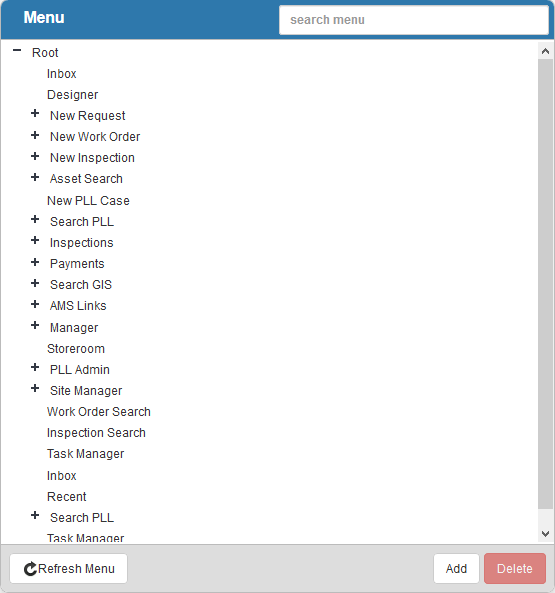
The Menu panel shows the current site menu. You can filter the Site Menu by typing the first few letters of the menu item in the search box in the top-right corner.
- To add a new menu item to the site menu, click Add.
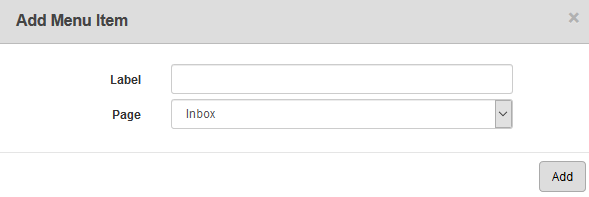
- Enter the Label for the menu item. This is the name that users will see.
- Select the Page to display when a user clicks this menu item.
- If you select Enter a custom URL from the Page drop-down list, you'll be asked to enter the URL. This custom URL can be copied from your browser from any page in Cityworks or an external website. For example, you could copy the URL to the GIS search form with some search fields filled out, while leaving a few blank that change depending on the model. This would be helpful for someone in charge of vehicle maintenance that needs some fields filled out in the form, but would need to enter the license plate number for each car. Or you could add mycityworks.com to the site menu to easily access the web page.
- Click Add.
 NOTE: When a user logs in to Office or Tablet, the default view is the first menu item listed in the Menu panel. For this reason, it is recommended that the first menu item be a page that all users have access to, such as the inbox.
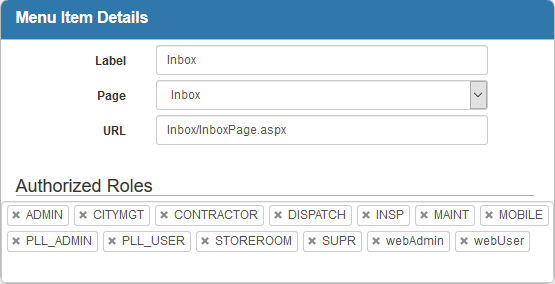
The new menu item displays in the Menu panel.
- Select it and select the Authorized Roles for those who can view the tab and its related contents in the Menu Item Details panel. You can click in the Authorized Roles field and select roles from the drop-down list, or filter the list by typing the first few letters of the role.
 IMPORTANT: Never set permissions against the Root.
 TIP: To remove a role, click the X next to the role to remove it.
- To add a child menu item to an existing menu item, select the existing menu item in the Menu panel and click Add.
- Enter the Label, select the Page, and click Add.
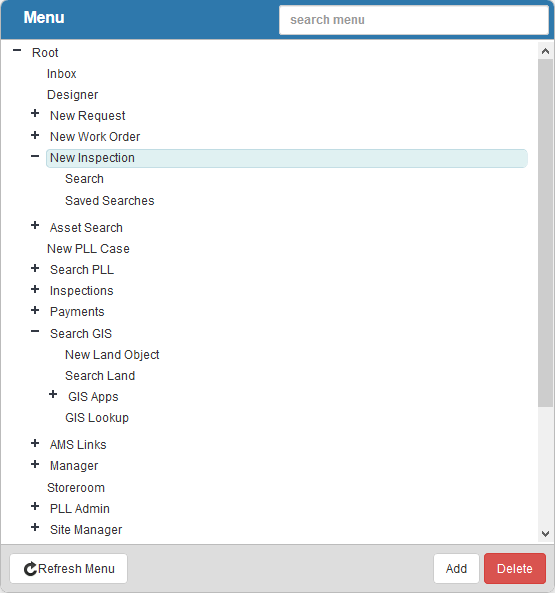
The new child menu item will display under the parent menu item in the Menu panel.
- Click the plus sign next to any parent menu item to expand it.
- To change the order of the menu, click the menu item and drag it to the desired location.
- To remove a menu item from the Site Menu, select it and click Delete.
NOTE: Designer automatically saves the changes you make. A notification will appear in the top-right corner of the window that says Data Saved when you make changes to the page.