Add GIS Fields to a Custom Inspection Template
Additional information from the GIS can be displayed on inspections. For example, you may want the inspection to display data from the GIS, such as the date of the last inspection or attribute data. The data displays on the inspection in the Map Layer Fields panel once the address has been geocoded. Any time the X and Y coordinates are updated on the inspection, the configured map layer fields are also updated.
Different map layers may be set up to correspond with various districts, zones, boundaries, etc. There is no limit to the number of map layers that can be set up. The map layer must be defined in ArcMap and may have a field containing an employee name used for fields like Submit To. The name must be formatted as <Last_Name>, <First_Name> <Middle_Initial>.
|
|
 PREREQUISITES:
- Select a custom inspection template from the Templates panel.
- Click the Map Layers tab on the Details panel.
Existing map layer fields configured for this template display in the upper section of the panel.
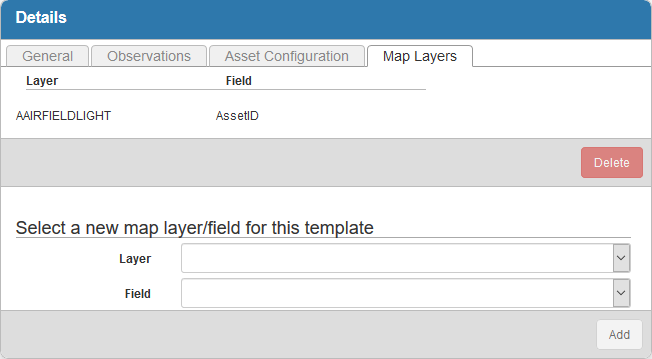
- Select the Layer and Field you wish to pull GIS data from when creating an inspection.
 NOTE: Map Layers used in inspection templates must be classified in the map document as a polygon feature. Fields are populated based on the XY coordinates of the work activity, which is why a polygon layer must be selected.
- Click Add.
NOTE: The selected map layer must be configured to the appropriate map service under GIS > Services > Service Layers.
Once an inspection is created with this template, the data appears in the Map Layer Fields panel.
NOTE: