Add or Edit an Attachment Mapping
- From the General tab, click Attachments.
The Attachment Mappings panel lists all existing attachment mappings. You can filter the list by typing the first few letters of the attachment mapping in the search box in the top-right corner.
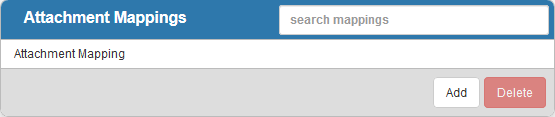
- Click Add on the Attachment Mappings panel to add a new attachment mapping.
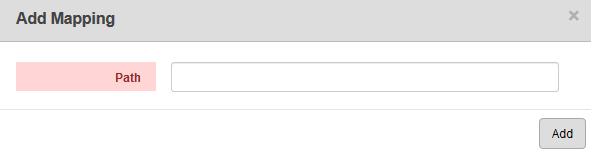
- Enter the Path, which must be either a local drive or a UNC path, and click Add.
 NOTE: The impersonate user must have permissions for the folder location because Cityworks accesses those locations as the impersonate user.
The new attachment mapping displays in the Attachment Mappings panel.
- Select it and finish entering the Attachment Mapping Details.
- You can enter an Alias for the mapping, if desired.
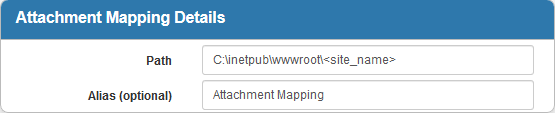
NOTE: An Alias is needed when the Path cannot be resolved by Cityworks and an alternate path needs to be used. If an Alias is defined, Cityworks replaces the Path with the Alias before attempting to find the folder or file. If you are storing attachments in a location other than what is specified in the Attachment Root Directory preference, you need to define both a Source and an Alias. To set the Attachment Root Directory preference, see Set the Attachment Root Directory.
 IMPORTANT: When setting attachment mappings, ensure that the folders and subfolders specified contain only folders with attachments. Under no circumstances should the attachment mappings specify folders or subfolders which have content from the wider website or from the server underlying the website.
- To edit an attachment mapping, select from the Attachment Mappings panel and make the desired changes.
NOTE: