Add a Date Custom Data Field
- Select a field from the Custom Fields panel to edit the Custom Field Details.
- Enter or edit the Field Name and select Date from the Field Type drop-down list.
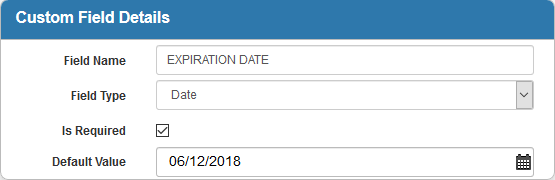
- Select the Is Required check box to make the custom field required.
- Select Is Visible to make the custom field visible.
- Enter the Default Value field, if desired, that appears in this field. Double-click in the field to enter the current date and time, or click the calendar icon to select a date and time.
- To edit a Date custom field, select it from the Custom Fields panel, and make the desired changes.
 NOTE:
NOTE: