Update Public Access Using the Windows Installer
Follow these steps to
|
|
 IMPORTANT:
 |
|
 PREREQUISITES:
- Navigate to where the Public Access installer application is located.
- Extract the install file from the zipped file by right-clicking the zipped file and clicking Extract All.
- Double-click the unzipped file to open it.
- Right-click the installer and select Run as administrator.
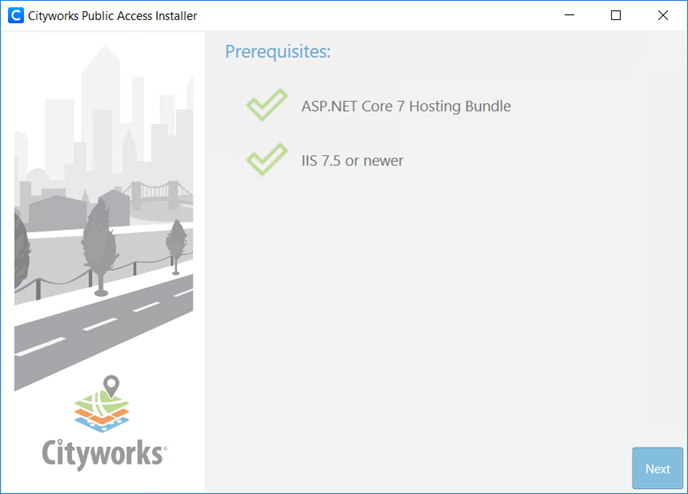
The installer automatically checks to make sure all the prerequisites are installed. If an application is missing, the installer will display a message instructing you to install the needed prerequisite.
If all prerequisites are properly installed, two green check marks display.
- Click Next.
- Select
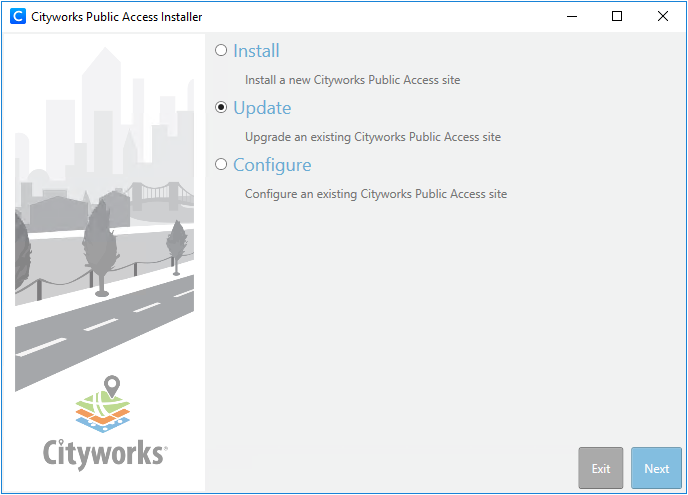
- Select the existing Public Access site from the Virtual Applications drop-down list.
- If desired, enter the Backup Location where the Public Access site files will be backed up. A .zip file of the backup is placed in this location.

- Click Next.
When updating a Public Access site, the installer will recycle the app pool. It also attempts to stop the app it is updating and restart it after the update.
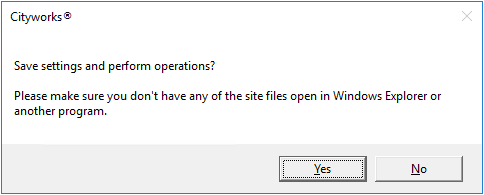
- Verify that the site information is correct and click Save.
You will be asked if you want to proceed.
- Click Yes.
A box with a status bar displays while the virtual application is being created.
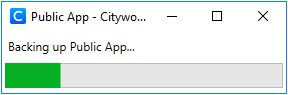
Once the
- Click OK.
The URL for Public Access is https://<host>/<site_alias>/login.