Set Up Audit Trace
The audit trace logs who and when changes were made to the database. So, anytime a user does something, like create a permit, changes a task, or an admin makes a new workflow or edits an old one, etc., it is recorded by the audit trace.
|
|
 PREREQUISITES:
To setup the audit trace, follow these steps:
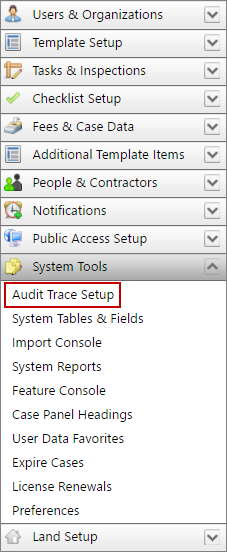
- Open PLL Admin.
- On the PLL Admin page, click System Tools on the PLL Admin menu panel and select Audit Trace Setup.
- Select the Trace check box to activate audit trace for a database table.
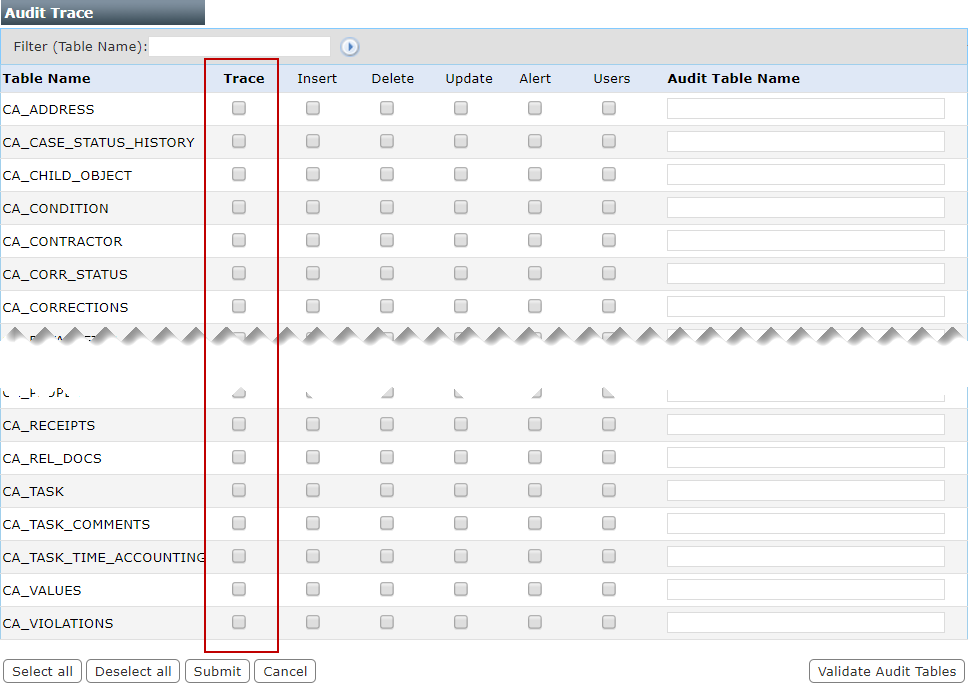
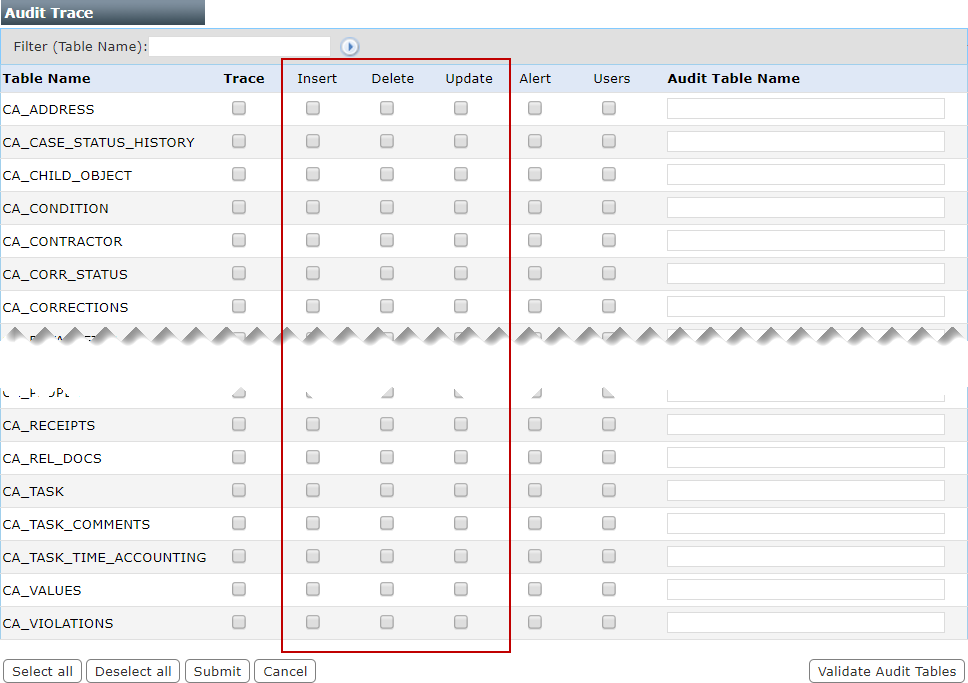
- Select the check boxes in the Insert, Delete, and Update columns next to the tables you wish to track.
- Insert records instances of new data being added to the table.
- Delete records instances of existing data being removed from the table.
- Update records instances of existing data being changed but not deleted.
 NOTE: The Trace, Alert, and Users columns are under development and not currently functioning.
- Click Validate Audit Tables to ensure the audit table have all the same fields as the corresponding CA tables.

- Click Submit.