Add a Task
This section will discuss how to set up a task.
|
|
 PREREQUISITES:
To add a task, follow these steps:
- Open PLL Admin.
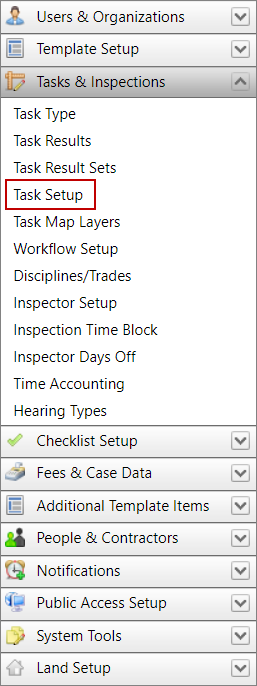
- On the PLL Admin page, click Tasks & Inspection on the PLL Admin menu panel and select Task Setup.
- On the Task panel, click Add record at the top of the panel.
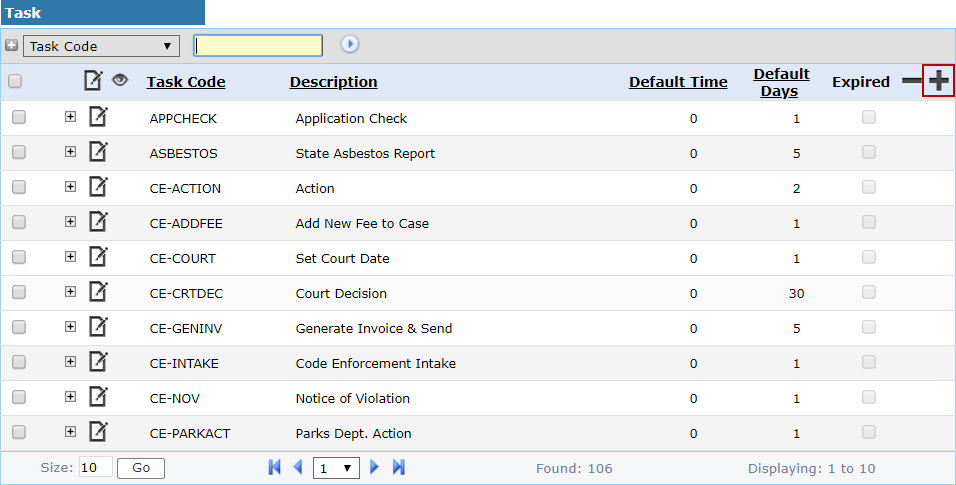
 NOTE: Search or filter the records on this panel to quickly find the one(s) you want. See Search and Filter Records for more information.
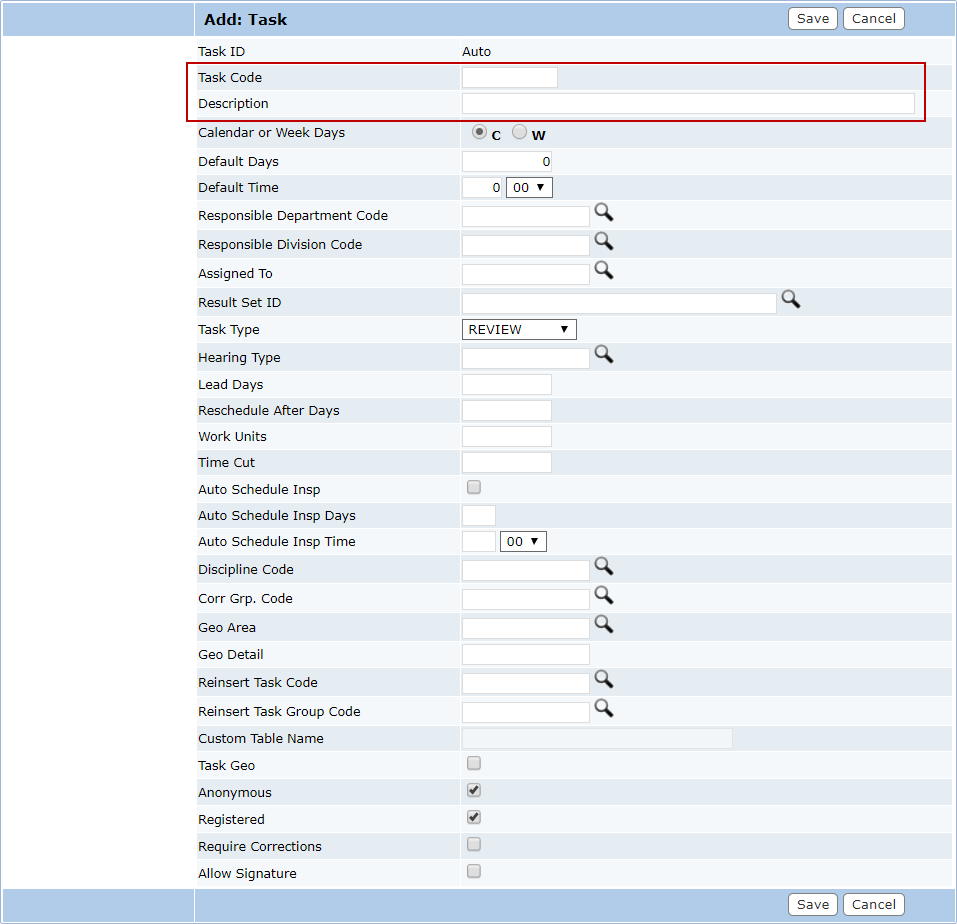
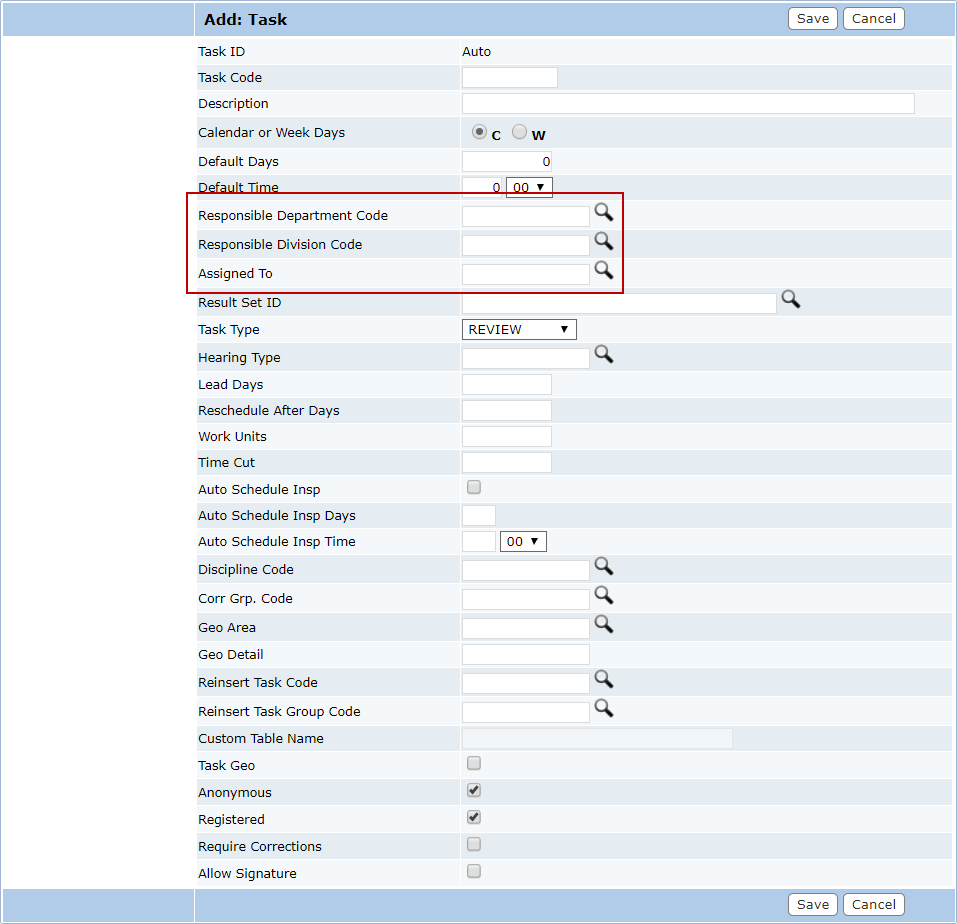
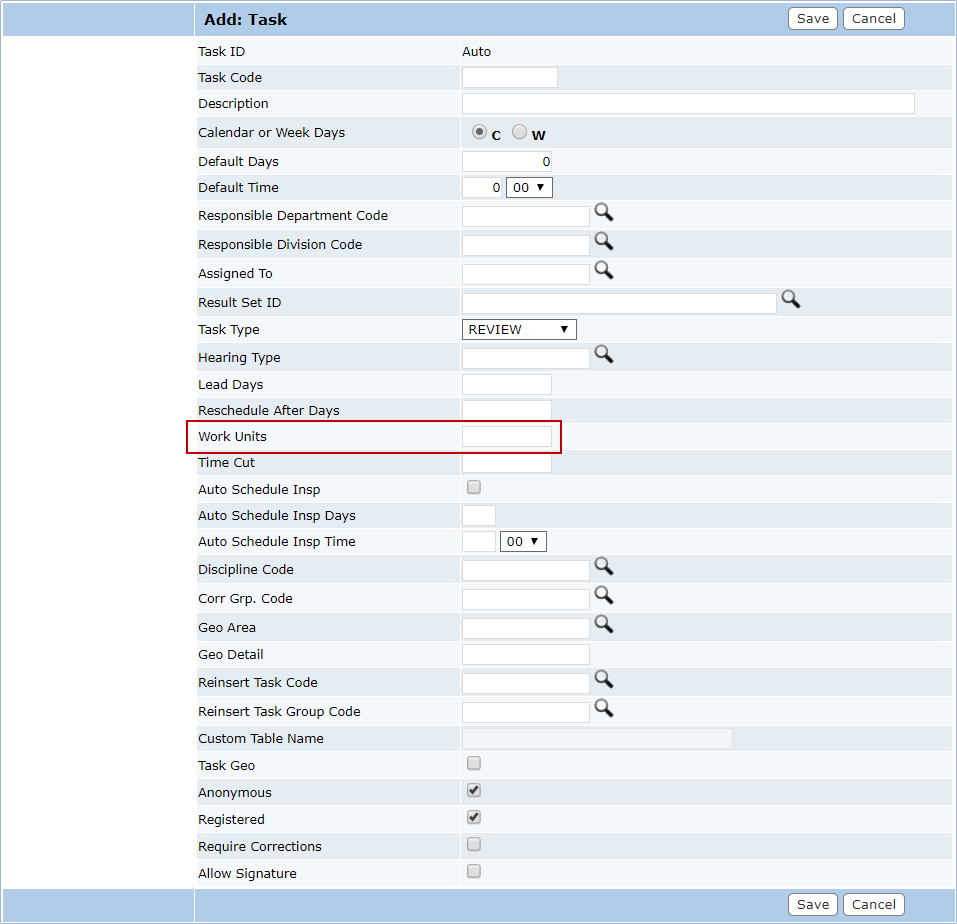
- On the Add: Task panel, enter a 10-character (maximum) code in the Task Code field and a brief explanation of the task in the Description field.
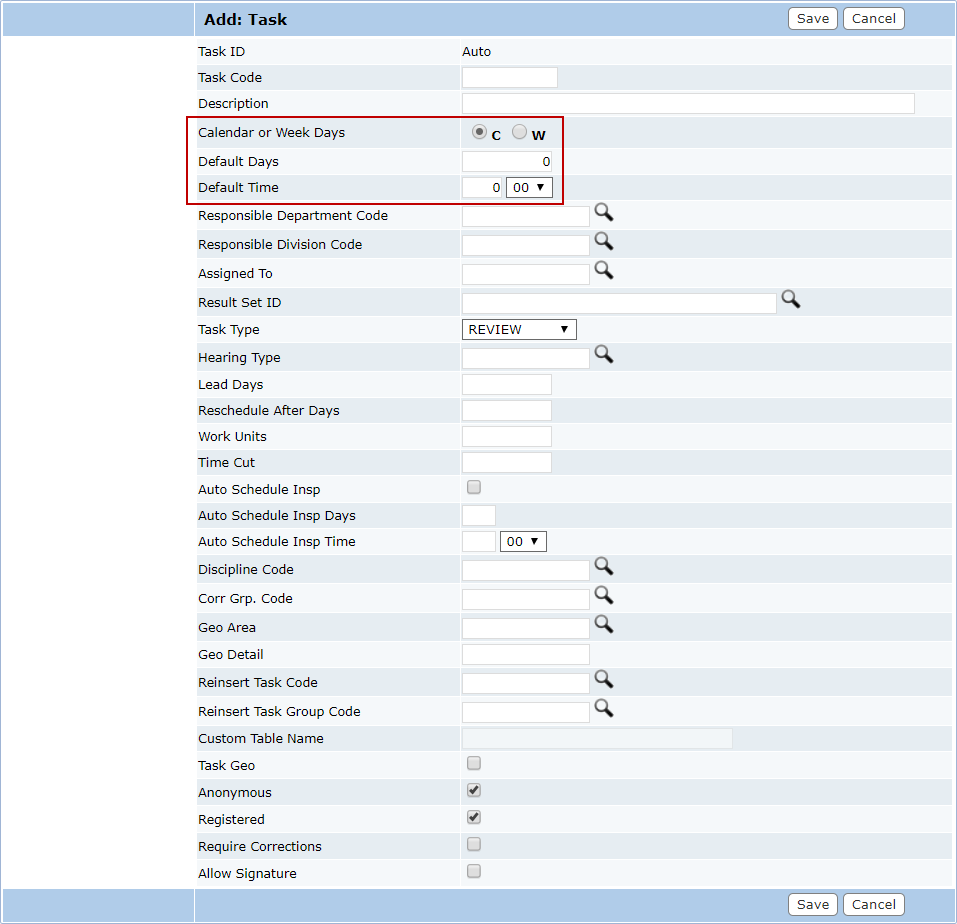
- Decide whether the duration of the task will be measured in calendar (c) or week (w) days and select the appropriate option button. Then enter the average number of days and hours you expect the task to take in the Default Days and Default Time field.
- Click Lookup to select the department and, if applicable, division responsible for this task. You may also click Lookup next to the Assigned To field to assign the task to a specific person.
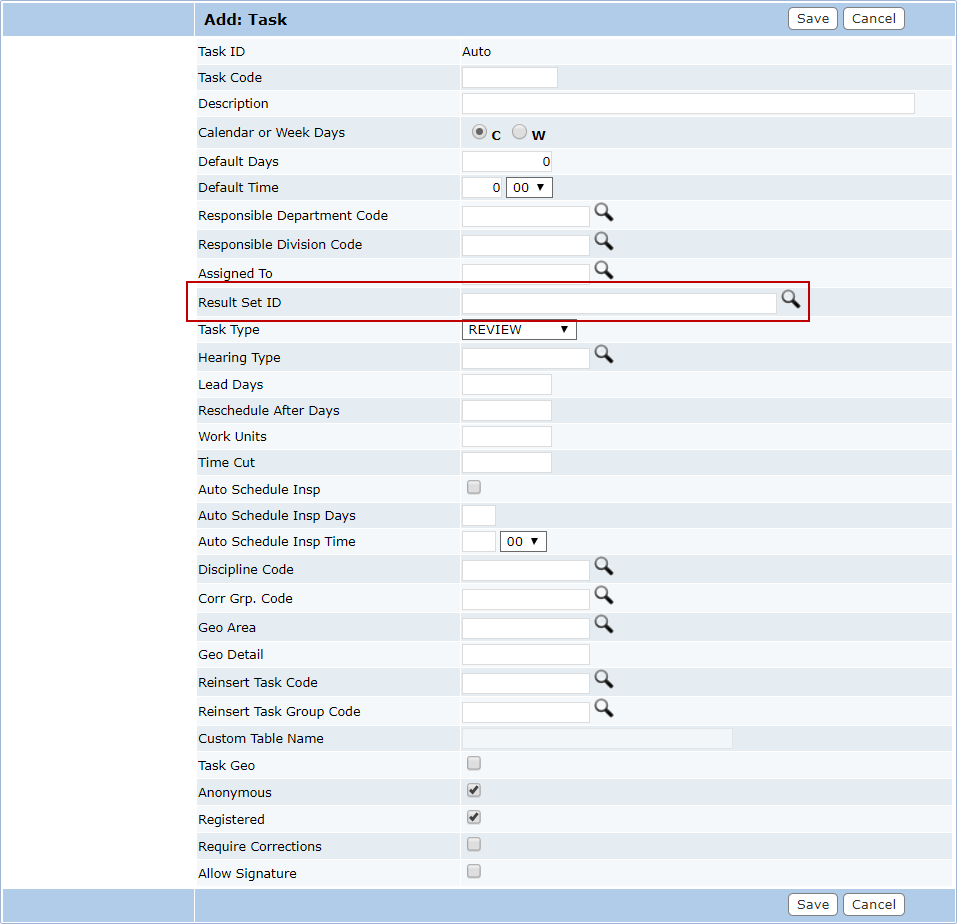
- Click Lookup next to the Result Set ID field to select a set of possible results for the task.
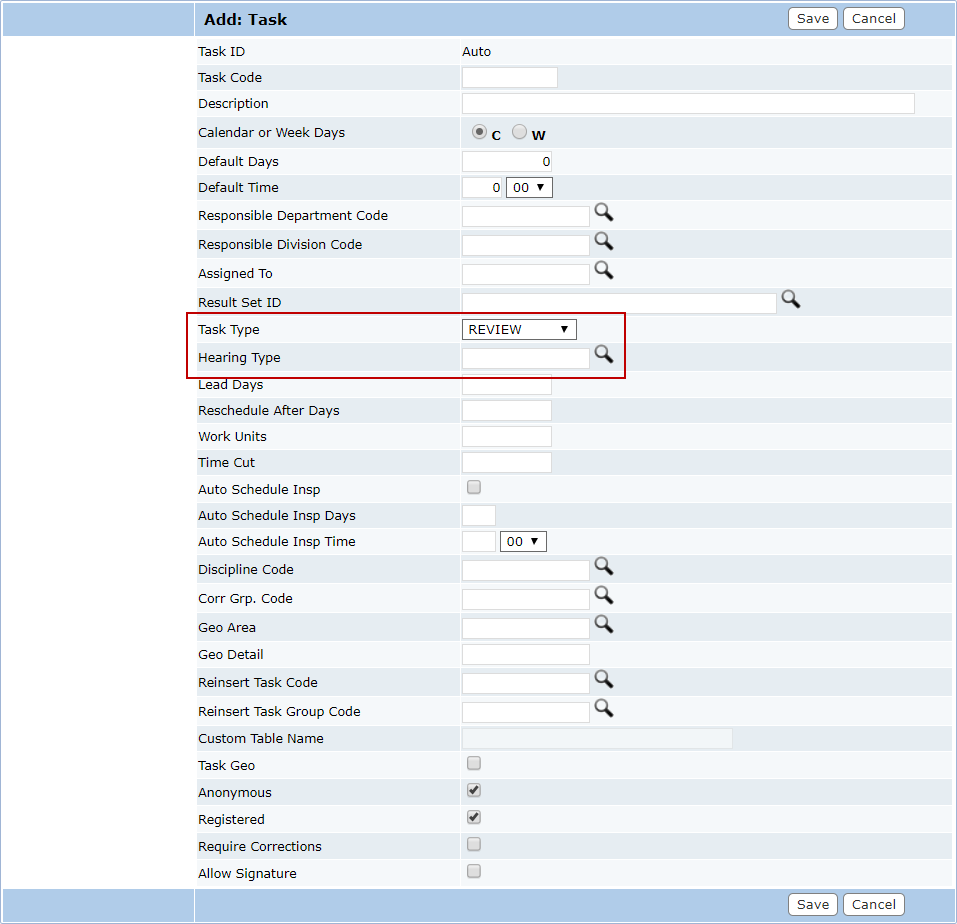
- Use the Task Type drop-down list to define what kind of task you are creating. See Task Types for more information. If there is a hearing associated with the task, click Lookup next to the Hearing Type field to select the appropriate hearing type.
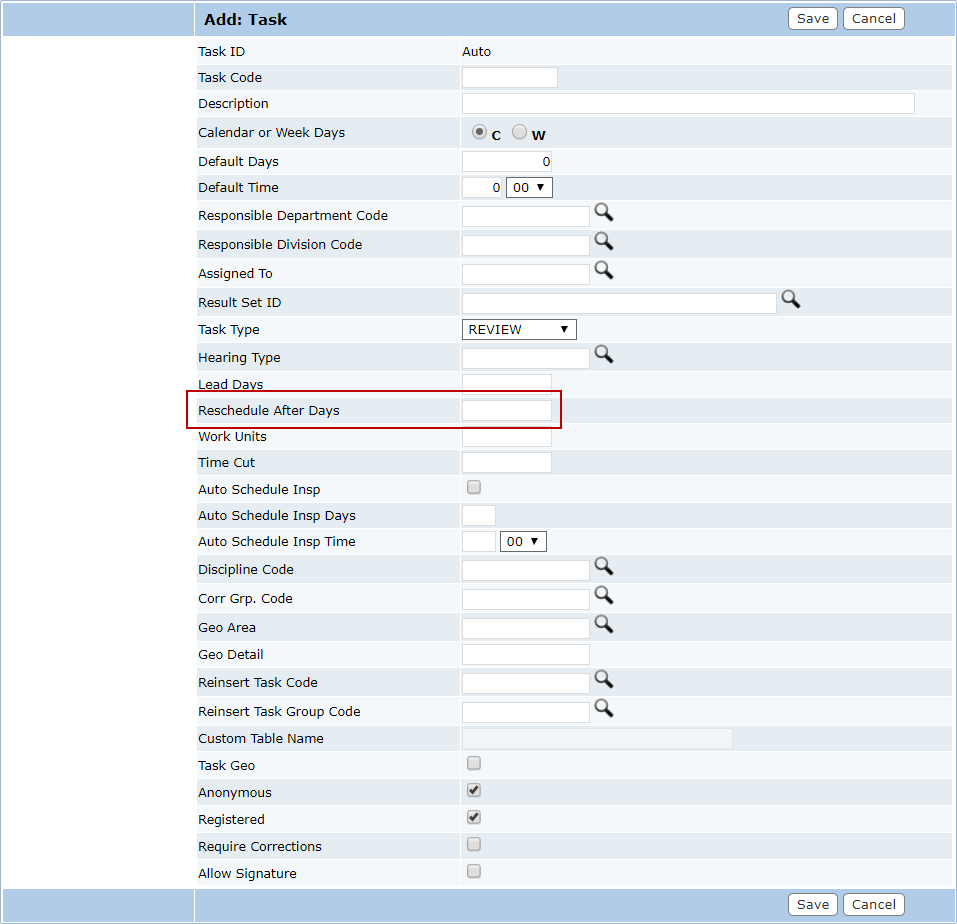
- In the Reschedule After Days field, enter the number of days after which the task may be rescheduled after a failure.
- Enter the estimated number of units of time (as defined by your organization) required to complete the task in the Work Units field.
- Select the Auto Schedule Insp check box if you would like Cityworks PLL to automatically schedule any necessary inspections for the task.
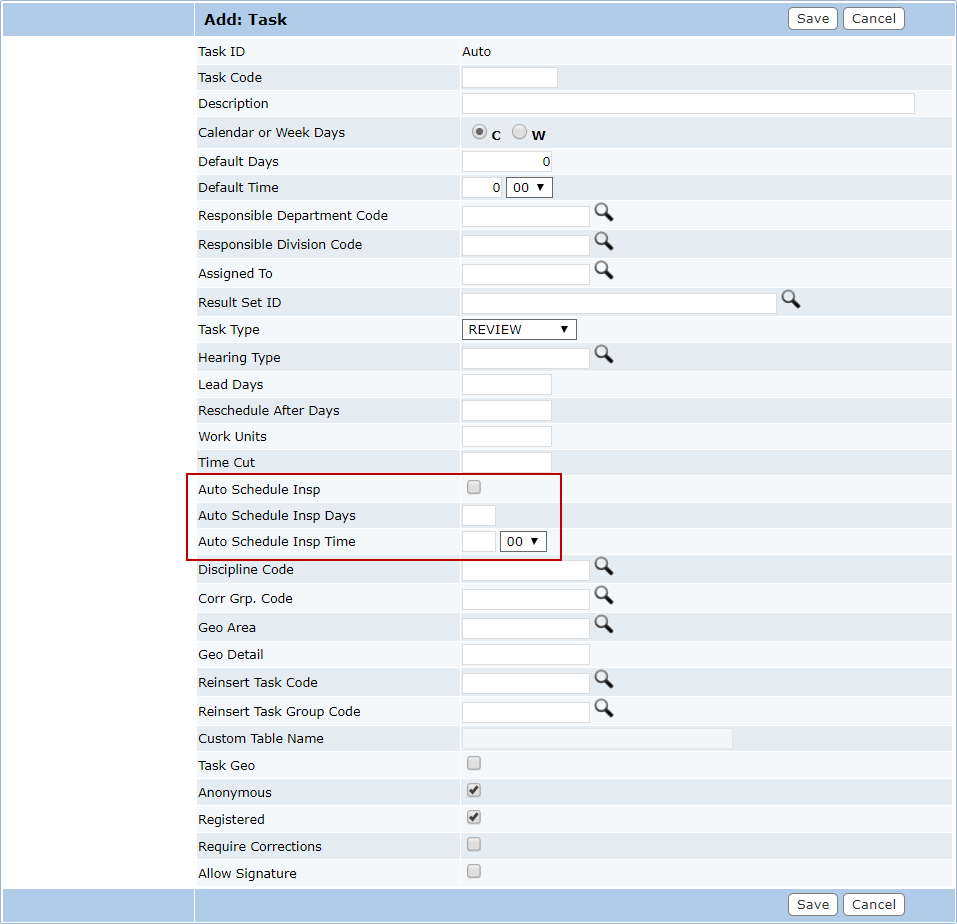
- Enter the number of days that inspections will be automatically scheduled in advance in the Auto Schedule Insp Days field.
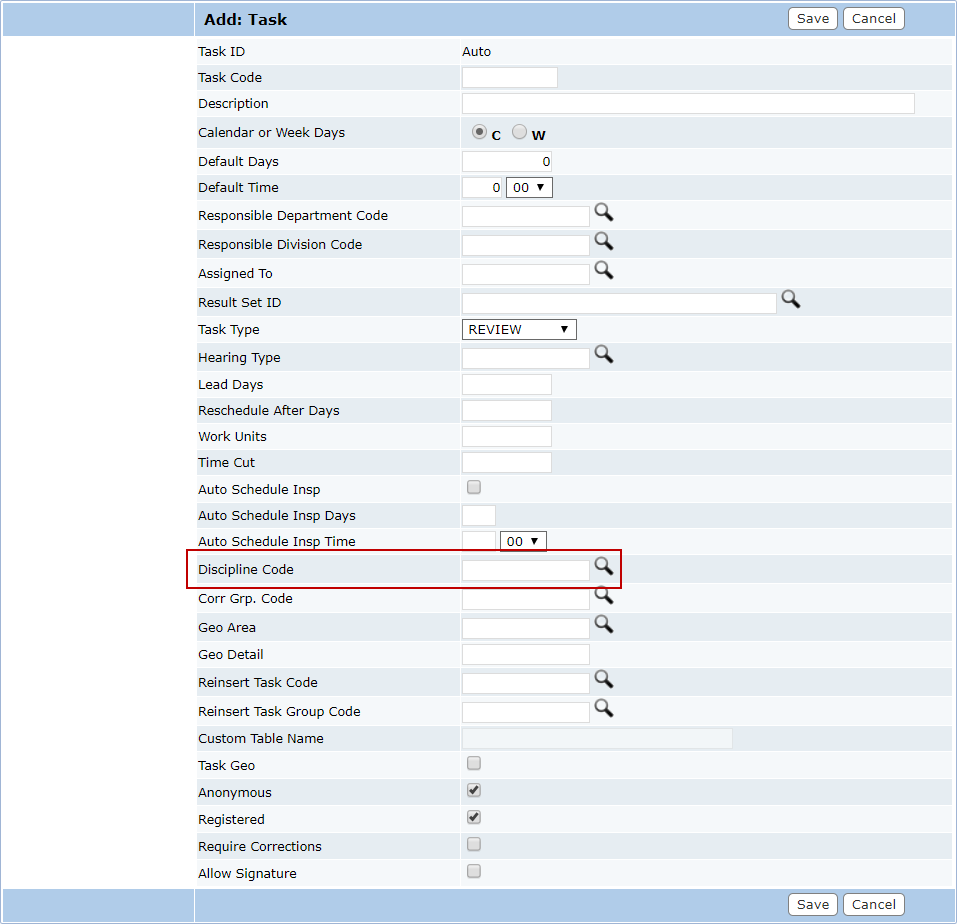
- If a specific discipline or trade (such as a contractor, plumber, engineer, roofer, etc.) is required for the task, click Lookup next to the Discipline Code field to select it.
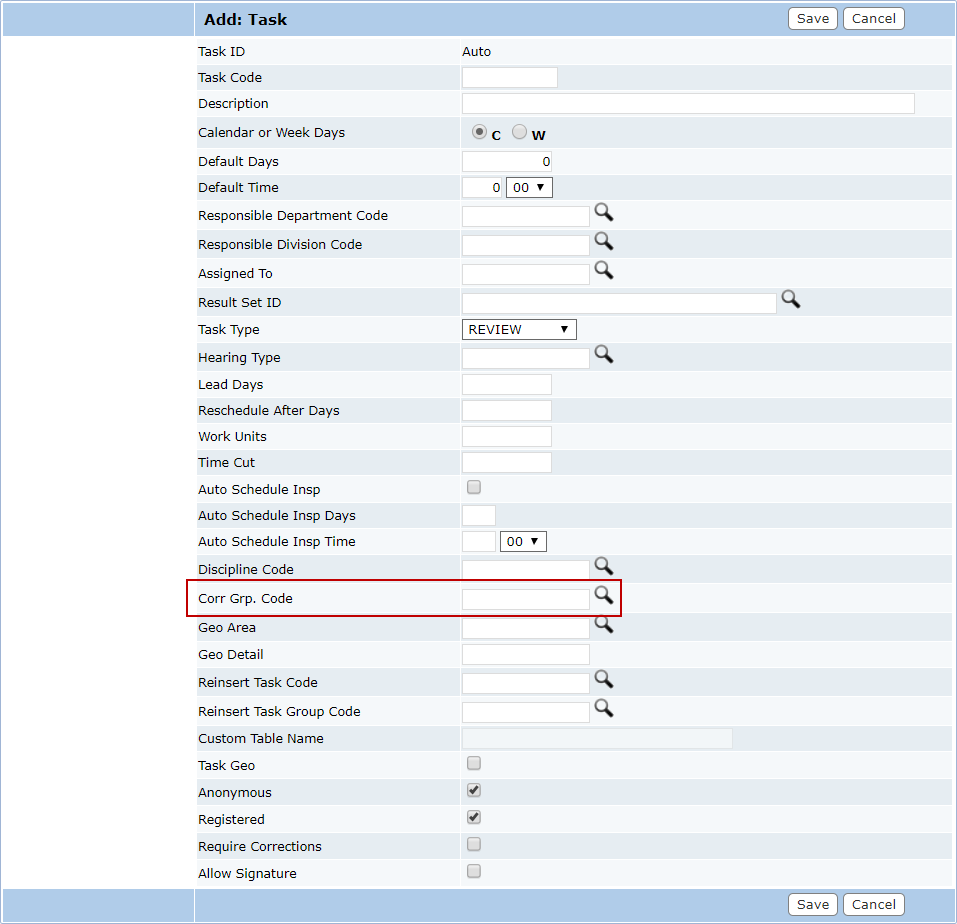
- Click Lookup next to the Corr Grp. Code field to select the appropriate correction group for the task.
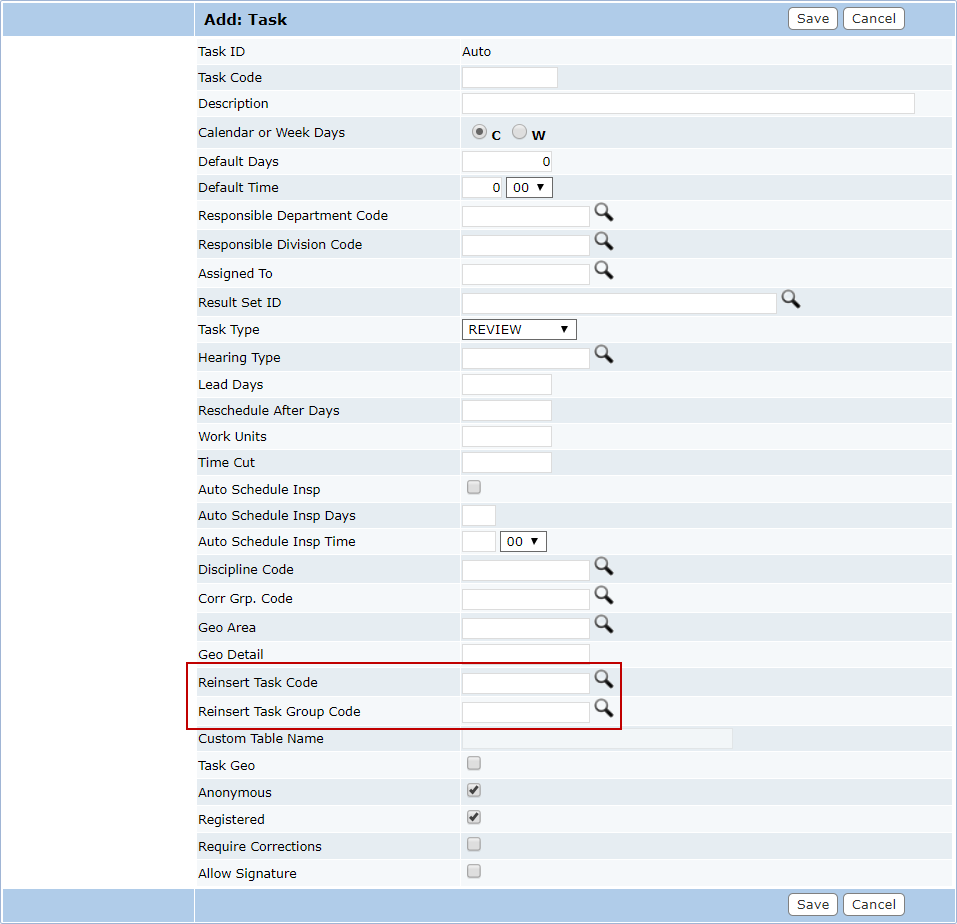
- Click Lookup next to the Reinsert Task Code field to select a specific task that will be reinserted into the case workflow if the inspection, review, or hearing fails.
- Click Lookup next to the Reinsert Task Group Code field to select an entire group of tasks if a correction requires more than one task to be completed.
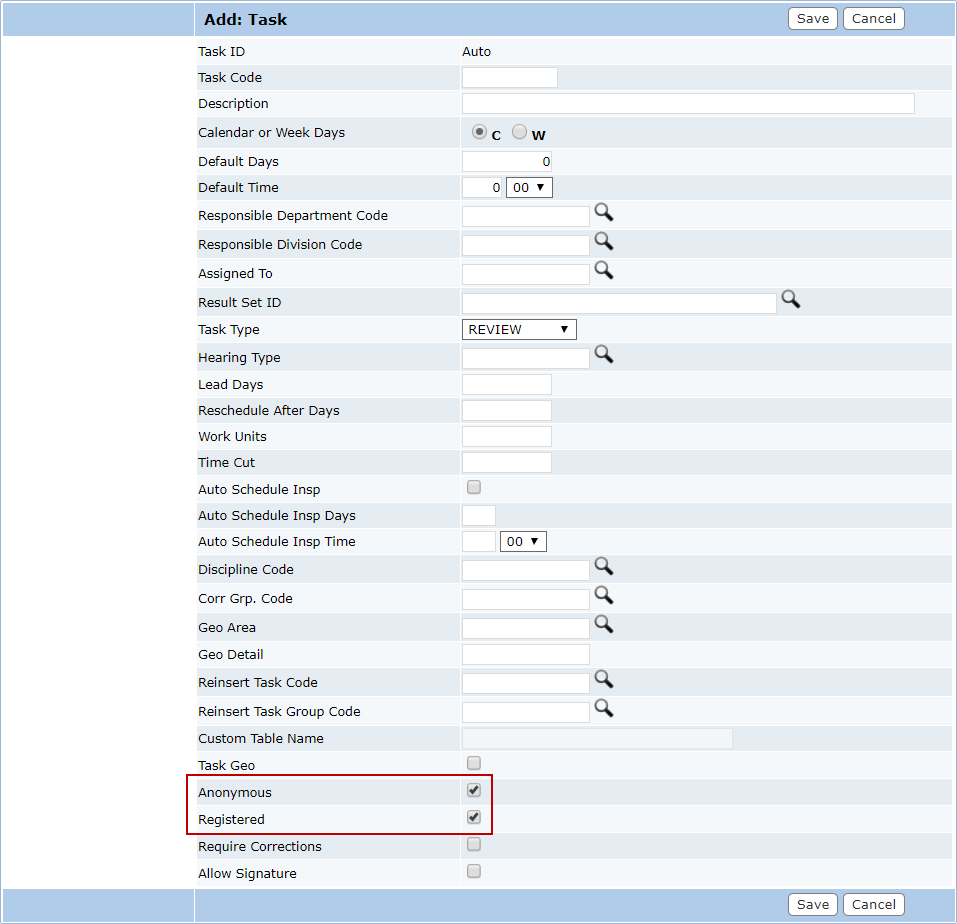
- Select the Anonymous and Registered check box if the task will be added to cases created in Public Access by guest users and registered users respectively.
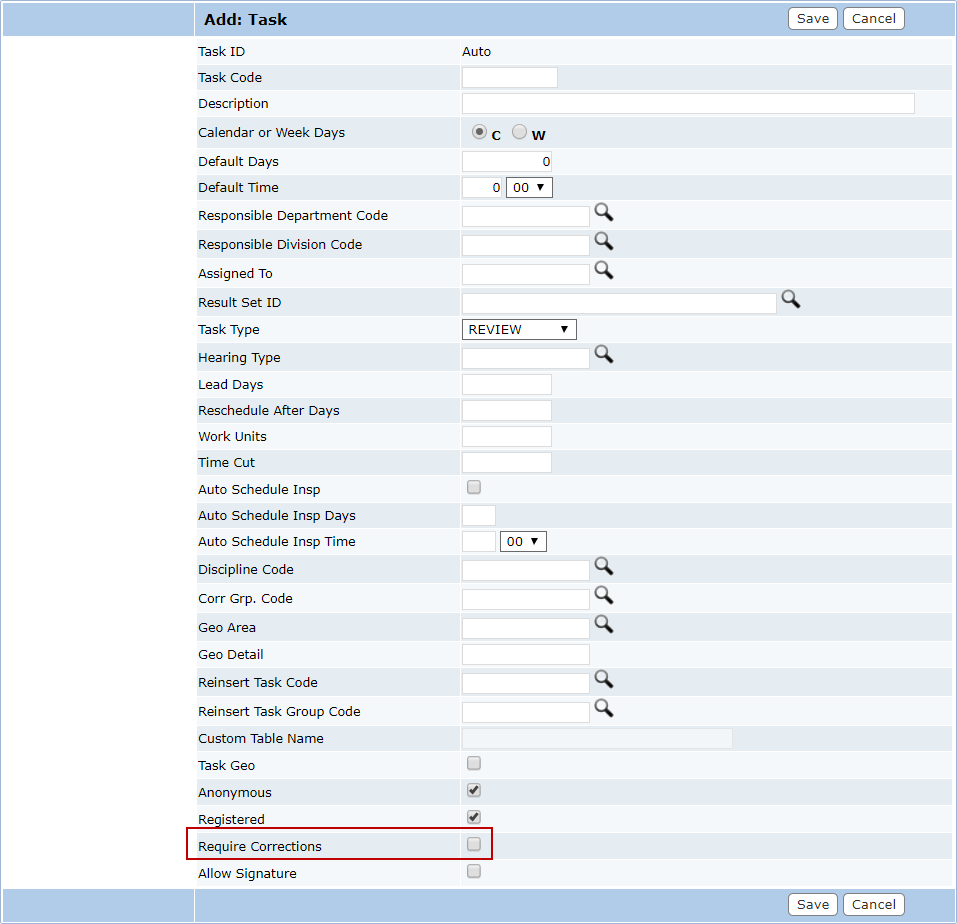
- Select the Require Corrections check box if there are items that will be inspected or checked automatically.
- Select the Allow Signature check box to enable signature capture in Respond.
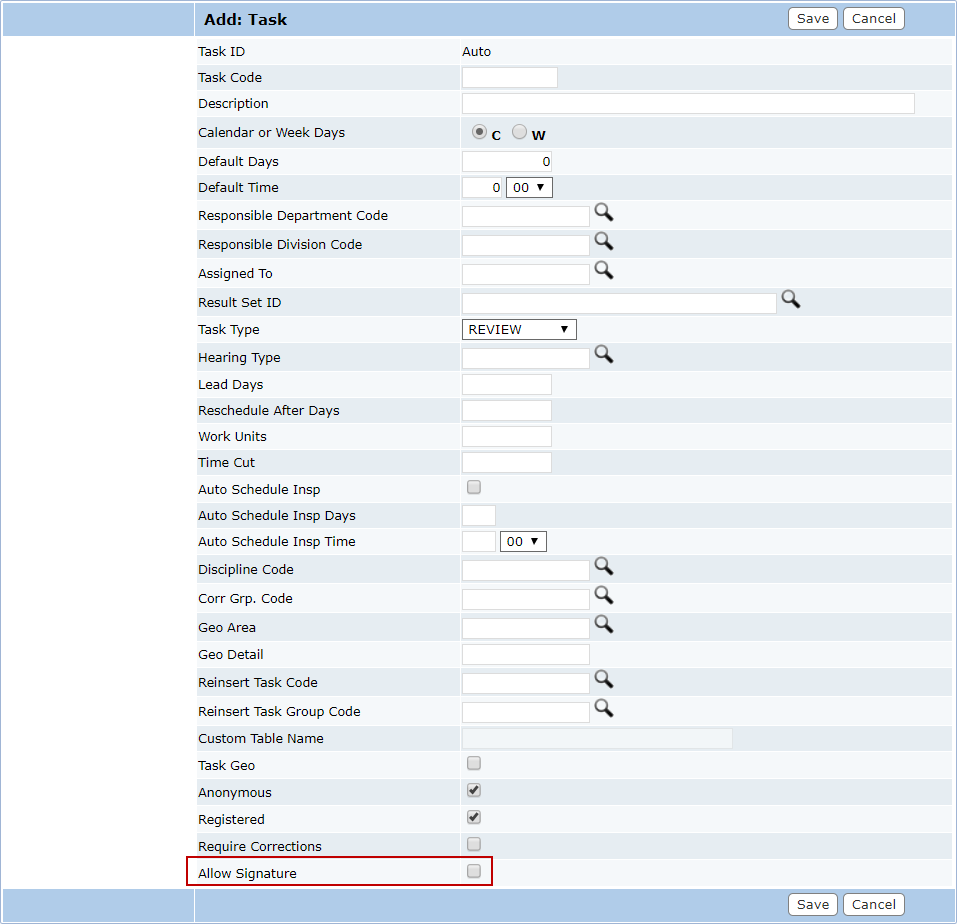
NOTE: Signature capture is only available in Respond 1.6 and newer. See Capture Signatures on Inspections in the Cityworks Respond 2.0.x Guide for more information.
- Click Save.