Use the Custom Data Builder
This tool allows administrators to create new fields in the database. By doing so, administrators can store and track data that would otherwise not be captured by Cityworks. This tool is accessible from several edit panels throughout PLL Admin.
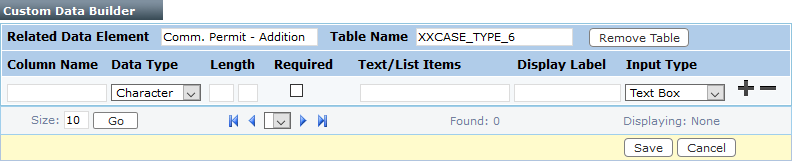
To add an item to the Cityworks database, follow these steps:
- In the Column Name field, enter the name for the type of data you want to record in the database. This will be the column name in the database, so it should be something that is representative of the data being stored.
- Click the Data Type drop-down list to select the kind of data the field will accept. The options are Character, Integer, Decimal, and Date.

- There are two fields in the Length column. In the left-hand field, enter the number of characters allowed in the custom field you are creating. If you selected Decimal for the Data Type, enter the number of decimal places allowed in the right-hand field.
 NOTE: The right-hand field only applies to the Decimal data type.
- Select the Required check box if the field you are creating will be a required field for users.
- Use the Text/List Items field to define the default value(s) that will be listed in the custom field.
 TIP: When using the Drop Down or Radio Button input types, you can list multiple items here by separating them with commas.
- Enter the name of the custom field in the Display Label field. This text will be displayed next to the field in the UI.
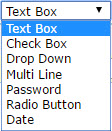
- Select an input type from the Input Type drop-down list. The Input Type should correspond to the Data Type. For example, a Date data type is appropriate for a Date input type, a Character data type is appropriate for a Text Box input type.
- Click Apply.

- Click Save.