Add a Case Type
Adding a new case type allows you to control how certain kinds of cases will behave, such as how they will be numbered, when they will expire, which department and division they will be assigned to, and which status codes will apply to it.
|
|
 PREREQUISITES:
To add a new case type, follow these steps:
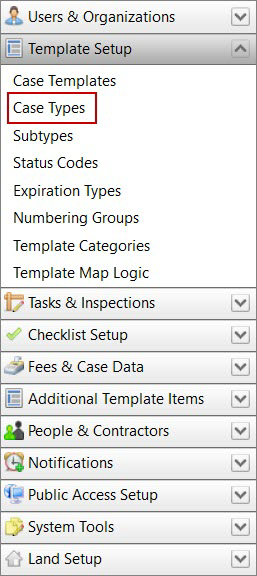
- Click Template Setup on the PLL Admin menu panel and select Case Types.
- On the Case Types panel, click Add record at the top of the panel.
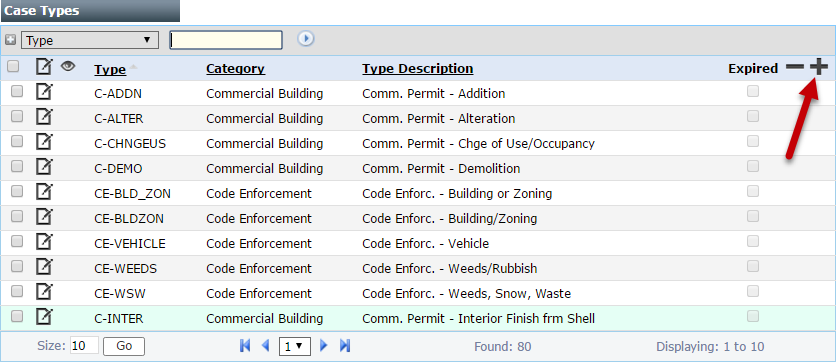
 NOTE: Search or filter the records on this panel to quickly find the one(s) you want. See Search and Filter Records for more information.
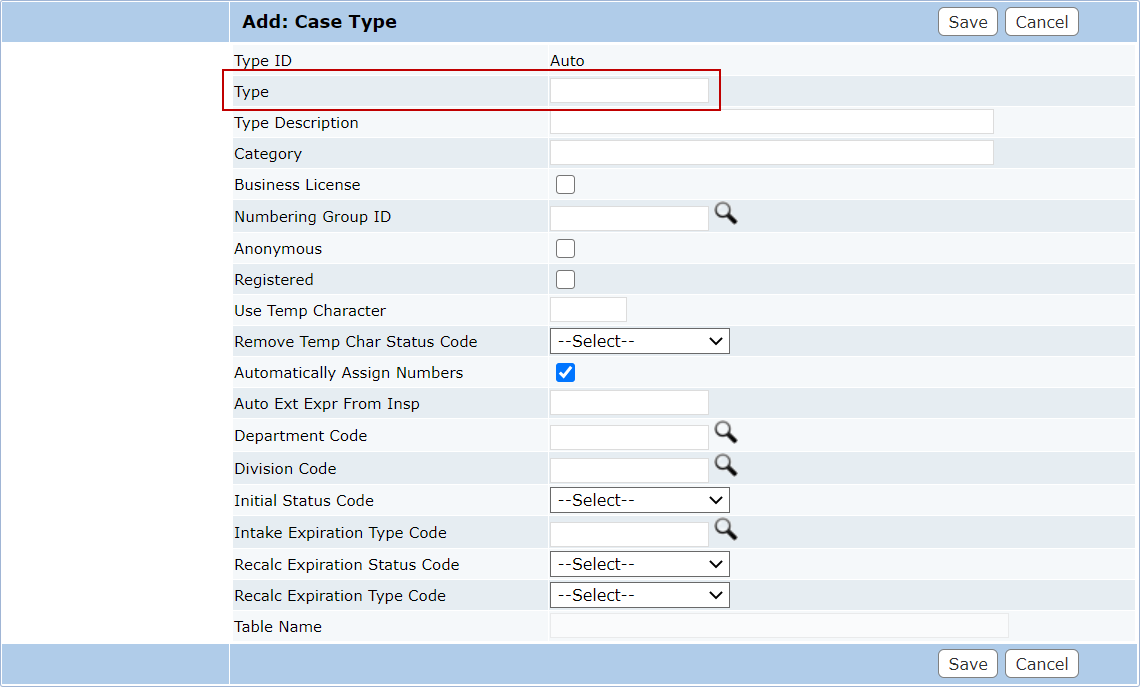
- On the Add: Case Type panel, enter a code in the Type field. This code may be no more than 10 characters and cannot be changed once the case type is saved.
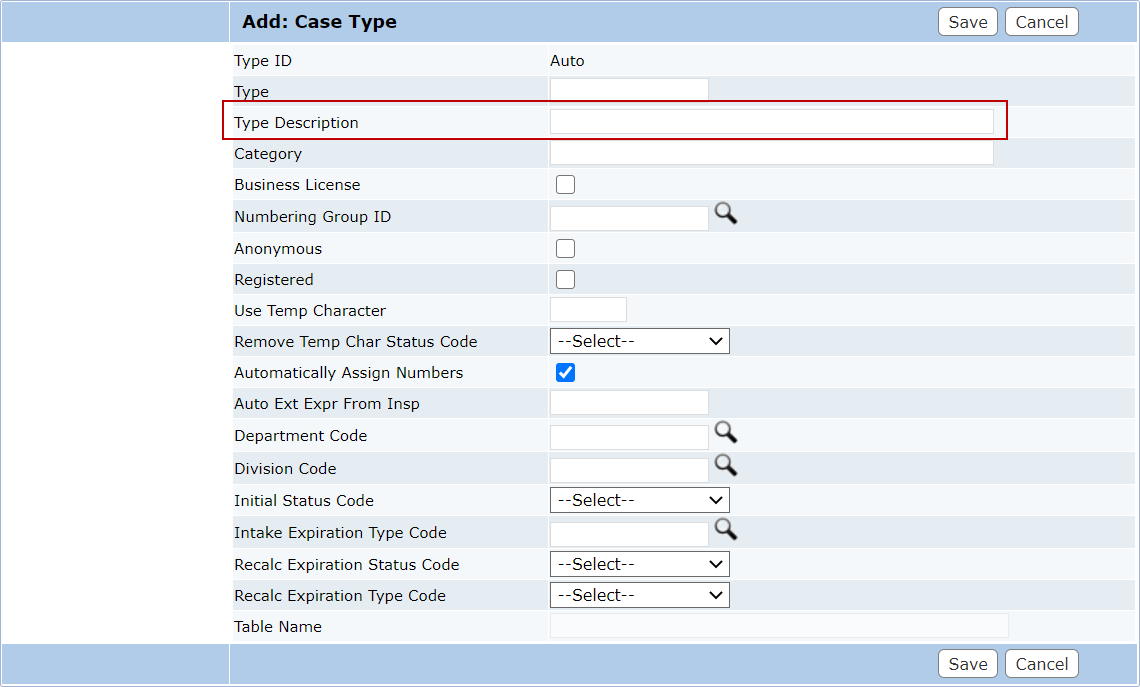
- Enter a more detailed explanation in the Type Description field. This field is limited to 150 characters.
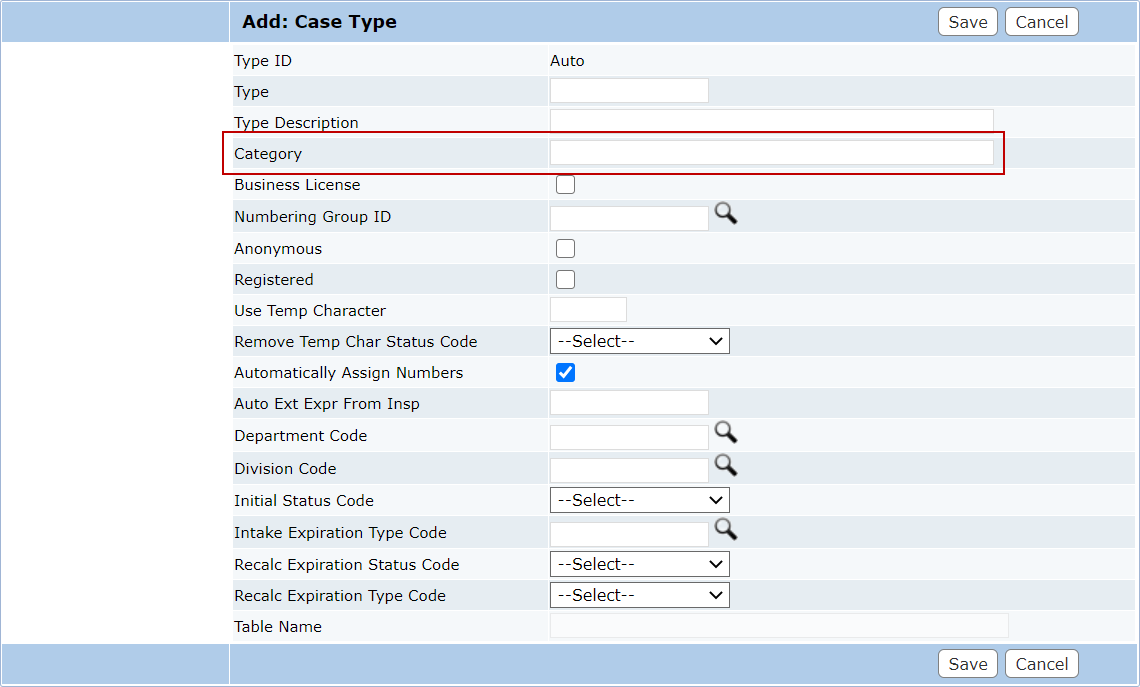
- Enter a Category in the corresponding field, if you choose. If a category label is entered, it will appear on the Case Types panel and allow users to sort case types accordingly.
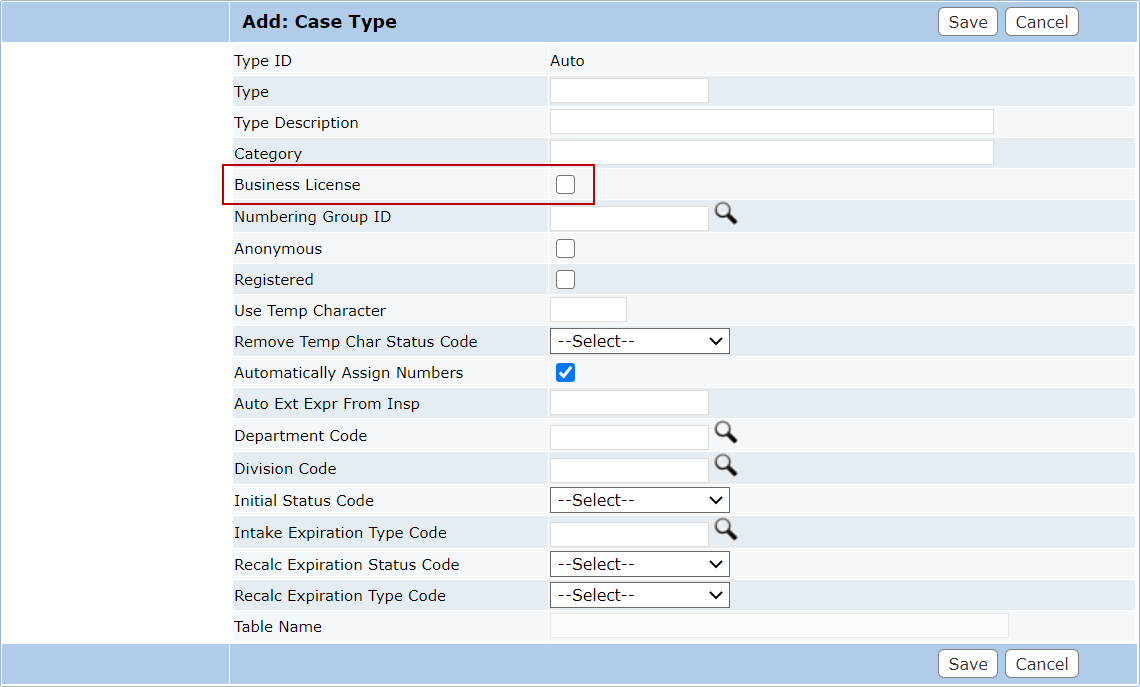
- Select the Business License check box if this case type is for a business license template.
- Click Lookup next to the Numbering Group ID field to open a selection window.
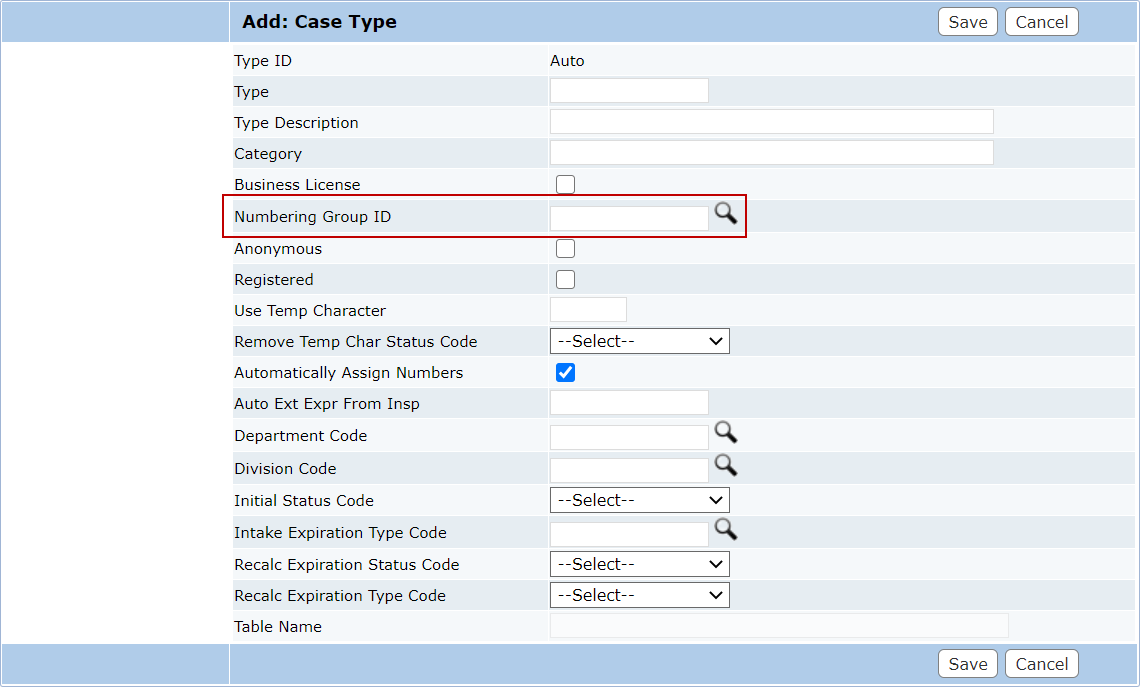
- Select the option button next to the numbering group you wish to use and click Submit.

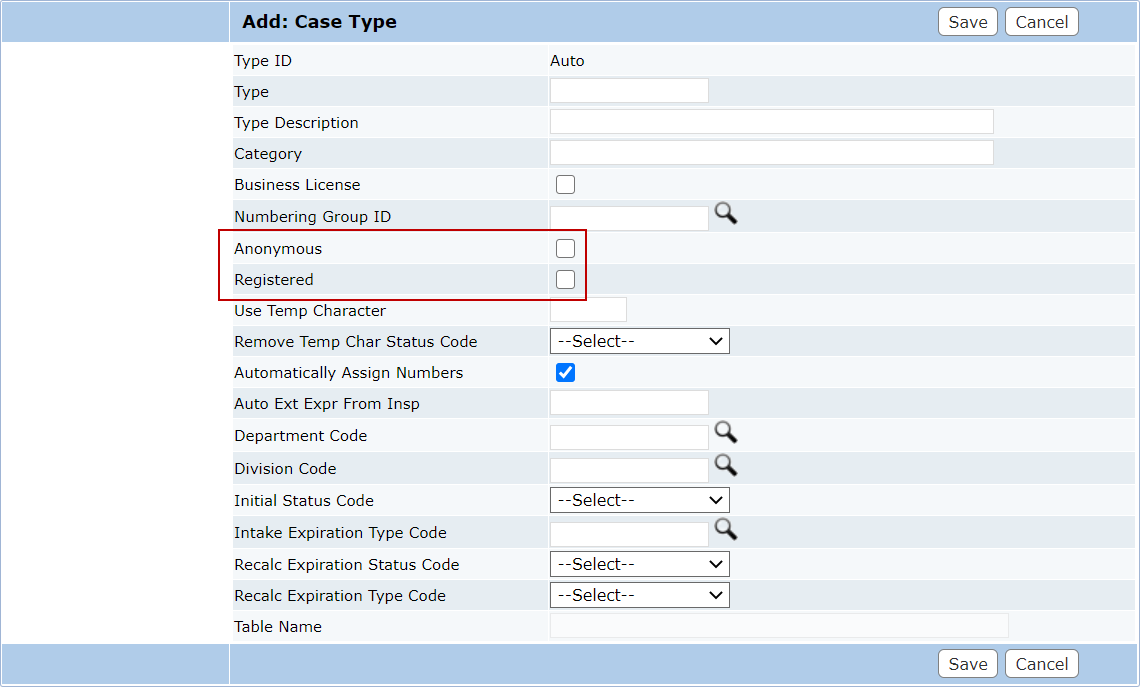
- Select the Registered check box to indicate the case type is visible to guest and registered Public Access users respectively.
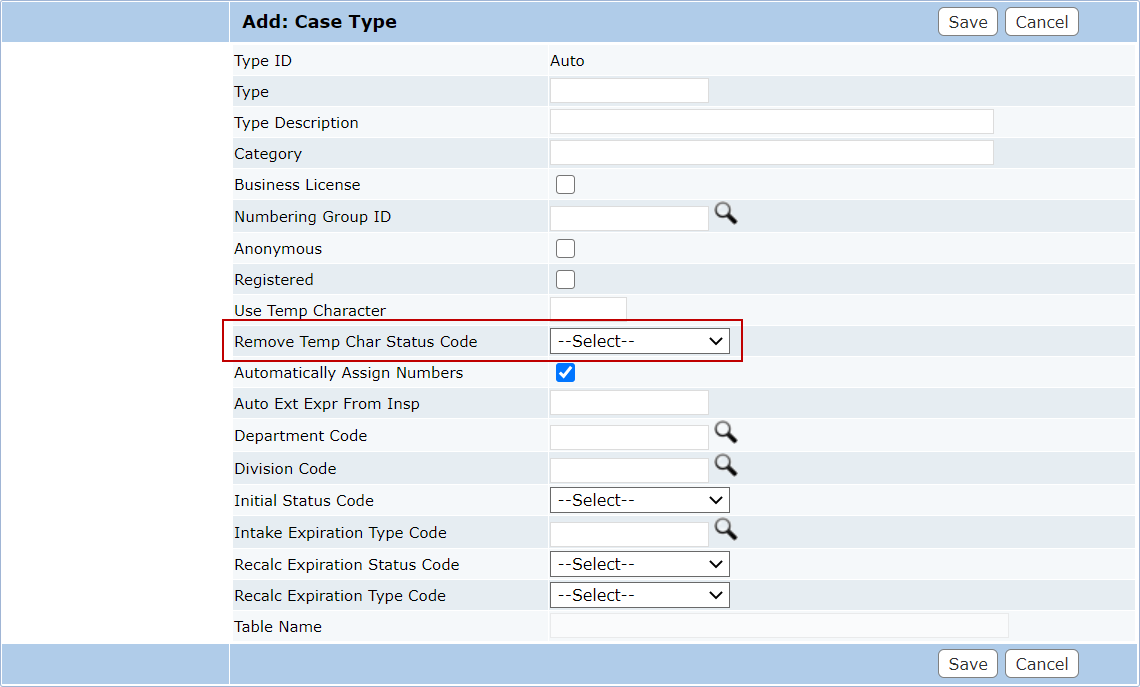
- If desired, enter a character in the Use Temp Character field. This character will be added to the beginning of the case number of any case based on this case type until its status matches the status defined in the Remove Temp Char Status Code drop-down list.

- Select a status code from the Remove Temp Char Status Code drop-down list. When the case is assigned the status code you selected here, the temporary character entered will be removed from the case number.
- Select the Automatically Assign Numbers check box to enable automatic numbering. If this check box is not selected, users will have to enter a case number manually for every case based on this case type.
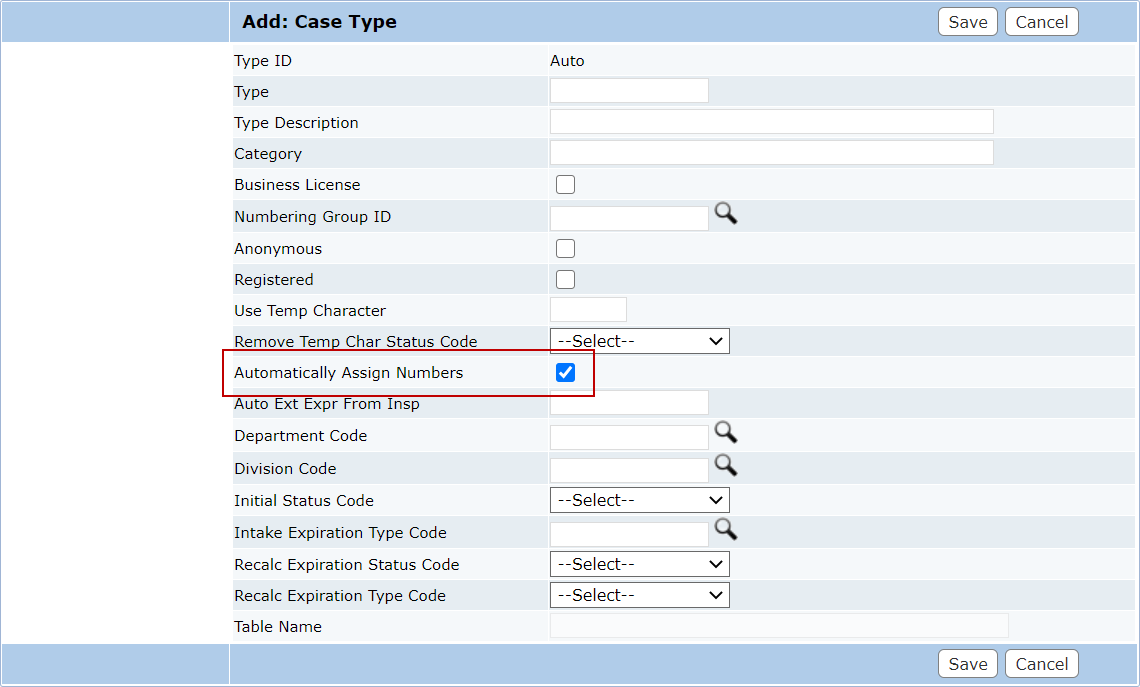
 IMPORTANT: In order to use a case type or template in Respond or Public Access, the Automatically Assign Numbers check box must be selected.
The Auto Ext Expr From Insp field allows you to automatically extend the expiration date of a case when an inspection has been completed if the task result has an associated status change.
- In this field, enter the number of days you wish to extend the expiration date.

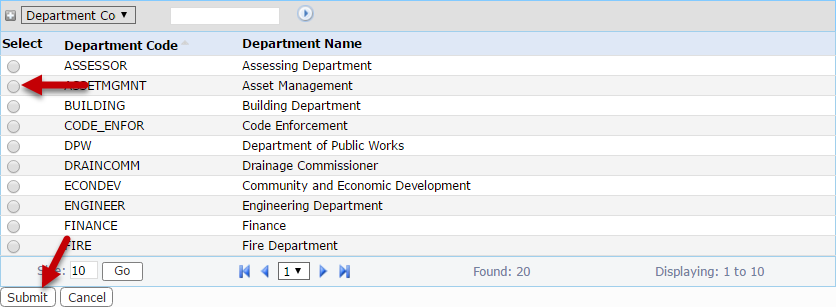
- Click Lookup next to the Department Code field to open a selection window.
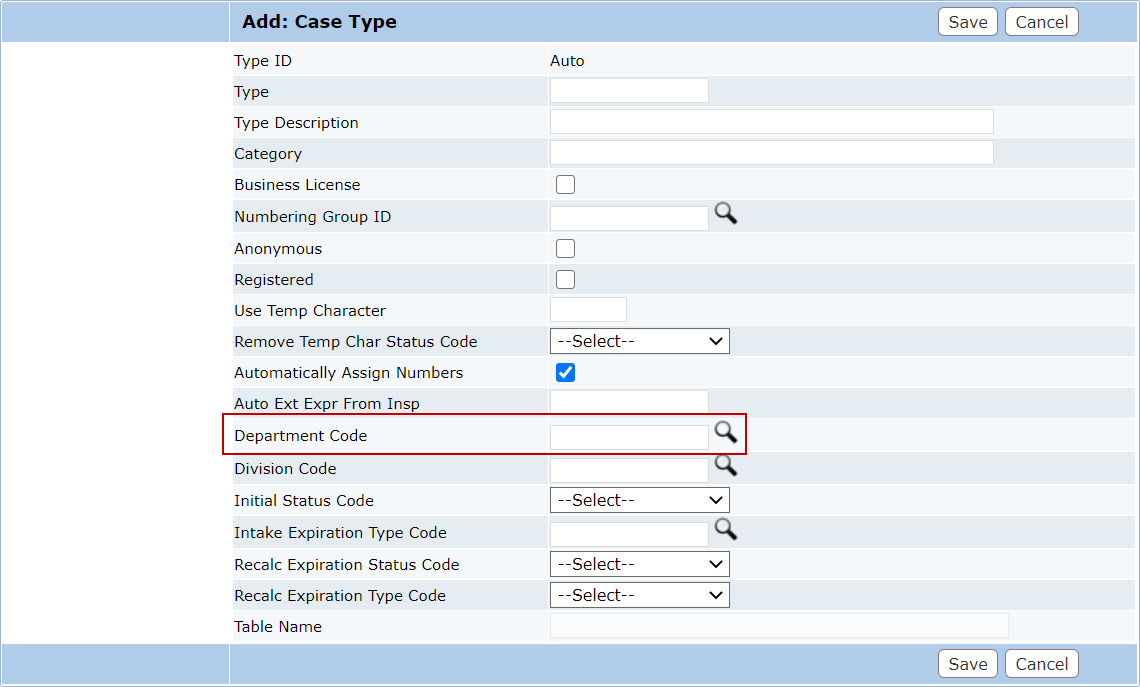
- When the selection window opens, click the option button next to the desired department, and click Submit.
- If desired, click Lookup next to the Division Code field to select a division code.
- Use the drop-down list to select the Initial Status Code for cases based on this case type.
- The Intake Expiration Type Code identifies the time frame over which the case is active. Click Lookup to open a selection window. Select the option button next to the desired code and click Submit.
- The Recalc Expiration Status Code specifies which status code will cause the expiration date to be recalculated. Use the drop-down list to select a status code.
- The Recalc Expiration Type Code specifies the grace period allowed after the expiration date before the case is officially closed or expired. Use the drop-down list to select an expiration type.
- Click Save.

