Configure Required Items on a Case Template
The Required for Selected Case Status sub panel allows PLL administrators to set requirements for the case based upon its status. For example, a case template can be configured to require the case status be changed to a predetermined status before inspections can be scheduled.
This sub panel can be accessed either from the Add: Case Template panel or the Edit: Case Template panel.
|
|
 PREREQUISITES:
To set up required items on a case template, follow these steps:
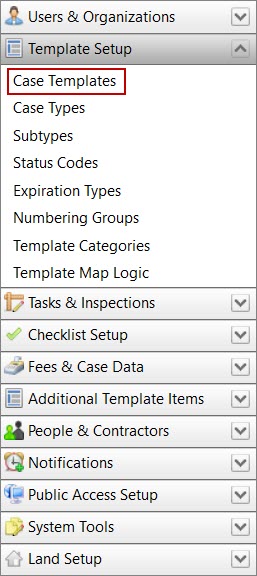
- Click Template Setup on the PLL Admin menu and select Case Templates.
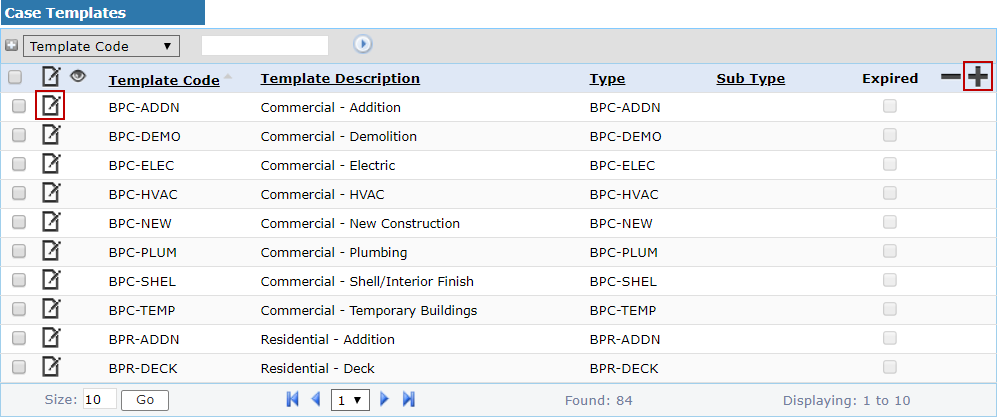
- Add a new case template or click Edit record next to an existing template.
 NOTE:There are two additional requirements available when editing a case template: People Role and Child Cases (automatically create).
NOTE: Use search or filter records to quickly find the one(s) you want. See Search and Filter Records for more information.
- When the panel (either add or edit) opens, click Required near the bottom of the panel.
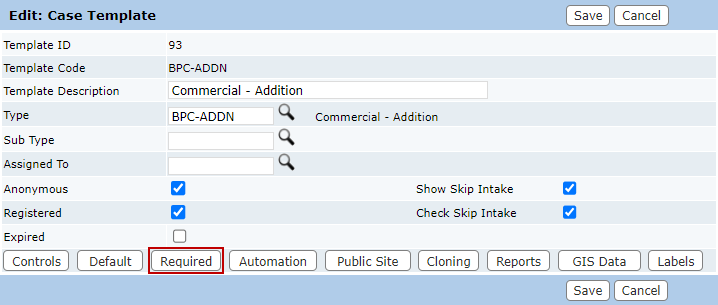
The sub panel displays below the Add: Case Template or Edit: Case Template panel.
Several of the options on this panel include a link to open a selection window. Most of the links to open selection windows do not operate until a case status is selected. See Selection Window for instructions on how to add, organize, or remove items.

- Select a Case Status from the drop-down list. When the case changes to the selected status, the required items are activated.
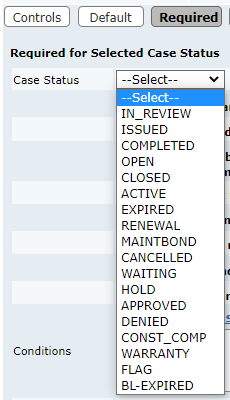
- Select the check box by one or more items that require the selected case status, or select specific items using the selection windows. Required items cannot be enforced against an initial status, they are enforced against status changes.
- Inspections can be Scheduled: Requires the status change to the selected status before inspections can be scheduled.
- At least one Addess must be in the address table: Requires at least one address be present before the status can be updated.
- All Fees must be paid in full: Requires all fees be paid in full before the status can be updated.
- All Flags must be completed: Requires all flags be completed before the status can be updated.
- All Violations must be completed: Requires all violations be completed before the status can be updated.
- All Conditions must be completed: Requires all conditions be completed before the status can be updated.
- All Pre-Conditions must be completed: Requires all pre-conditions be completed before the status can be updated.
- All Post-Conditions must be completed: Requires all post-conditions be completed before the status can be updated.
- Select Conditions that must be completed: Use the selection window to add one or more conditions that must be completed before the status can be updated.
- All 'Reviews' must be completed: Requires all reviews be completed before the status can be updated.
- All 'Hearings' must be completed: Requires all hearings be completed before the status can be updated.
- All 'Inspections' must be completed: Requires all inspections be completed before the status can be updated.
- Select Tasks that must be completed: Use the selection window to add one or more tasks that must be completed before the status can be updated.
- Select Contractor Type that must be present: Use the selection window to add one or more contractor types that must be present before the status can be updated.
- Select People Role that must be present: Use the selection window to add one or more roles that must be present before the status can be updated. Available when editing existing case templates.
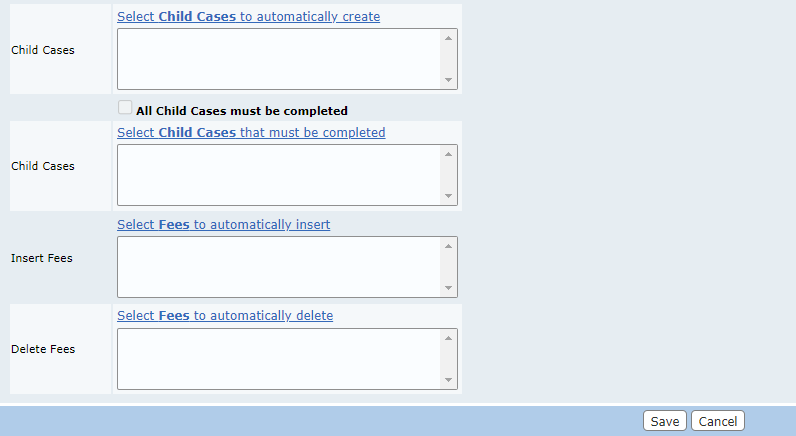
- Select Child Cases to automatically create: Use the selection window to add one or more case templates to automatically create a child case when the status is activated. Available when editing existing case templates.
- All Child Cases must be completed: Requires all child cases be completed before the status can be updated.
- Select Child Cases that must be completed: Use the selection window to select one or more case templates (child cases) that must be completed before the status can be updated.
 IMPORTANT: This is only enforced when the child case has a status code of DONE (System Work is done). Any other status code triggers the error, "Child object must be completed" on the Parent Case when trying to go to that Required Status.
- Select Fees to automatically insert: Use the selection window to select one or more fee types to insert into the case when the selected status is activated. If the fee(s) selected have already been added to the case, they are not added again.
- Select Fees to automatically delete: Use the selection window to select one or more fee types to remove when the status is activated. A fee selected here is removed if no payments have been made against it when the case status is activated. The removal process is always performed when the case moves to the specified status. If for some reason the case is moved back and forth between statuses, the removal process is still performed every time the case reaches the specified status.
NOTE: Fees that are automatically added to the template by a status change are added before any fees are automatically removed. So if the same fee is automatically added on a status change and the same fee is also automatically removed on the same status change, the fee is removed.
- After you have finished selecting items, click Save.
If you wish to add required items to other Case Status codes for this case template, repeat these steps after selecting the new case status from the drop-down list.
 TIP: Required items are a useful way to implement phased payments on a case template. See Implement Phased Payments in Public Access for more information.
Selection Window
Selection windows contain two panels: a list of available items on the left and a selected list on the right, as well as four arrows.
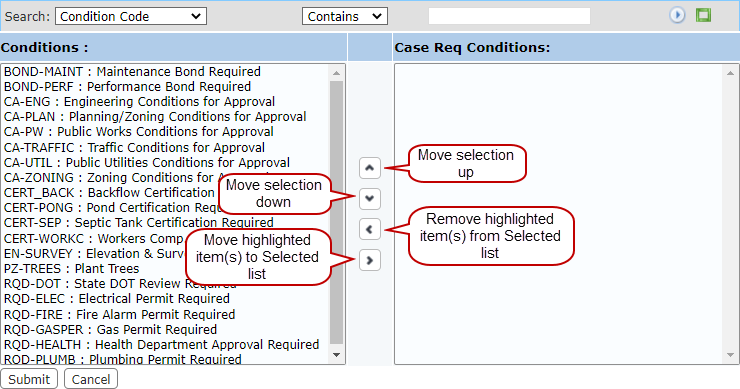
- Add the desired items to the selected list in one of the following ways:
- Double-click the available items to add them to the selected list.
- Use <Ctrl + click> or <Shift + click> to select multiple items then click Move highlighted item(s) to Selected list.
- Use Move selection up or Move selection down to rearrange the order of the required items.
- When you have added and arranged the items you want in the selection window, click Submit. This adds the items to the template and closes the selection window.

