Add Flags
This section discusses how to set up new flags.
|
|
 PREREQUISITES:
To add a new flag, follow these steps:
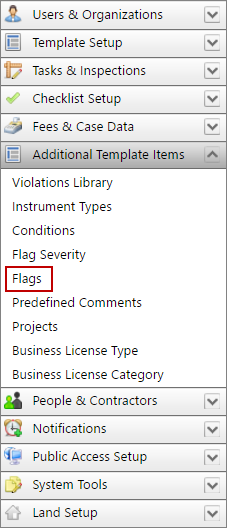
- Click Additional Template Items on the PLL Admin menu and select Flags.
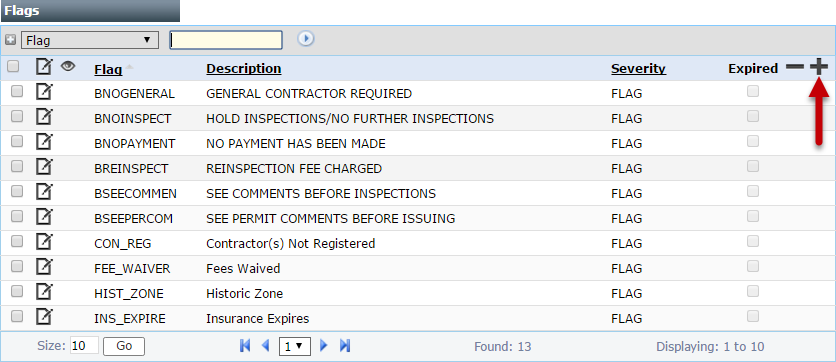
- On the Flags panel, click Add record near the upper, right-hand corner.
 NOTE: Search or filter the records on this panel to quickly find the one(s) you want. See Search and Filter Records for more information.
- On the Add: Flags panel, enter a 10-character Flag code and a brief Description in the respective fields.
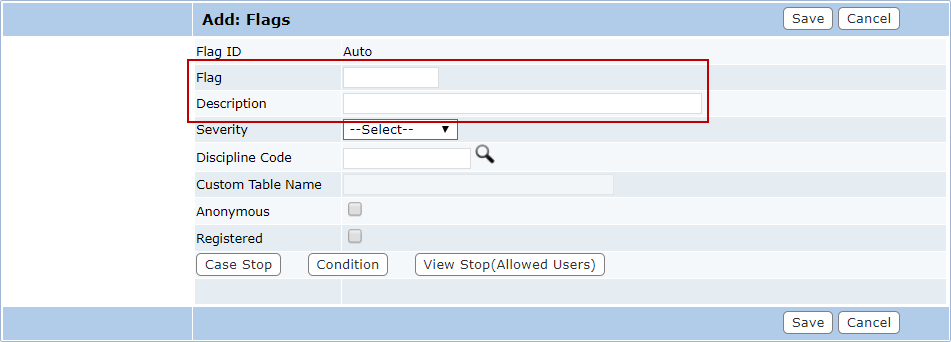
- Select a flag severity from the Severity drop-down list. See Flag Severities for more information.

NOTE: If you select DISCIPLINE from the drop-down list, you will need to select a Discipline Code to select a discipline or trade necessary to complete this flag.
-
Click Lookup next to the Discipline Code field to open a selection window and choose a discipline or trade required for the flag.

- Select the option button next to the discipline you want to use, and click Submit.
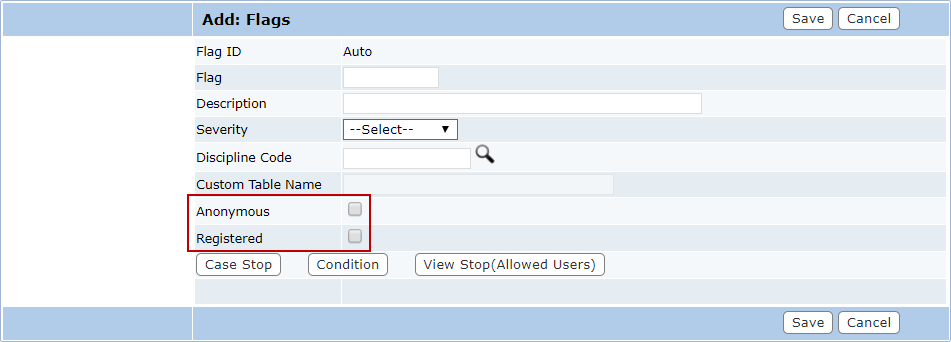
- Select the Anonymous and Registered check box if the flag will be available to guest users and registered Public Access users respectively.
- Click Case Stop to set up the case type(s) to which this flag can apply a Case Stop flag severity.

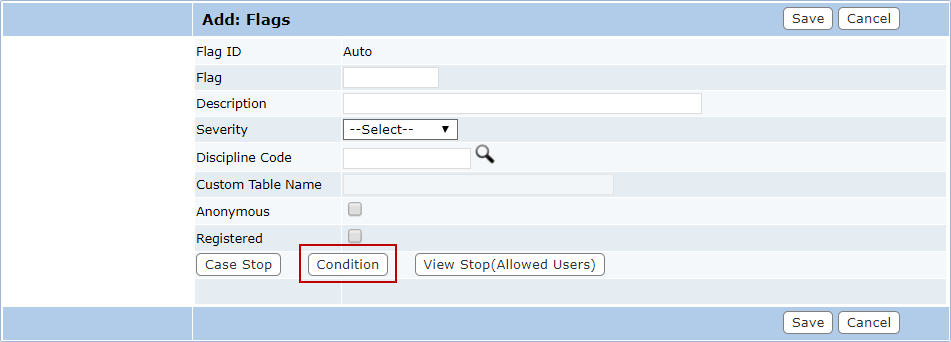
- Click Condition to set up the conditions that can be applied to the flag and must be met before the case may progress.
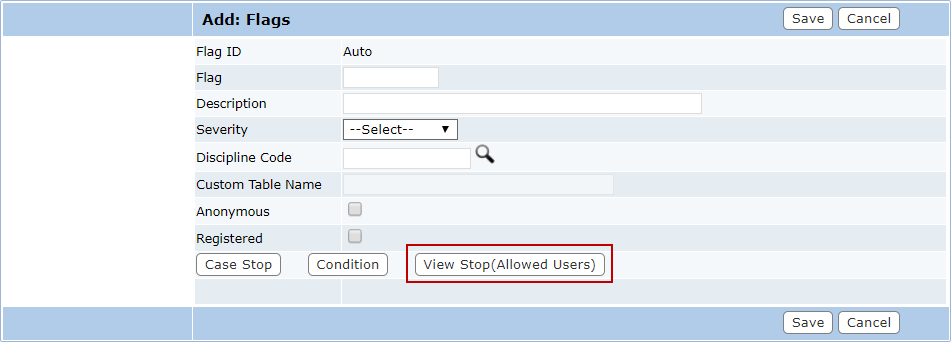
- Click View Stop(Allowed Users) to set up users that are allowed to view the case if the flag is active.
- Click Save.

