Configure GIS Data on a Case Template
The GIS Data sub panel requires more precise knowledge of the map. You can use map layers to display specific information from a map layer on a case's Summary page. For example, by selecting the PARCELS map layer and the OWNER_NAME field, you can make the name of the parcel owner appear on the summary page of any case based on this template.
|
|
 PREREQUISITES:
To configure a map layer for the template:
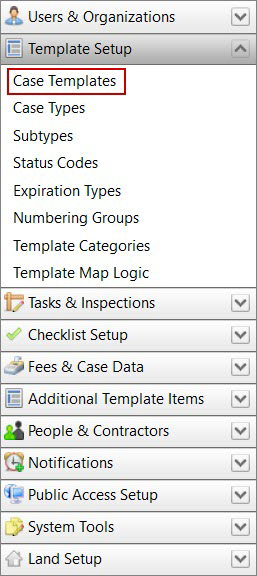
- Click Template Setup on the PLL Admin menu and select Case Templates.
- Click Edit record next to an existing template.
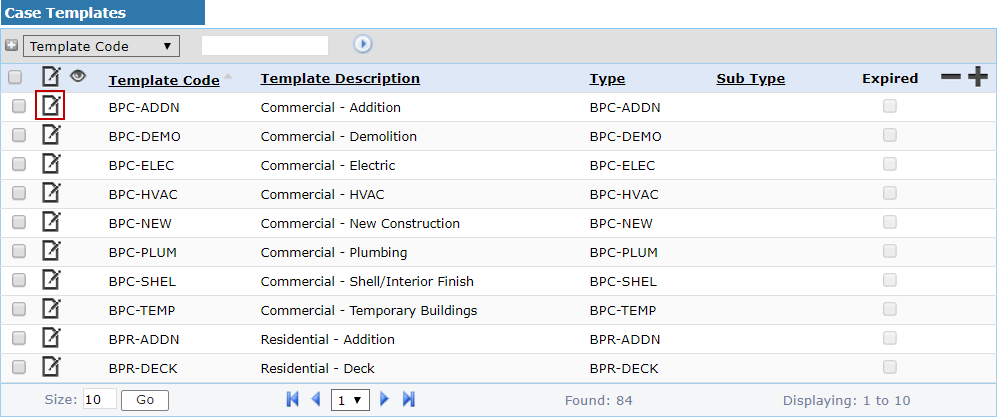
 NOTE: Search or filter the records on this panel to quickly find the one(s) you want. See Search and Filter Records for more information.
- When the Edit: Case Template panel opens, click GIS Data near the bottom of the panel.
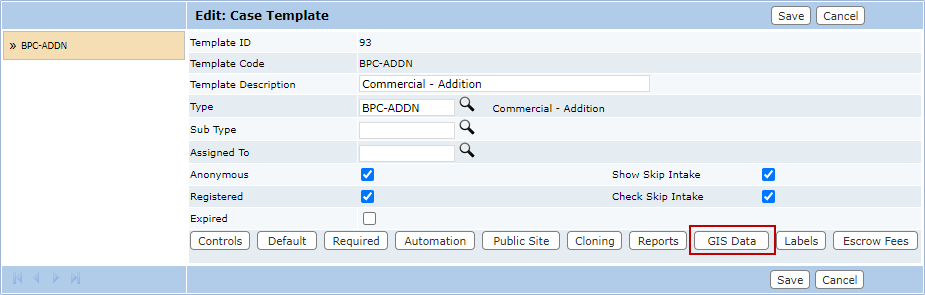
The sub panel will display below the Edit: Case Template panel.
![]()
- Click Add in the right corner of the sub panel to begin configuring a map layer.

Two drop-down lists will display on the sub panel: Select Layer and Select Field. Two buttons, Add and Cancel, will also display.

- Select a map layer from the Select Layer drop-down list.
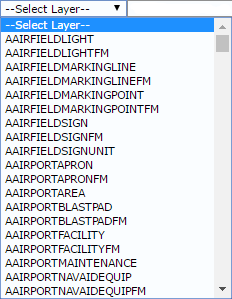
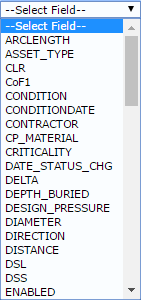
- Once you select a layer, the page will refresh and populate the Select Field drop-down list with all the fields associated to the layer you selected. Select a field from the list.
- Click Add to add the selected layer and field to the template.

- After you finish adding map layers, click Save on the Edit: Case Template panel.

