Configure Escrow Fees
The Escrow Fees sub-panel allows administrators to designate which fees associated with the template can be paid using funds from a contractor's escrow account. For example, on a building permit case template, any building fees paid by the contractor could be designated as escrow fees while any licensing fees, utility permit fees, or other fees normally paid by an individual may not be designated as escrow fees.
|
|
To configure escrow fees for the template, follow these steps:
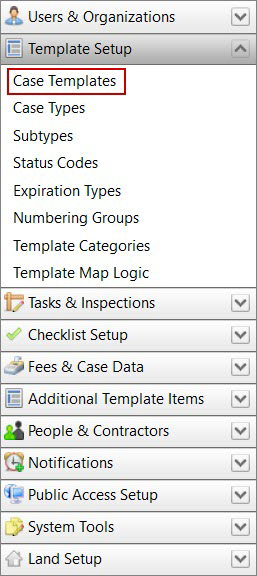
- Click Template Setup on the PLL Admin menu and select Case Templates.
- Click Edit record next to an existing template.
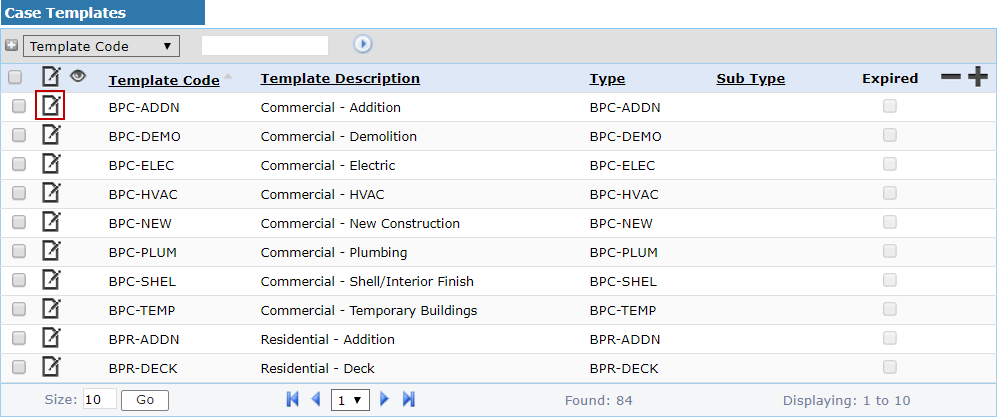
 NOTE: Search or filter the records on this panel to quickly find the one(s) you want. See Search and Filter Records for more information.
- When the Edit: Case Template panel opens, click Escrow Fees near the bottom of the panel.

The sub panel displays below the main Edit: Case Template panel. The sub panel contains a text field and a link to open a selection window.

- Select the link above the text field.
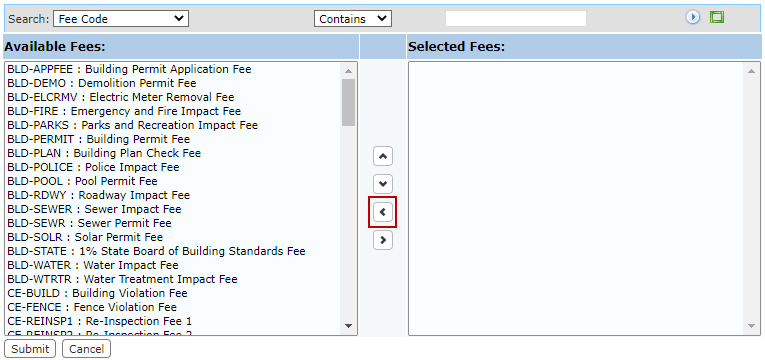
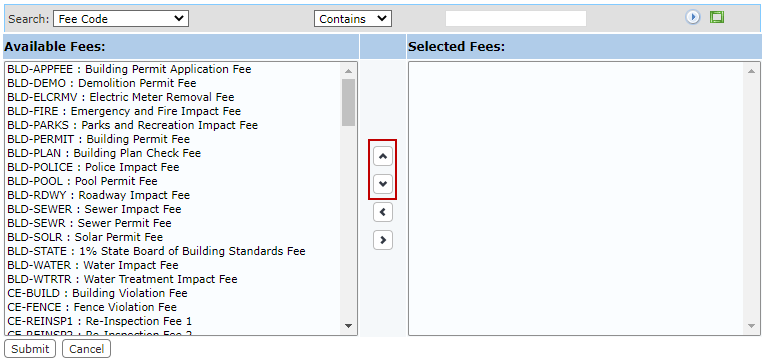
The new window contains two fields: Available Fees and Selected Fees. The window also contains four arrow buttons.
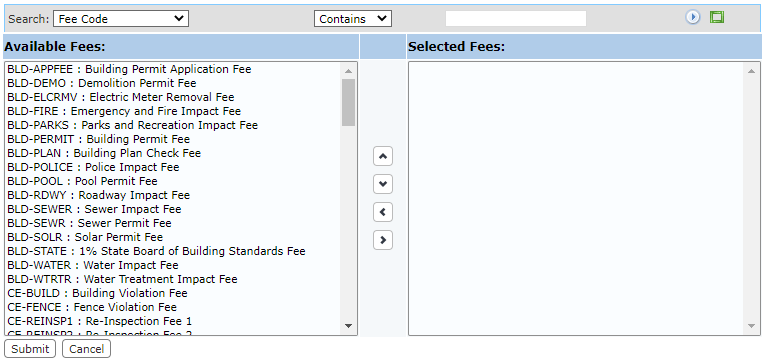
The field on the left displays all the available fees. The field on the right lists which fees are currently payable with escrow funds on this template.
- Select items in the Available Fees field by clicking on them.
 TIP: Use <Ctrl + click> or <Shift + click> to select multiple items. You can quickly move fees between panels by double-clicking them individually.
- When you have selected the items you want, click Move highlighted item(s) to Selected List to add them to the Selected Fees field.
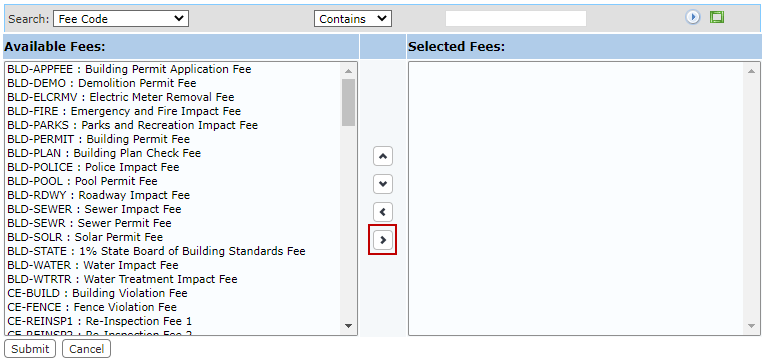
Items may be removed from a template by selecting the item you wish to remove in the Selected Fees field and clicking Remove highlighted item(s) from Selected List.
You can move an item up or down in the Selected Fees field by selecting the item you wish to move and then clicking Move selection up or Move selection down until the item is in the desired place.
- When you have added and arranged the items you want, click Submit. This adds the items to the template and closes the selection window.
- After you have finished selecting items, click Save on the Edit: Case Template panel.

