Add an Expiration Type
This section will discuss how to add a new expiration type.
|
|
 PREREQUISITES:
To add a new expiration type to Cityworks PLL, follow these simple steps:
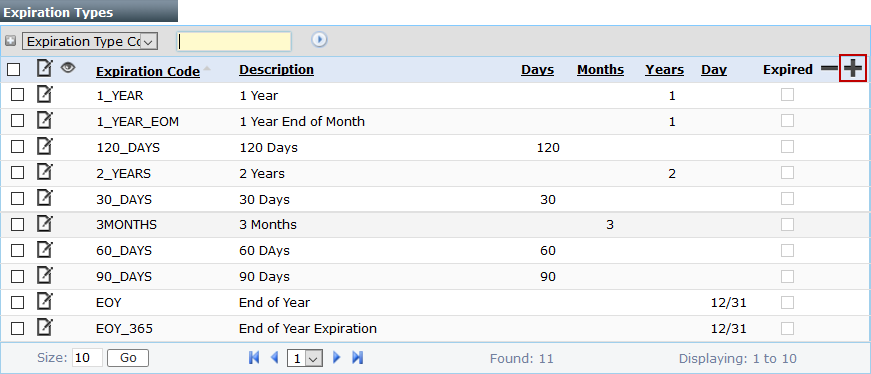
- Click Template Setup on the PLL Admin menu panel and select Expiration Types.

- On the Expiration Types panel, click Add record at the top of the panel.
 NOTE: Search or filter the records on this panel to quickly find the one(s) you want. See Search and Filter Records for more information.
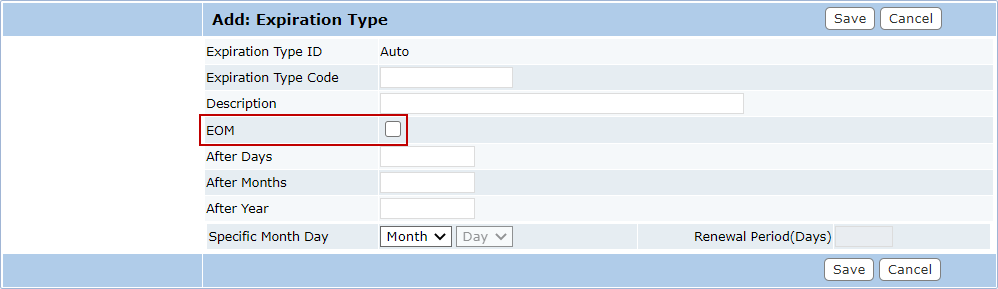
- Enter a 10-character (maximum) name in the Expiration Type Code field and a brief explanation of the expiration type in the Description field.

- Select the Eom (End of Month) check box to indicate that the expiration will occur at the end of the month, regardless of which day of the month the exact time limit expires.
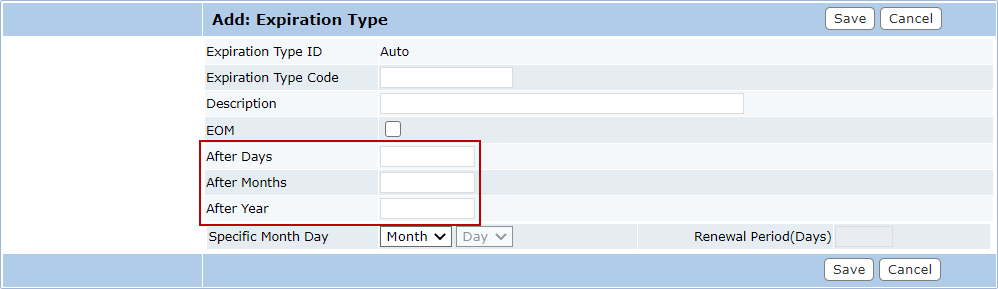
- In the After Days, After Months, and After Year fields, enter the number of days, months, or years after which the expiration will go into effect. This is the simplest way to handle short-term expirations.
- If you wish the expiration to go into effect on a specific month and day, use the Specific Month Day drop-down lists to select the day and month you wish.
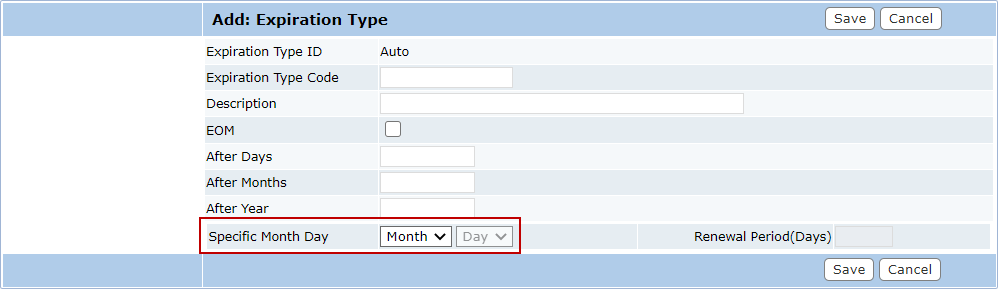
- In the Renewal Period(Days) field, enter the number of days before the expiration date an item may be renewed.

 IMPORTANT: When renewing a license, the expiration date will only be pushed back to the next year if the license is renewed within the time frame specified in the Renewal Period(Days) field. If the license is renewed before the renewal period begins, the expiration date will not be pushed back to the following year.
- Click Save.

