Add a Numbering Group
This section will discuss how to create a new numbering group.
|
|
 PREREQUISITES:
To add a new numbering group to Cityworks PLL, follow these steps:
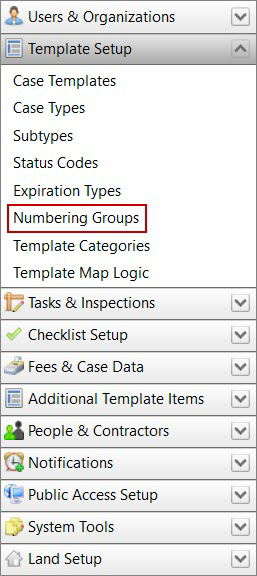
- Click Template Setup on the PLL Admin menu panel and select Numbering Groups.
- On the Numbering Groups panel, click Add record near the upper, right-hand corner.
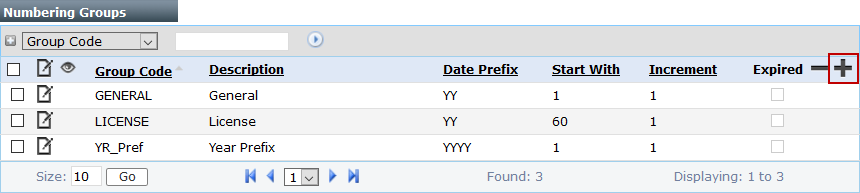
 NOTE: Search or filter the records on this panel to quickly find the one(s) you want. See Search and Filter Records for more information.
- On the Add: Numbering Group panel, enter a 10-character (maximum) name for the numbering group in the Group Code field and a brief explanation of the group in the Description field.
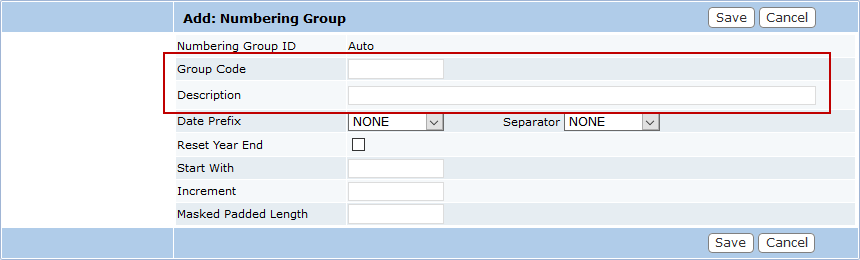
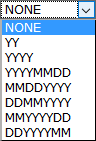
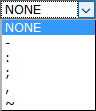
- Select a date format using the Date Prefix drop-down list.
- Use the Separator drop-down list to select the kind of character that will be used to separate elements of the date.
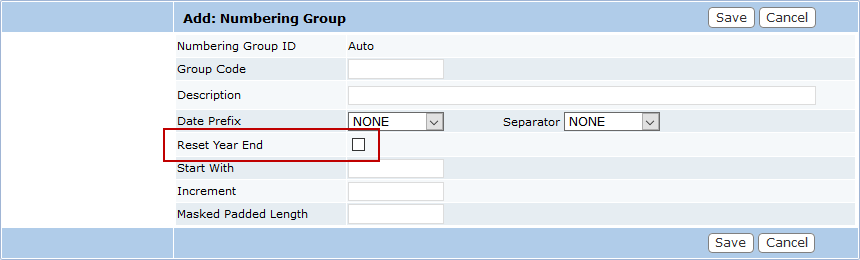
- Select the Reset Year End check box if you want this numbering group to begin at zero at the beginning of each year. If this check box is not selected, the numbering group will continue increasing numerically from year to year.
- In the Start With field, enter the number you wish to be the first case number in this numbering group. For example, you may want the numbering group to begin at zero (0), or you may want it to begin at one (1).
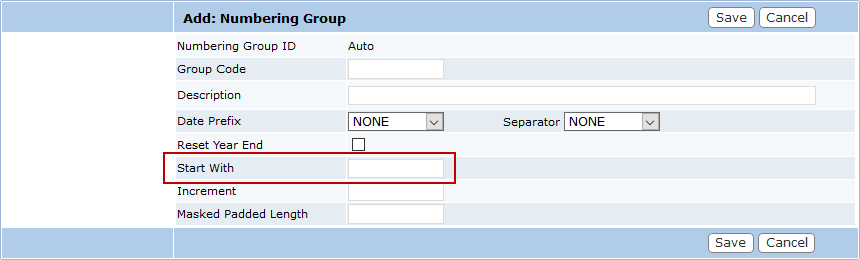
NOTE: This field must be filled before you can save the numbering group.
- In the Increment field, enter the interval by which you want the case numbers based on this numbering group to increase.
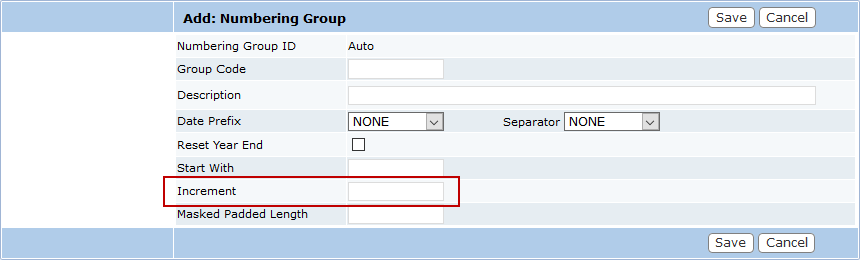
NOTE: This field must be filled before you can save the numbering group.
- Enter the number of digits you want each case number to have in the Masked Padded Length field.
 TIP: Administrators should base this value on the estimated number of cases they expect to have in a year.
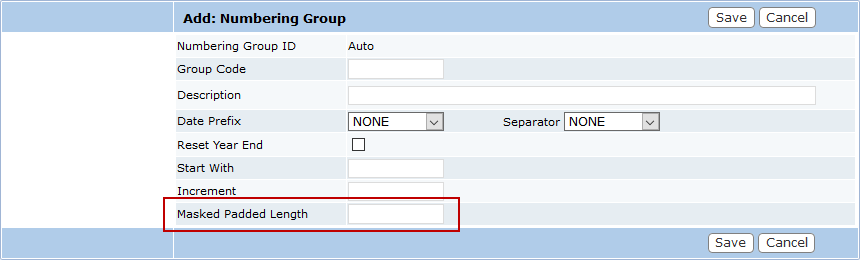
- Click Save.

