Configure Public Site Options on a Case Template
The Public Site sub panel allows PLL administrators to control what screens or tabs are visible to citizens when they log in to the public website. Administrators may display or hide specific screen flow sections on a template-by-template basis.
|
|
 PREREQUISITES:
To configure public site options for a case template, follow these steps:
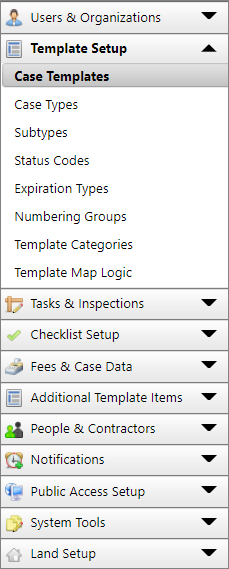
- Click Template Setup on the PLL Admin menu and select Case Templates.
- Click Edit record next to an existing template.
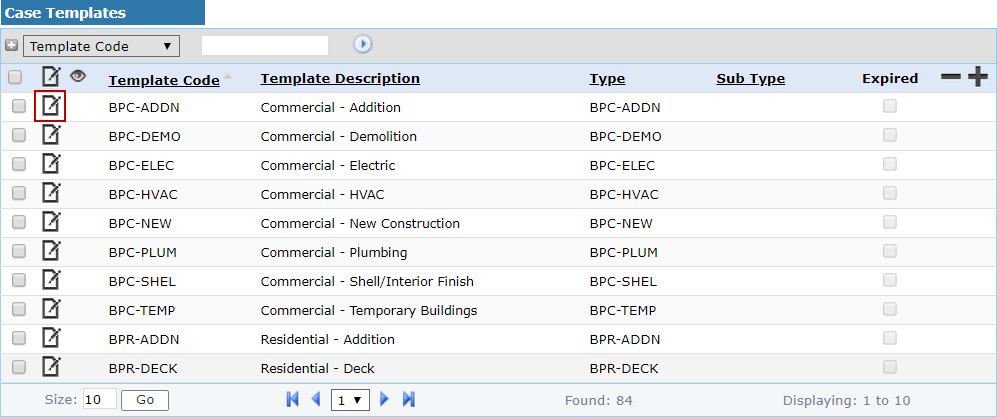
 NOTE: Search or filter the records on this panel to quickly find the one(s) you want. See Search and Filter Records for more information.
- When the Edit: Case Template panel opens, click Public Site near the bottom of the panel.
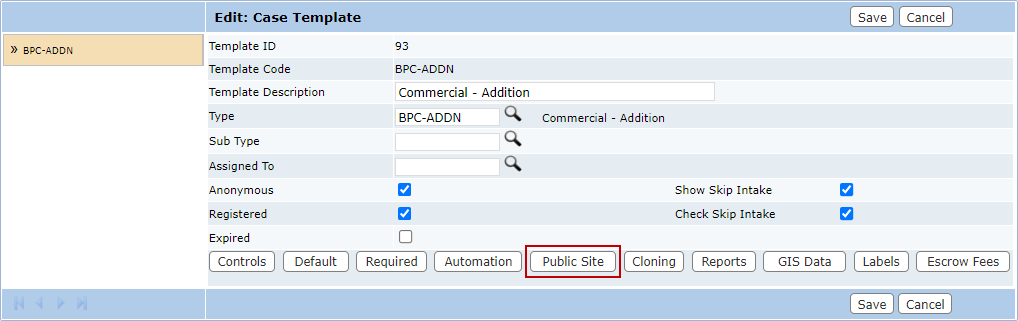
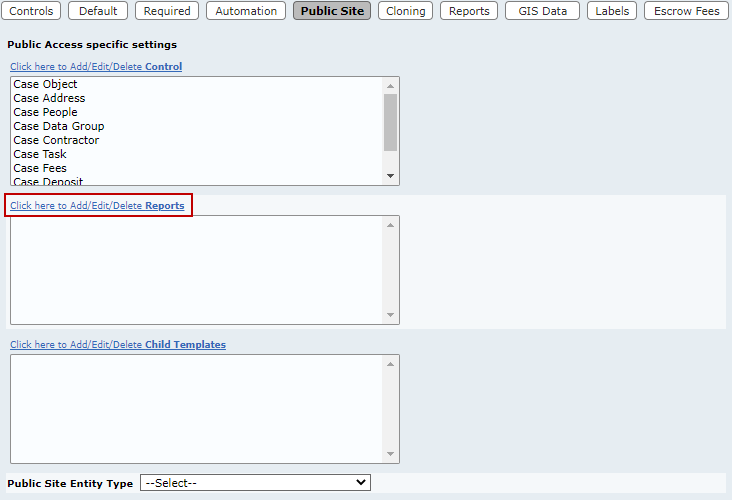
The sub panel displays below the main Edit: Case Template panel.
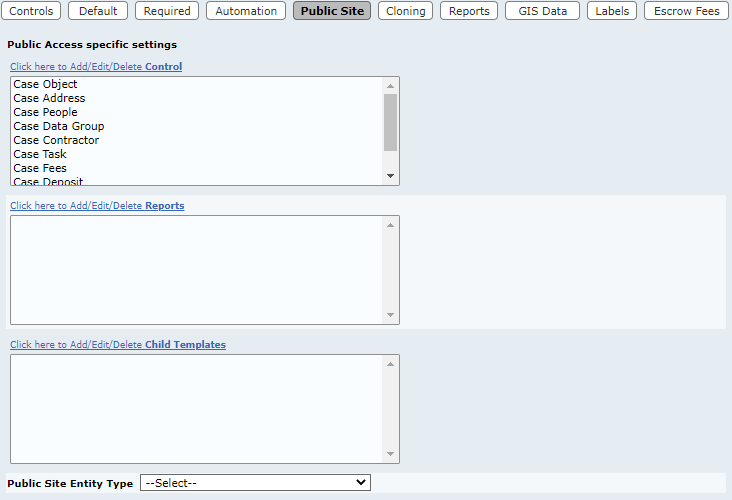
- Click the Click here to Add/Edit/Delete Controls link.
The new window contains two fields: Available Screen Flow and Public Access. The window also contains four arrow buttons.
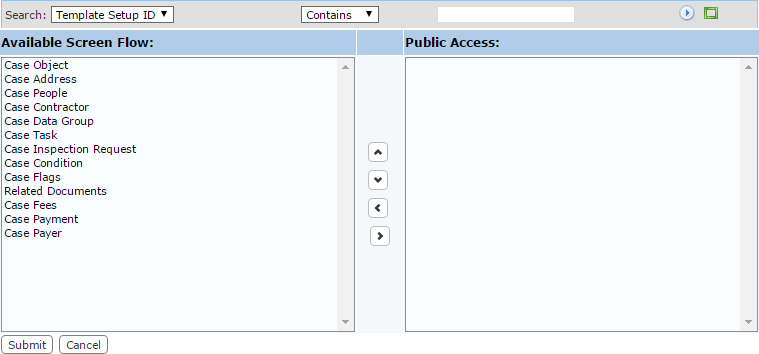
The field on the left displays all the available items. The field on the right lists which items are accessible to end users when they use this case template.
- Select items in the Available Screen Flow field by clicking on them.
 TIP: Use <Ctrl + click> or <Shift + click> to select multiple items.
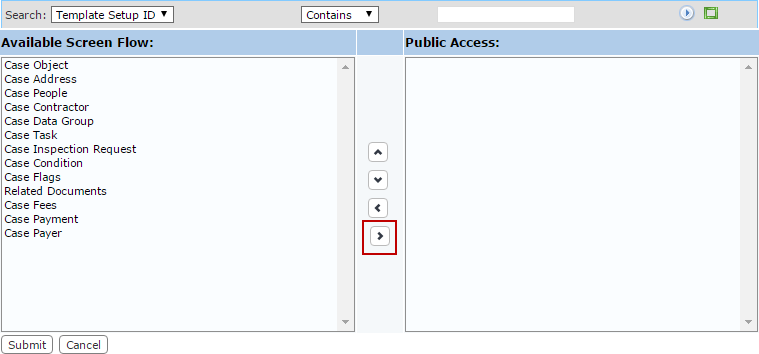
- When you have selected the items you want, click Move highlighted item(s) to Selected List to add them to the Public Access field.
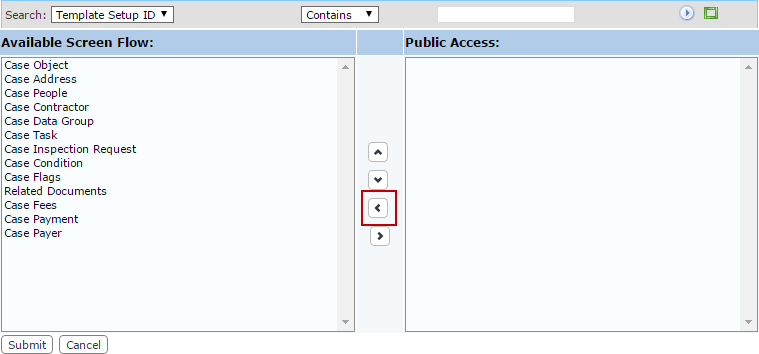
Items may be removed from a template by selecting the item you wish to remove in the Public Access field and clicking Remove highlighted item(s) from Selected List.
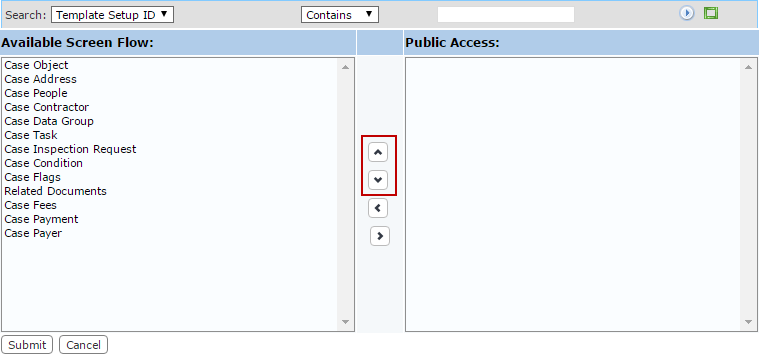
You can move an item up or down in the Public Access field by selecting the item you wish to move and then clicking Move selection up or Move selection down until the item is in the desired place. These items will appear on the application input and summary pages in the same order as they appear in this field.
- When you have added and arranged the items you want, click Submit. This will add the items to the template and close the selection window.
- Click Click here to Add/Edit/Delete Reports to select reports that can be downloaded from the public site. Multiple reports may be added and Public Access users may select which report they wish to download.
 IMPORTANT: Public Access reports must only contain the CaObjectId parameter to function.
-
Click Click here to Add/Edit/Delete Child Templates to choose case templates that may be created as child cases.

- Select an Entity Type from the Public Site Entity Type drop-down list.
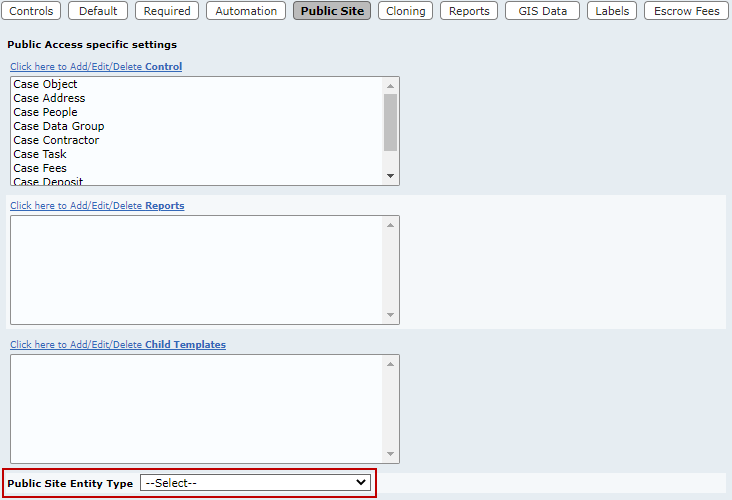
When Public Access users begin an application based on this template, the entity type selected here is automatically selected when they click the map.
NOTE: If the Public Site Entity Type field is defined, the Locator will not be used. Instead, the asset will be selected and the feature class information will be added.
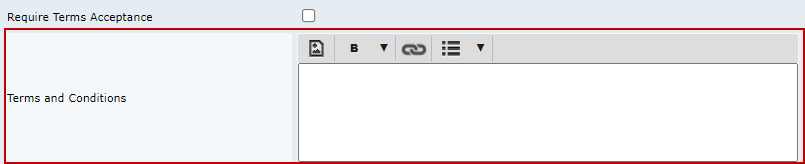
- Select the Require Terms Acceptance check box to require users to view and accept terms before creating a new case. If this box is not selected, users will not see any text entered in the Terms and Conditions field.

Terms and conditions are applied at the template level, so each case template can have customized terms and conditions.
NOTE: If the Public Access user declines to accept the terms and conditions, it closes the panel and the users will still be on the final step of the application process. The system will not create the case, but it will stay in the list of incomplete applications so that the user can return and finish the application. If the Public Access user clicks Pay Now, it still shows the terms and conditions message so that the user can't get around it without accepting the terms and conditions. The case is not created until the terms and conditions are accepted.
- Enter the terms and conditions required for this template in the Terms and Conditions text field.
TIP: Terms and conditions are a useful way to inform users if fees must be paid all at once or if they may be paid incrementally. See Implement Phased Payments in Public Access on MyCityworks for more information.
Administrators can enter whatever they want in the text box. It can be terms and conditions, but it can also be anything they want the user to know before creating the case (instructions, help, warnings, etc.).
- Select the Auto Display Info/Help check box to display a message when the user selects this case template. If this check box is not selected, a help icon will appear in the bottom-right corner of the case template on the create page. The user may click or hover over the icon to view the information.
This information will display as soon as the user selects a case template, even if the Public Access site is using template categories.
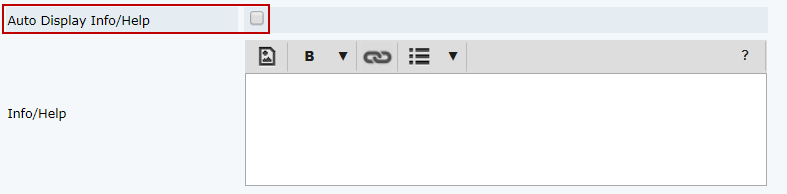
Info/Help is applied at the template level, so each case template can have customized info.
NOTE: The Info/Help field may contain any information the administrator chooses, including instructions, help information, a list of items the user should gather before applying for the permit, etc.
- Enter the information in the Info/Help field.
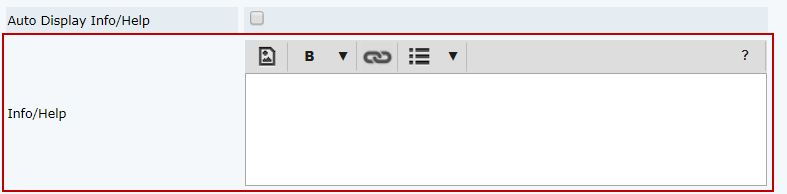
TIP: Info/Help is a useful way to inform users if fees must be paid all at once or if they may be paid incrementally. See Implement Phased Payments in Public Access on MyCityworks for more information.
- Click Save on the Edit: Case Template panel.

