Add a Template Map Logic Condition
This section will discuss how to set up template map logic conditions.
|
|
 PREREQUISITES:
To create a template map logic condition, follow these steps:
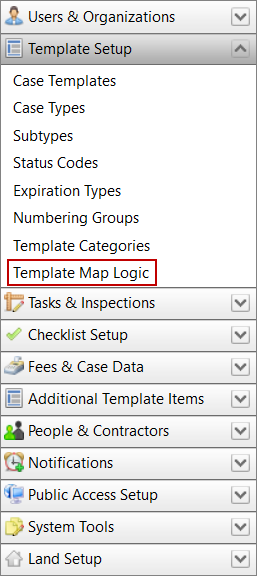
- Click Template Setup on the PLL Admin menu panel and select Template Map Logic.
- On the Create New Condition panel, click the Select the Action drop-down list to select the action you wish to occur (Do Not Allow Case Create or Allow Case Create) and enter a name or description for the condition in the Condition Name field.
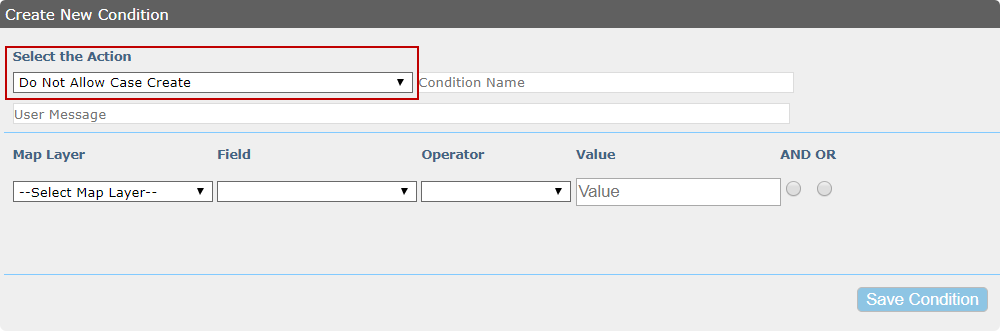
The value you enter in the Condition Name field will appear in the Saved Condition field below.
- In the User Message field, enter the message that users will see when this condition is activated. For example, this message may say "Application must be inside the city limits," or "Can’t apply for this permit type within a half mile from a school.”

-
Select a map layer using the Map Layer drop-down list.
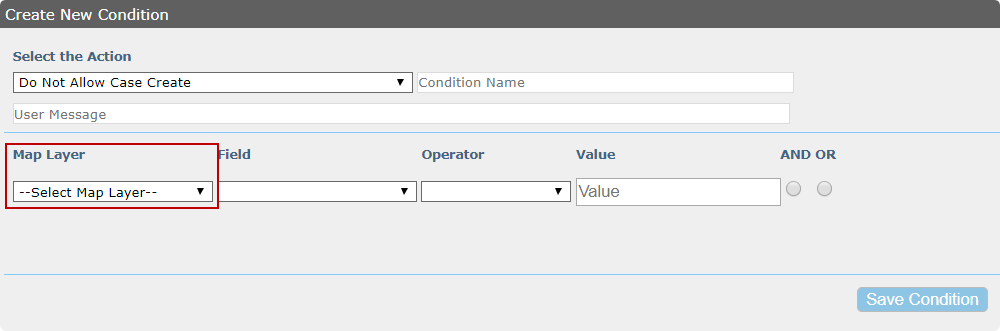
This will automatically populate the Field drop-down list with a selection of database fields associated with the selected map layer.
-
Use the Field drop-down list to select the field that will trigger the condition.
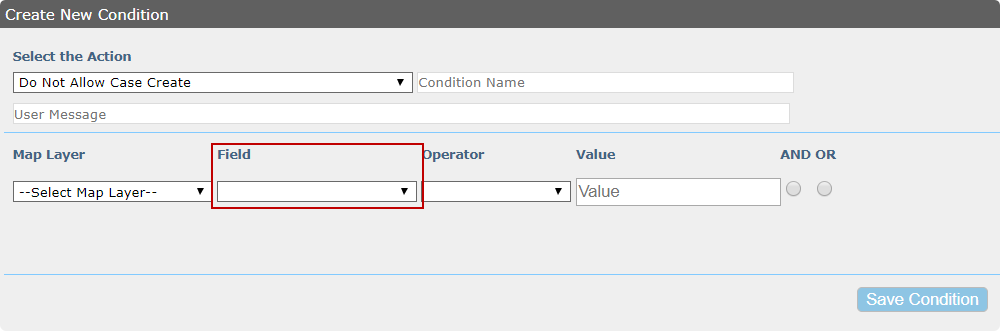
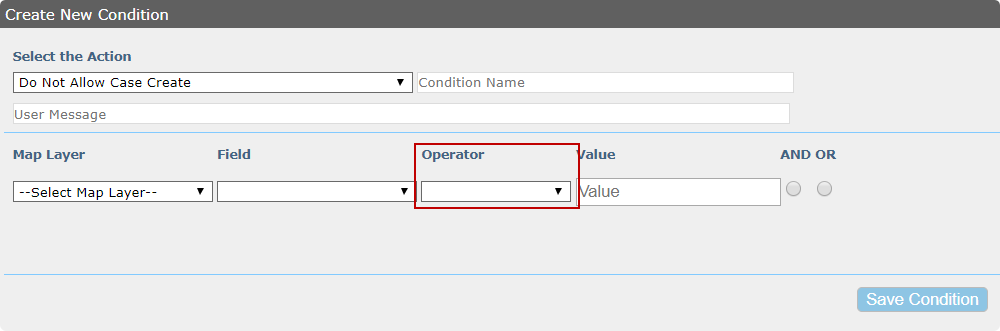
The Operator field will populate once you have selected a field, and each field may have different operators associated with it.
-
Select an operator from the available options.
- Enter a value in the Value field.
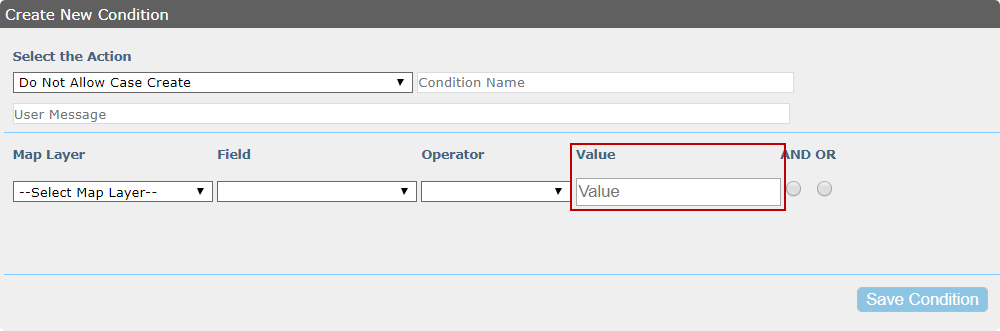
 IMPORTANT: The value you enter in the Value field must match what is set up in the GIS in order for the condition to take effect. For example, if the GIS specifies a value of YES, you must enter YES in the Value field for the specified action to take place.
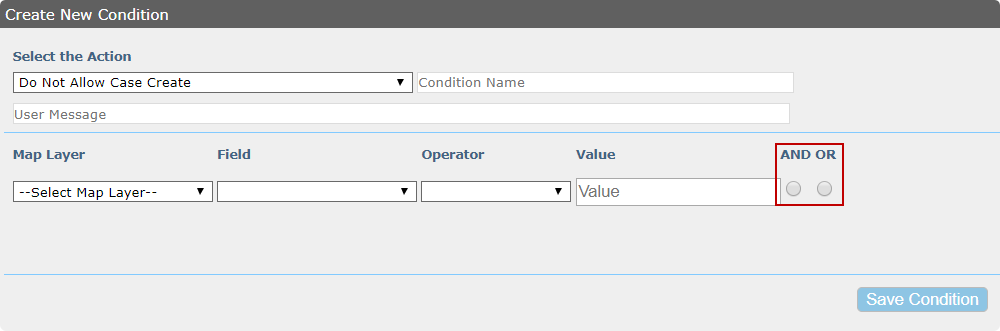
- Select the AND or OR option buttons to add additional criteria to the condition.
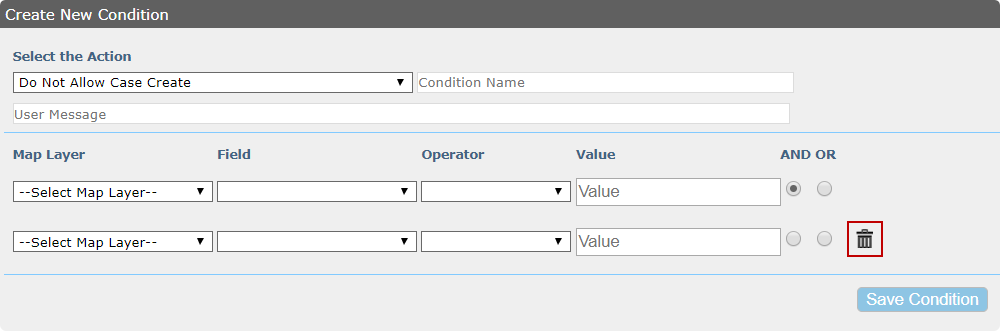
- Repeat steps 3–8 for any additional criteria you have added.
- Click the Delete the condition icon next to any extra map layers that you do not wish to keep.
- Click Save Condition.
- Select the condition from the Saved Condition panel. Its information will automatically load in the Assigned Actions panel.

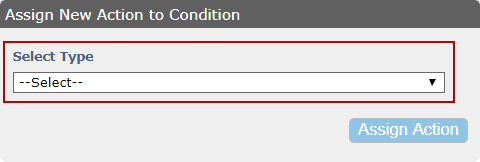
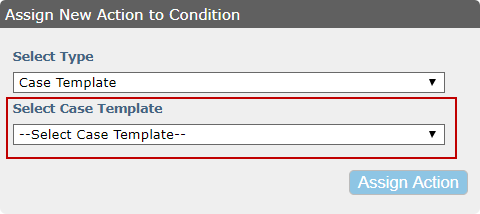
- On the Assign New Action to Condition panel, select an item from the Select Type drop-down list.
- Use the Select Case Template drop-down list to choose which template will or will not be added to or removed from the workflow or assigned to a user.
- Click Assign Action.

