Export Data
Export data from any of the Summary page panels.
- Open a case and select an individual panel by selecting the corresponding tab at the top of the Summary page.
- Click Select More Options.

Configure Grid Search Fields, CSV Import, and Export Data icons appear in the upper-right. These options allow you to configure grid search fields, import CSV files, and export data. These are administrative functions.

- Click Export Data.
The Export Data window opens.
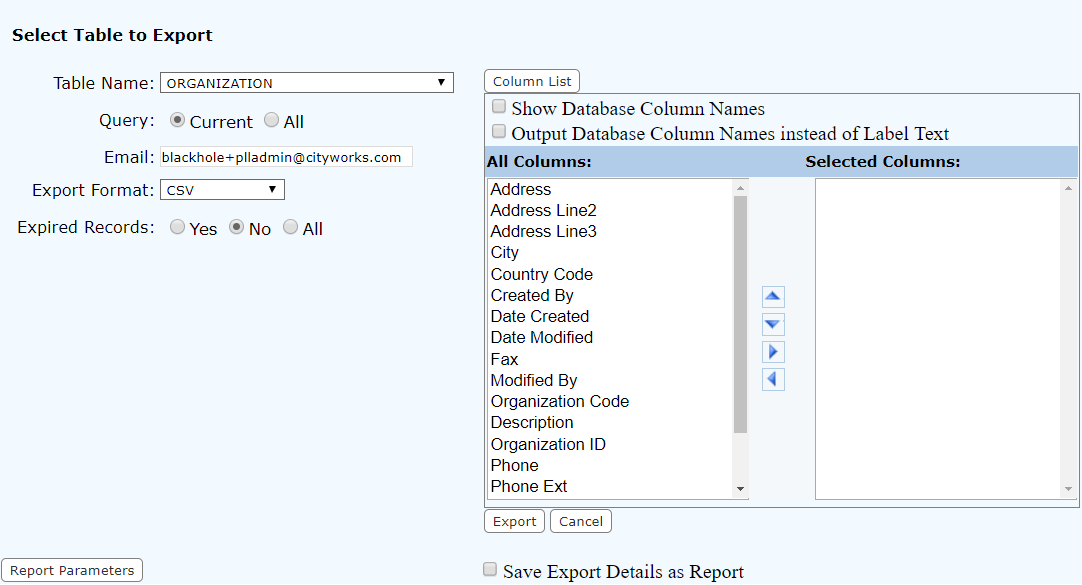
- The Table Name will automatically populate with the table associated to the panel from which you clicked the Export Data icon, but can be changed by selecting a different table from the drop-down list.
- Click Current for current records and All for all records.
- Email will automatically populate with the current user's email address if it was populated by the administrator in Designer. See Add or Edit an Employee in the Designer Office Companion 23 Guide for more information.
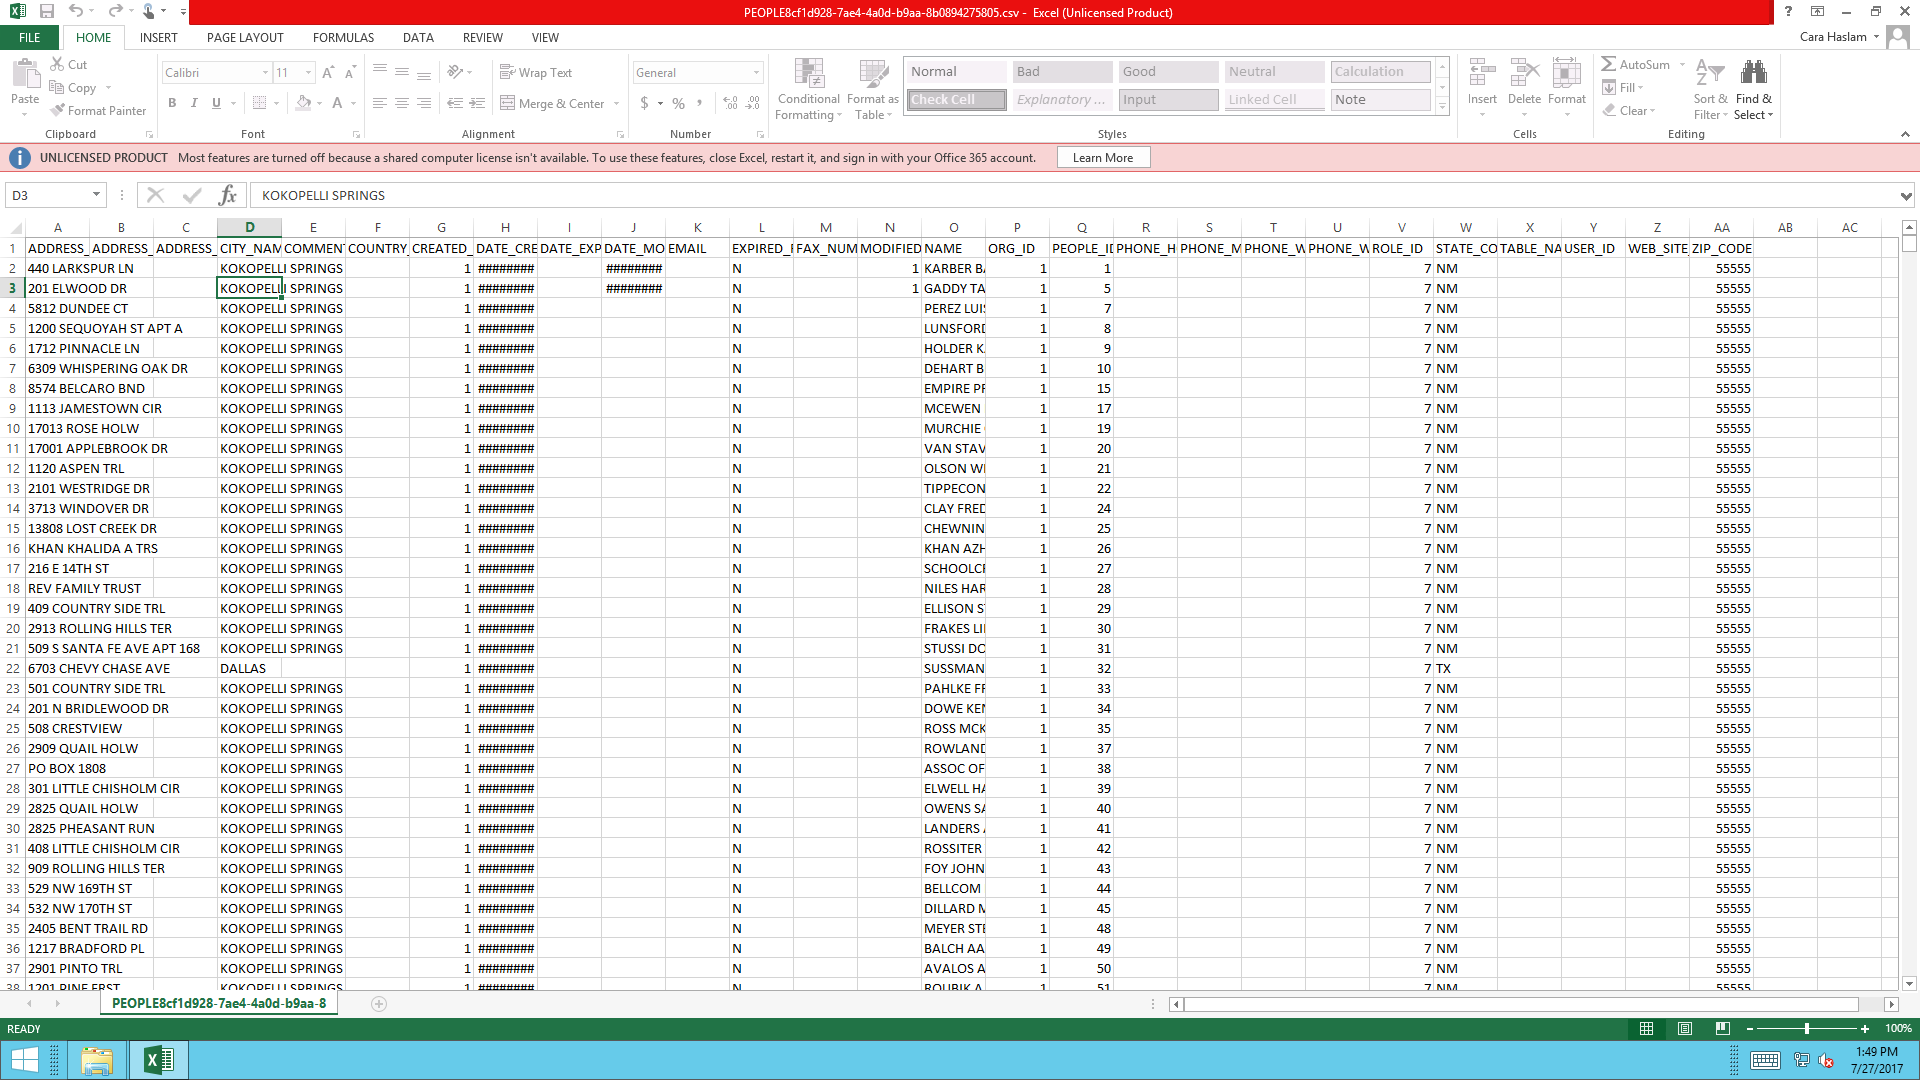
- Select the format to export the data from the drop-down list. These include CSV, TEXT, XML, HTML, and PDF.
- Select Yes to include expired records, No to exclude expired records, or All to include all records.
- Click Column List to toggle between opening and closing the columns list section.
- Select the Show Database Column Names check box to view the column names using the database column name.
- Select the Output Database Column Names instead of Label Text check box to export the database column names rather than the label text.
- The field on the left shows the available columns, while the field on the right shows the columns you want to export. Use <Shift + click> or <Ctrl + click> to select items to move and click the right arrow to move them to the Selected Columns list. The left arrow moves selected items back to the All Columns side.
- Use the up and down arrows to move the columns in the order you want them to appear.
- Click Export to export the table, or Cancel to cancel the operation and close the window.
- If you want to save a report with details of the export, select the Save Export Details as Report check box.
- Click Report Parameters to open report options.
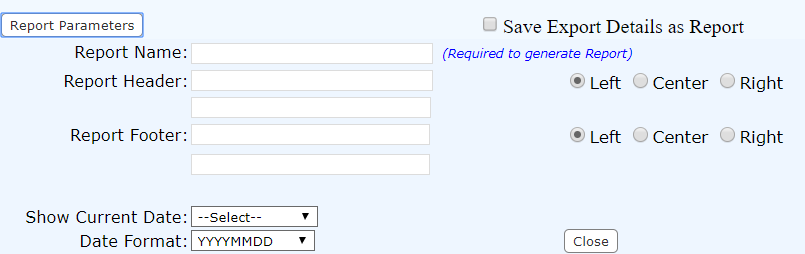
- Enter the Report Name.
- Enter the Report Header and select either Left, Center, or Right to position the header on the report.
- Enter the Report Footer and select either Left, Center, or Right to position the footer on the report.
- Select whether to Show Current Date on the header or the footer from the drop-down list.
- Select your desired format for the date from the drop-down list.
- Click Close or Report Parameters to close the report options.