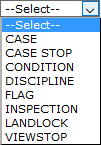
Land Form Functions
Each function listed here represents a specific panel that will appear on the Land Object setup page. Each function has a specific purpose and deals with specific information. When assigning functions to a land form sequence, it is best to select only those functions that are relevant to the form.
Land Address
The Add: Address panel in the Land sequence does not include a GIS component like the Add: Address panel on other pages. The location data is collected in the Land Object panel. The data in the Land Object and Address panels closely follows data used by counties and other government entities to legally record property actions such as sales, deeds, lot splits, etc.
The structure and establishment numbers are shown at the bottom of the Add: Address panel. The text boxes are automatically filled with information created in the Add: Structure and Add: Establishment panels.
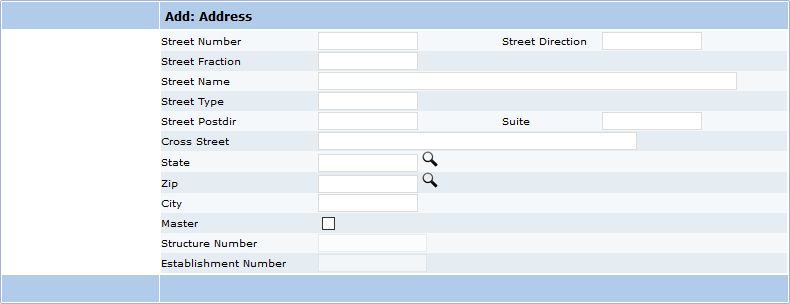
- Street Number: The number assigned to the street.
- Street Direction: The direction of the street; for example, N, S, E, W, NE, etc.
- Street Fraction: Normally used for an apartment in a home or an alley off of a street which is not separately addressed.
- Street Name: The name of the street.
- Street Type: The type of street; for example, road, circle, avenue, boulevard, etc.
- Street Postdir: The directional suffix for the street; for example, N, S, E, W, NE, etc.
- Suite: Number of a unit with the structure, such as an office or apartment.
- Cross Street: Closest intersecting street.
- State: Use the Lookup icon to select a two-letter US Postal Code for the state.
- Zip: Use the Lookup icon to select the US Postal Code.
- City: The name of the city will load simultaneously with the zip code.
- Master: Designate this address as the primary address at the site.
- Structure Number: Number assigned to the structure. Data will automatically load from the Add: Structure panel.
- Establishment Number: Number assigned to the establishment in the case. Data will automatically load from the Add: Establishment panel.
Condition
The Add: Condition panel in the Land Object sequence can be used to attach conditions that are related to the property, independent of any proposed use, such a limitation prohibiting building on 30% slope areas.
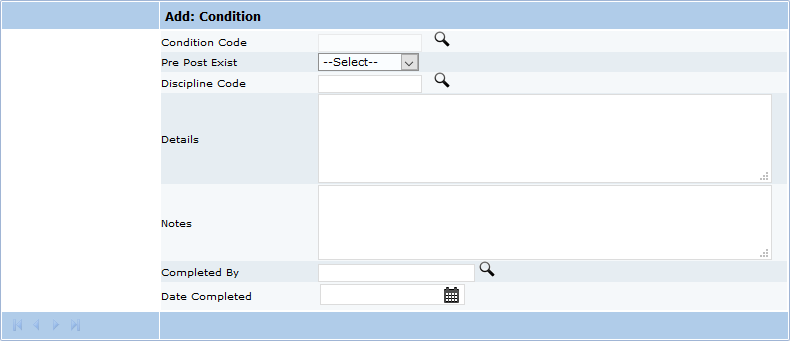
- Condition Code: Use the Lookup icon to select a condition code.
- Pre Post Exist: Select one to indicate when the condition applies to the case/permit
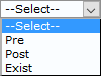
- Pre: Condition must be met prior to permit issuance.
- Post: Condition must be met after permit issuance but before completion of the project.
- Exist: Condition must be met throughout the time the case is active.
- Discipline Code: Use the search tool to add any work roles needed to complete the case requirements (such as plumber, framer, soils engineer, landscape design).
- Details: Use the comment box to add more specific details.
- Notes: Comment box for additional notes regarding the condition.
- Completed By: Use the Lookup icon to select the appropriate user’s login ID.
- Date Completed: Use the calendar icon to select the date the condition was completed, or enter a date manually.
Establishment
Use the Add: Establishment panel to enter the name of the business or other occupant of a space within a structure. All other text boxes in the panel refer to information for the establishment, not to the structure that it is located in.

- Est. Name: Name of establishment or business.
- Area: Enter the total area occupied by the establishment.
- Front Area: Enter the area of the front yard.
- Rear Area: Enter the area of the back yard.
- Side 1 Area: Enter the area of one side yard.
- Side 2 Area: Enter the area of the other side yard.
- Height: Enter the height of building, measured at tallest point.
- Date Built: Enter the date the structure housing the establishment was built.
Flag
The Add: Flag panel in the Land Object page differs from other Add: Flag panels.
The structure and establishment numbers are shown at the bottom of this panel. The text boxes are automatically filled with information entered in the Add: Structure or Add: Establishment panels
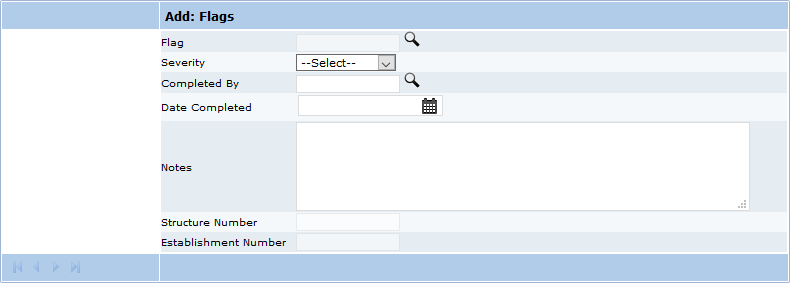
- Flag: Choose a flag using the Lookup icon to be displayed at the top of the case
- Severity: Use the dropdown list to identify the Flag severity
- Completed By: Use the Lookup icon to select a login ID.
- Date Completed: Use the calendar tool to select a date or enter a date manually to show the date a flag has been completed.
- Notes: The comment box allows the user to enter additional details regarding the flag.
- Structure Number: Identifies the number of a structure(s) located on the parcel.
- Establishment Number: Identifies the number of an establishment(s).
Geo
This indicates geographic area designations—which landforms or activities are listed in the Geo Area panel. There are multiple ways a Land Area may be divided. More than one designation may apply to a single parcel.
The Add: Geo panel allows the user to attach a specific geographic area designation to a file, permit, or other record.

- Geo Area: Use the Lookup icon to select from pre-defined geographic areas to attach to the file. Select a Geographic Area, and click Submit to attach the area to the Land Object file.
- Geo Detail: This is a shorthand description of the geographic area being added to the file. The information will load at the same time as the identification of the geographic area.
Notes
Use the Add: Notes panel to attach notes to the land object when it is created.
The Add: Notes panel for the Land Object page does not contain an option to print the notes on the case.
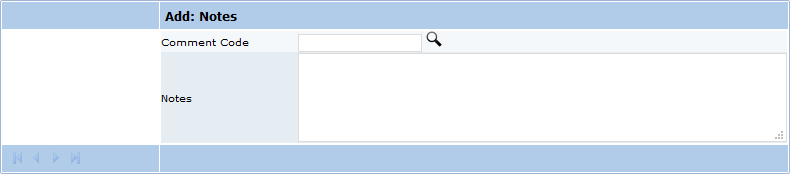
- Comment Code: Select from predefined comments using the Lookup icon.
- Notes: Use this text box to add additional comments.
Object
The Land Object panel is always the first panel in the sequence to create a new land object in Office for PLL.
To create an object, the creation of a unique land object is the first step.
The Land Object panel is the basic required panel for the Land sequence. The Land Object panel collects specific information identifying a parcel’s legal ID, address, etc., as legally recorded in land records, along with valuation data from the most recent sales activity.
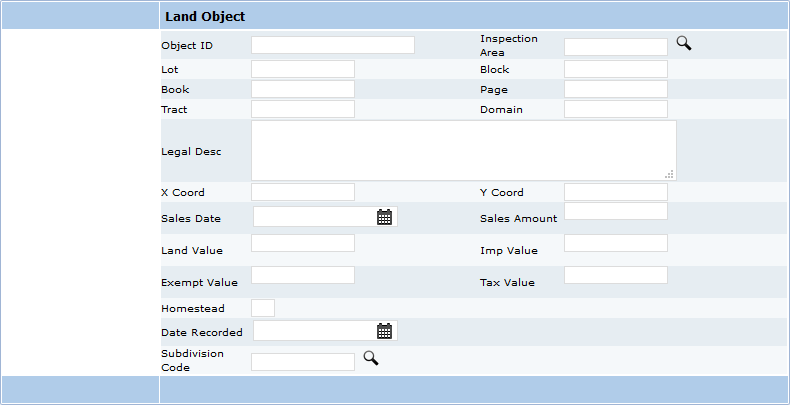
- Object Id: Code created by PLL to identify the land object. The object ID is limited to use in Cityworks and not related to legal records.
- Inspection Area: The assigned area for a particular inspector, more than one inspection area may be assigned to each property. Water, building, code enforcement, or inspectors may have different designated areas. Areas are created by the system administrator.
- Lot: Smaller division of property within a block or subdivision, also called a building lot.
- Block: Unique number identifying a block of property within a jurisdiction.
- Book: Number of County Recorder's Book for recording property deeds.
- Page: Page where property is recorded in the County Recorder's land records.
- Tract: Tract books, maintained by the County Surveyor's office, contain legal survey descriptions of the properties.
- Domain: Area where the property is located.
- Legal Description: Legal description of property as recorded in county land records, may be a subdivision and lot, or meets and bounds by survey.
- X Coord: X map coordinate.
- Y Coord: Y map coordinate.
- Sales Date: Date of last property sale.
- Sales Amount: Amount the property last sold for.
- Land Value: Current value of land excluding the value of any improvements or structures.
- Imp Value: Value of improvements on the property.
- Exempt Value: Amount of the property and structure value that is exempt from taxes under the Homestead Act.
- Tax Value: Assessed value of the property for taxation.
- Homestead: Homestead Act 1862-Civil War Act that set the terms by which land west of the Mississippi was settled. Select the box for yes, or clear it for no.
- Date Recorded: Date that the land object was recorded.
- Subdivision Code: Code to identify a subdivision. Use the Lookup icon to open the list of subdivisions. Select a code, and click Submit.
People
When a person is added to the case record, a role must be assigned. The role code is a description of a function preformed or job description. If a person will fill more than one role, that person must be entered once for each role.
An error message will be shown if a role code is not included when a name is added using the Add: People panel.
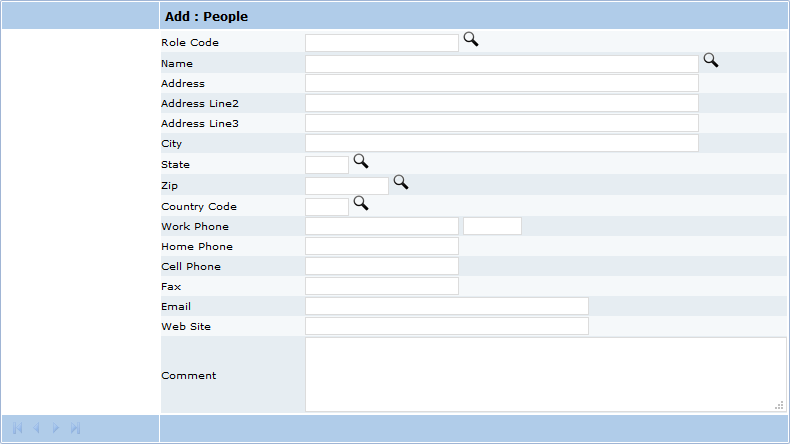
- Role Code: Click the Lookup icon to select a role or job definition.
- Name: Click the Lookup icon to select the name of a person the record is being created for. Any information such as the address and other related items that is found in the Name panel will load with the data from the Name and Address panels.
- Address Line 1–3: Use lines 1-3 to enter the address.
- City: The name of the city or town will load simultaneously with the selected zip code.
- State: Use the Lookup icon to select a two-letter US Postal code for the state.
- Zip: Use the Lookup icon to select a US Postal zip code. The corresponding city will load simultaneously.
- Country Code: Use the Lookup icon to select a Postal Code for the Country.
- Work Phone: Enter the work number and extension. If there is none, leave it blank.
- Home Phone: Ten digit home phone number.
- Cell Phone: Ten digit cell phone number.
- Fax: Fax number if available.
- Email: Enter an email address.
- Web Site: Personal or business web site.
- Comment: The comment box allows the user to add additional information pertinent to the application, person, or role.
Project
The Add: Projects panel attaches a project to a specific property when a land object is created.
A project must have been previously created by the system administrator to be added.

- Project Code: Select a project code using the Lookup icon.
A project code can be created when a project will have multiple components requiring individual permits. The overall project code is attached to each case to provide continuity to tie all elements of the project together.
The project code is a shorthand code to describe an overall project created in Office for PLL.
A project code is not equivalent to the granting of a building or other permit. Its purpose is solely to groups all cases and permits related to a single project under a common name.
Structure Class
The Add: Structure Class panel defines the type and class of any structure located on a property.
The structure class of a building describes the type of construction and the standards met by that construction.
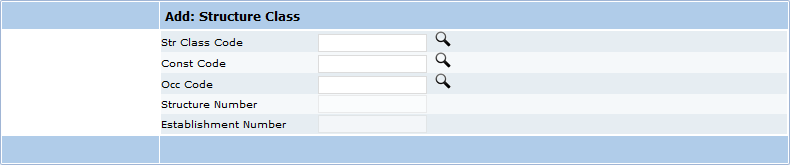
- Str Class Code—Select a structure class to describe the structure’s classification.
- Const Code—Select a construction code to describe the type of construction used: brick, wood, concrete, steel, etc.
- Occ Code—Select an occupancy code using the Lookup icon.
- Structure Number—This is the ID number of the structure.
- Establishment Number—This is an ID number assigned to the establishment.
Structure
A structure is any building on a property or parcel. It can be as small as a shed, or as large as a multi-story skyscraper. If there are multiple structures on a parcel or part of a project, each structure can be identified separately. When saved, it will be added to the project file.
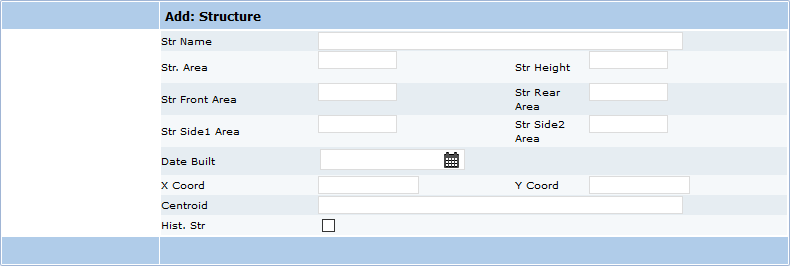
- Str Name: The structure name.
- Str Area: Total area of the structure, total of multiple floors if any.
- Str Height: Height of the structure from grade.
- Str Front Area: Enter the area of the front yard on the lot where the structure is located.
- Str Rear Area: Enter the area of the rear yard on the lot where the structure is located.
- Str Side 1 Area: Select one of the side yards on the lot and enter its area.
- Str Side 2 Area: Enter the area of the other side yard.
- Date Built: the date the structure was built. Enter a date manually, or use the calendar icon to select a date.
- X Coord: X coordinate of the structure on the jurisdiction's mapping system.
- Y Coord: Y coordinate of the structure on the jurisdiction's mapping system.
- Centriod: This is the mathematical center of the structure.
- Historic Str: Is the structure on the Historic Registry? Select the check box for yes.
Uses
The use of a property is a description of the current activity.

The Add: Uses panel allows the user to name the use of the property when a land object is created.
- Use Code: Short-hand code that identifies the current use for a property, generally to be used on maps. Click the Lookup icon to select a code, and click Submit.
- Effective Date: Date that the ordinance creating the use category is/was effective. This will automatically load when the use code is selected. Definition/description of a use in the code is different than adoption of a zoning ordinance.
Zone
The legal use of any parcel or property, within a jurisdiction, is controlled by local zoning codes.
The Add: Zone panel allows you to designate the zoning of a property at the time the address, parcel, etc., is created as a land object.
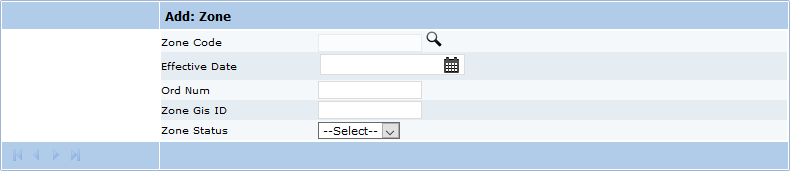
- Zone Code: This is a short-hand code that identifies the zone. This corresponds to the code that appears on the zoning maps.
- Effective Date: Enter the date the zoning ordinance went into effect.
- Ord Num: Enter the identifying Ordinance Number.
- Zone GIS ID: Enter the GIS location of the zone.
- Zone Status: Select the current zone status, existing or proposed.


Documentation Feedback Form
Please give us feedback about this Cityworks guide.
If you have a feature enhancement request, please see the Ideas page on MyCityworks.
Last updated 1/2/2020.
Copyright© 2018–2020 by Azteca Systems, LLC. All rights reserved.