Configure Pavement Inspection Mappings
Pavement inspection mappings are set up in Designer.
|
|
 PREREQUISITES:
- From the Inspections tab, click Pavement Inspection Mappings.
The Pavement Inspection Mappings panel has the following tabs:
- PAVER stores its measurements in metric units. If your GIS measurements are in imperial units, select the Metric Conversion check box to convert those values to metric.
- On the Network tab, select the Entity Type that contains your pavement data.
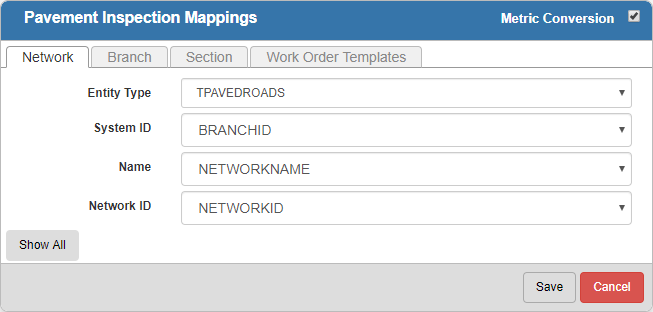
- For each of these fields, select the geodatabase field that you would like it mapped to: Name and Network ID.
 NOTE: Click Show All to see the optional fields that can also be configured. Click Show Required to only show the required fields.
- On the Branch tab, select the Entity Type that contains your pavement data.
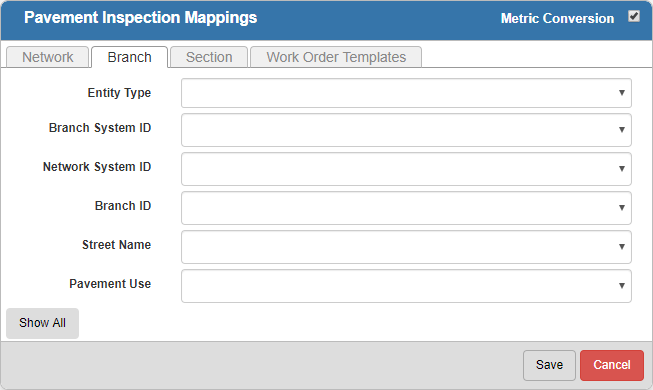
- For each of these fields, select the geodatabase field that you would like it mapped to: Branch ID, Street Name, and Pavement Use.
NOTE: Click Show All to see the optional fields that can also be configured. Click Show Required to only see the required fields.
- On the Section tab, select the Entity Type that contains your pavement data.
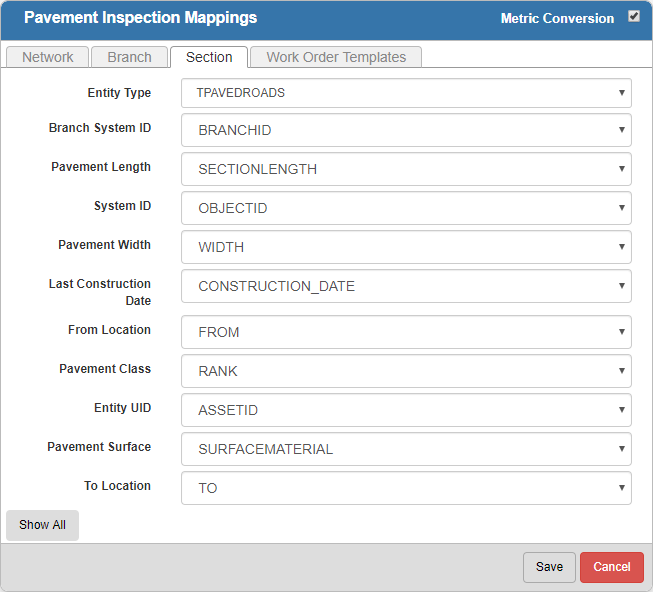
- For each of these fields, select the geodatabase field that you would like it mapped to:
NOTE: Click Show All to see the optional fields that can also be configured. Click Show Required to only see the required fields.
NOTE: Entity Type and Pavement Surface are required fields when completing pavement standard inspections in Office/Tablet for AMS.
- On the Work Order Templates tab, select the work order templates that will be used in the Pavement Management app. These templates are configured in Designer under Work Order > Templates.
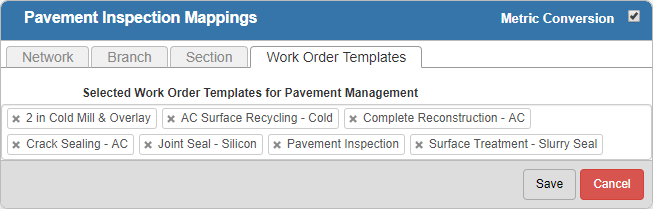
- Click Save.