Configure the Landing Page
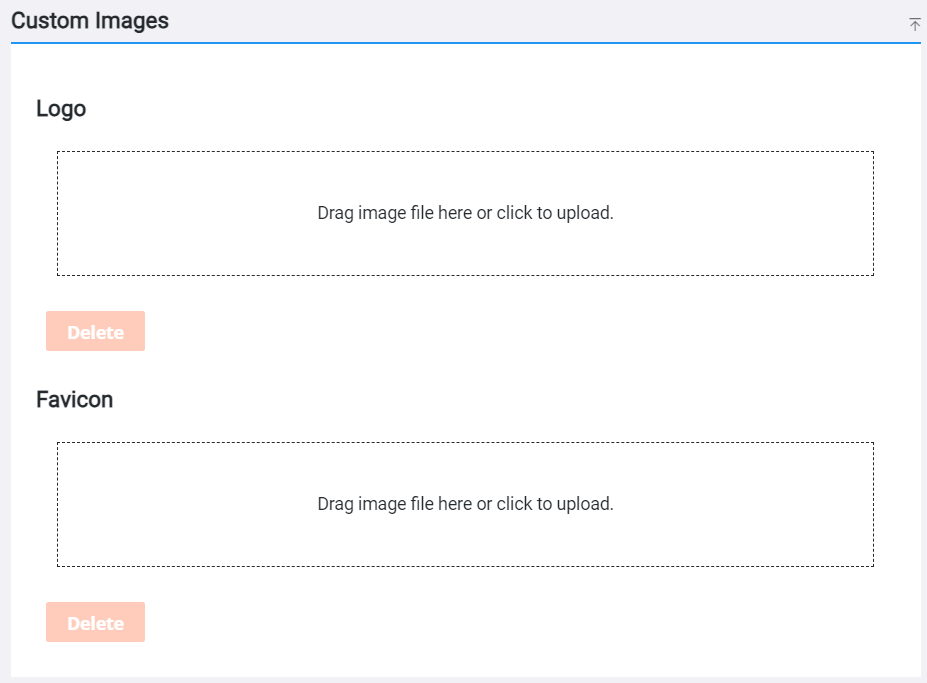
You can change the logo and browser favicon used throughout your site as well as add custom text to the login page.
|
|
 PREREQUISITES:
- Open the User menu.
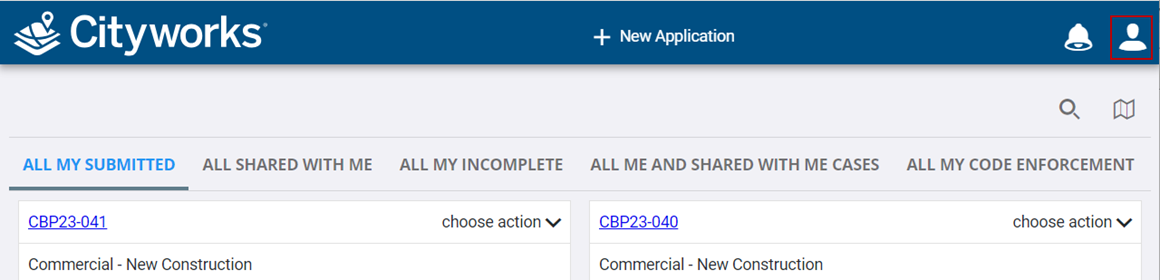
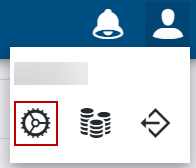
- Click the Landing Page tab.

- Either
When you upload a new logo or favicon image file, it changes the logo and browser favicon used throughout your site.
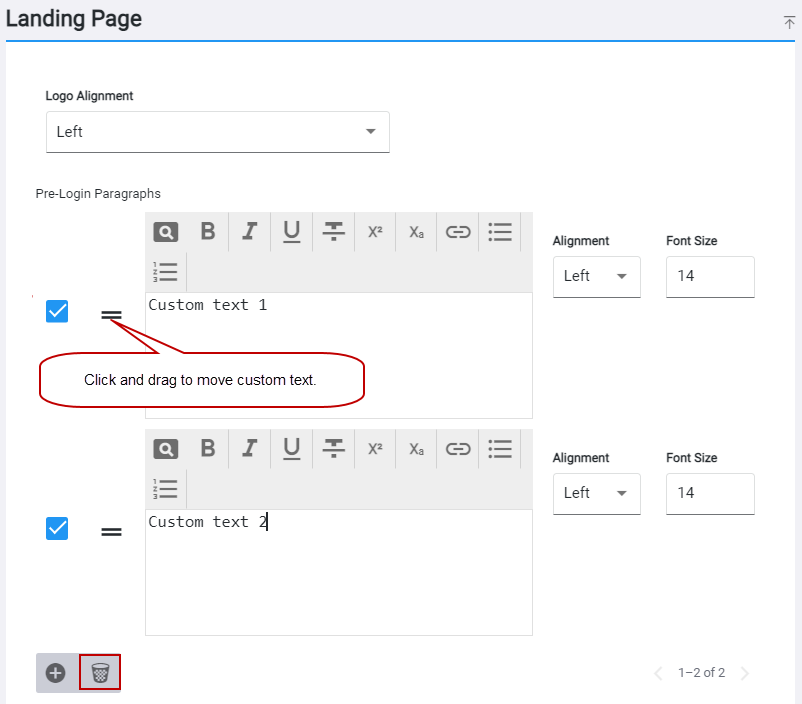
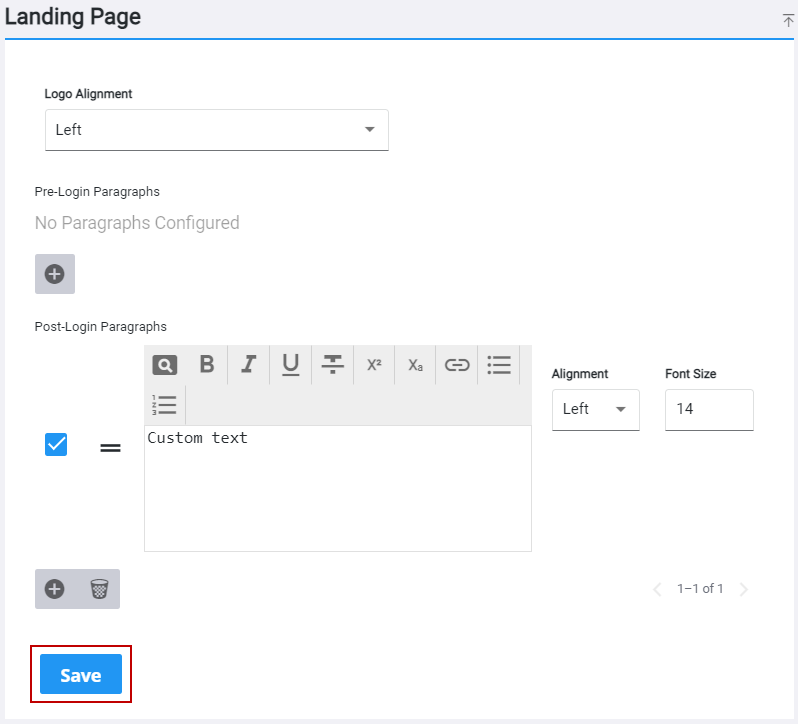
From the Landing Page panel, you can choose where the logo appears before a user logs in as well as add custom text that appears before and after the login panel. You can configure the alignment and font size of custom text as well as rearrange the order of how different custom text appears on the login page.
- Select the position of the logo image using the Logo Alignment drop-down list.
 NOTE: The Logo Alignment applies to the position of the logo before a user logs in. After a user logs in, the logo position defaults to the left.

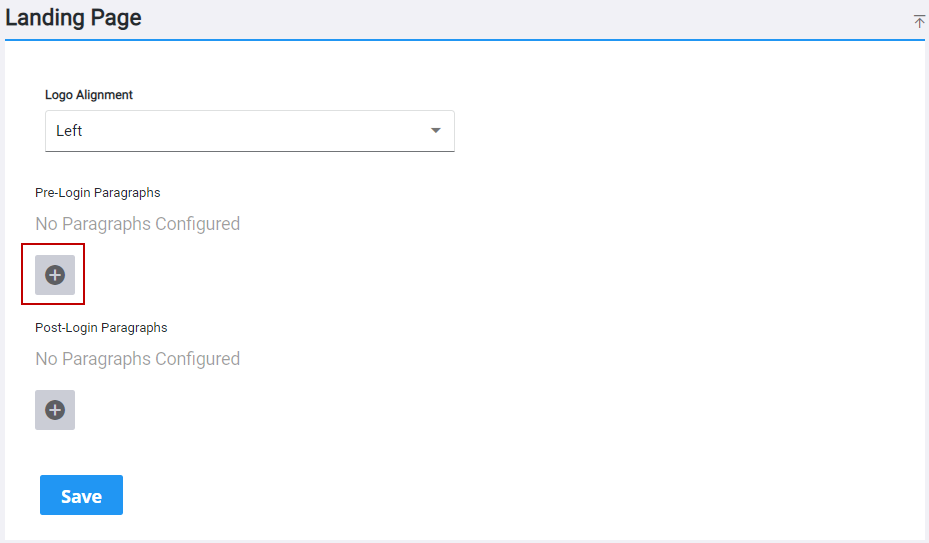
- Add the text you want and customize as desired using the formatting toolbar and the Alignment and Font Size fields.
- Select the check box next to a custom text box you want to remove and
-
When a user navigates to the login page, they will see the new logo and favicon and any custom text you added.