Update Cityworks Single Sign-on
Follow these steps to update Cityworks Single Sign-on.
|
|
 PREREQUISITES:
- Download the Cityworks Single Sign-on installer.
- Double-click the install file to open the installer.
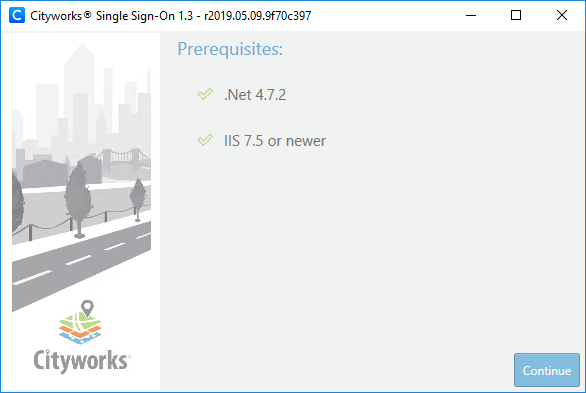
The first page shows the prerequisites for Single Sign-on.
- Click Continue.
- Select the Update option and click Continue.
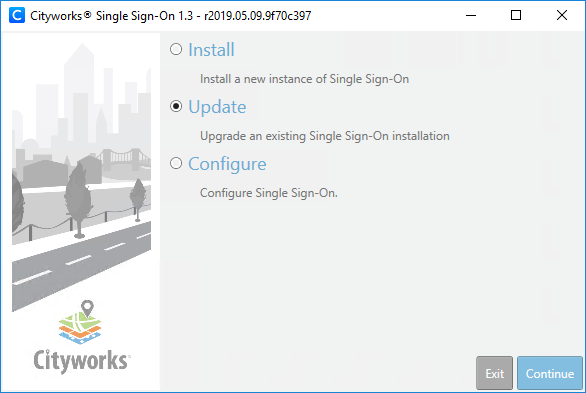
 NOTE: The Configure option can be used to update your Single Sign-on site settings if necessary.
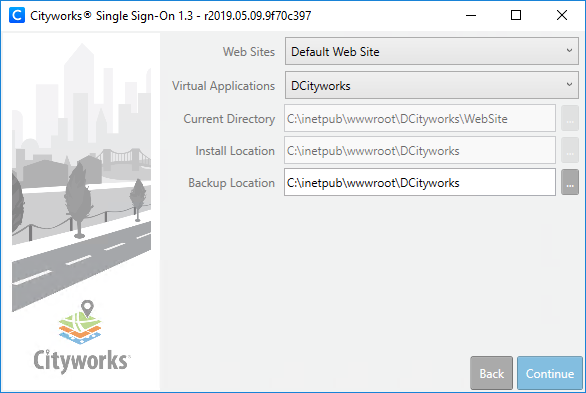
- Select the Single Sign-on application to update from the Virtual Application drop-down list.
- The Backup Location is automatically populated but can be changed if needed.
- Click Continue.
- Review the update information and click Update.
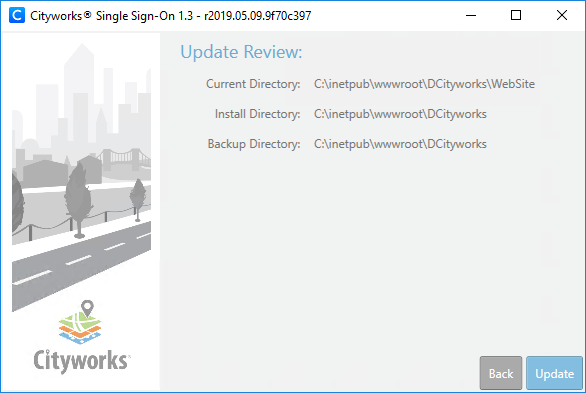
- When asked if you want to proceed, click Yes.

You will be notified when the update process is complete.
- Click OK.
To access your Cityworks Single Sign-on site, open your browser and navigate to <server_name>/<alias>.
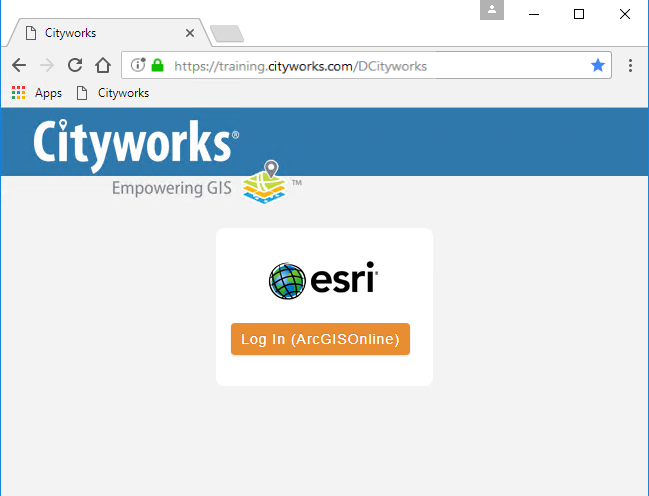
 TIP: The Cityworks logo that is displayed on this page can be changed by replacing the logo.png file located under ...\inetpub\wwwroot\<Single_Sign-on_site_alias>\WebSite\Content with your desired .png file. It is important to note that this customization is not preserved when updating Single Sign-on, so you will need to replace the image after any updates.

Documentation Feedback Form
Please give us feedback about this Cityworks guide.
If you have a feature enhancement request, please see the Ideas page on MyCityworks.
Last updated 2/25/2020.
Copyright© 2017–2019 by Azteca Systems, LLC. All rights reserved.