Mark Up Attachments
Users can mark up or redline existing attachments or when adding new attachments to work orders in Trimble Unity Mobile. These changes are reflected in Cityworks.
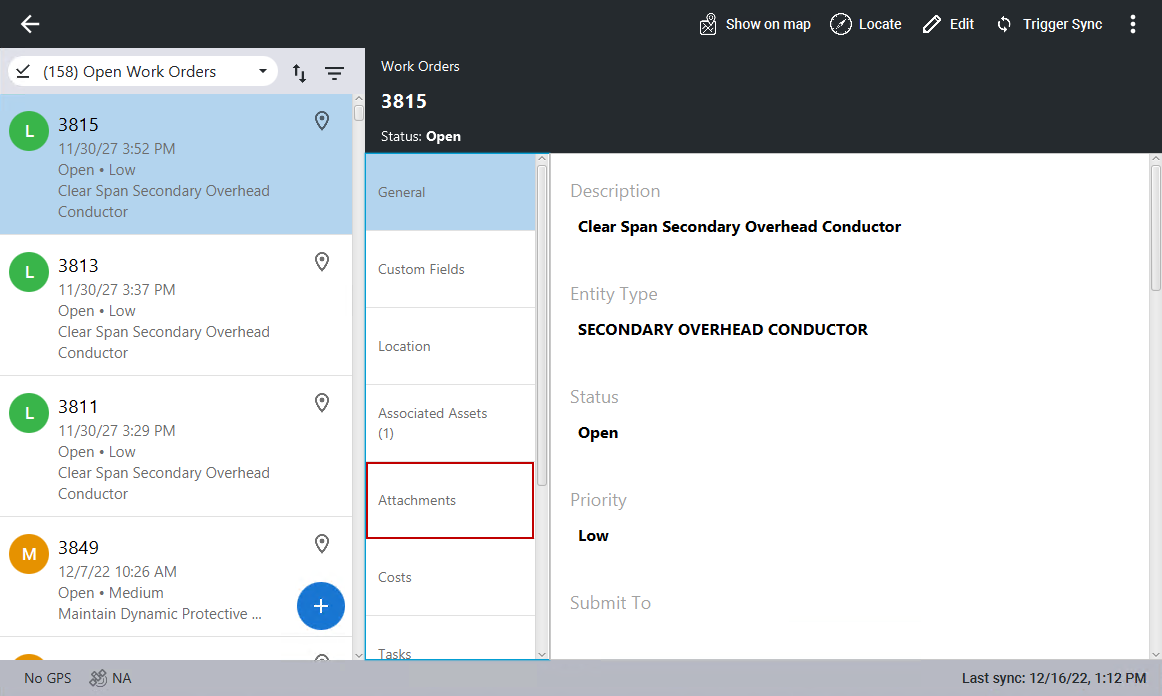
- Select a work order from the list.
The work order details open.
- Click Attachments.
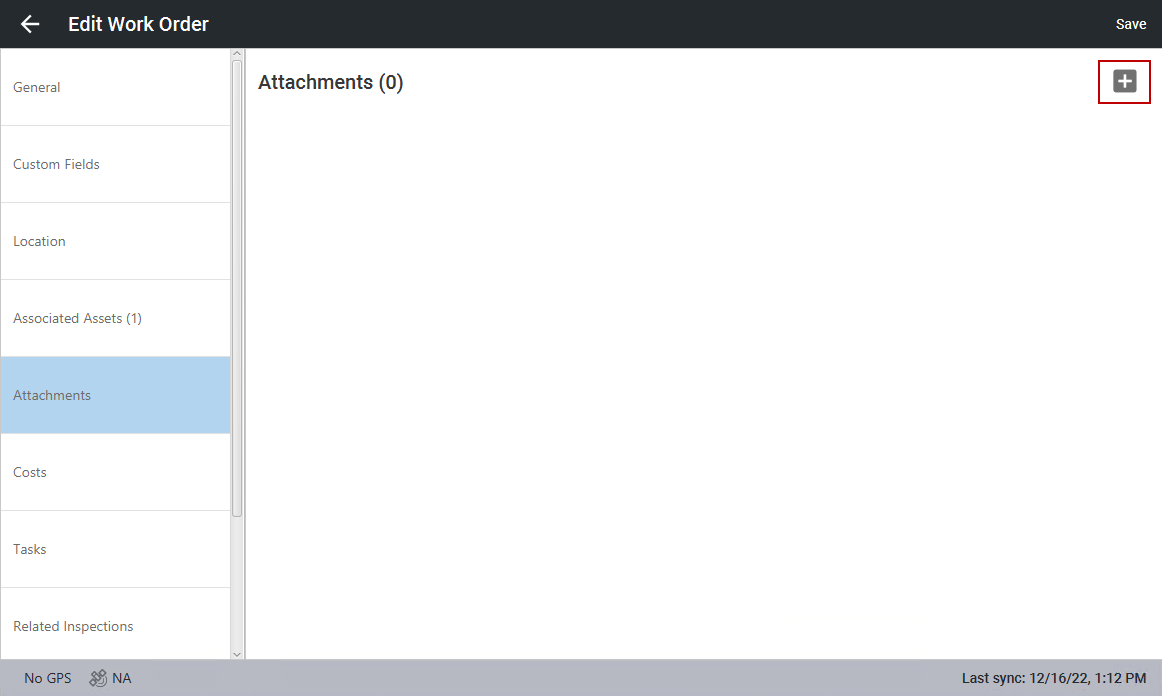
- Click Edit in the top-right corner.

- Click the add icon in the top-right corner.
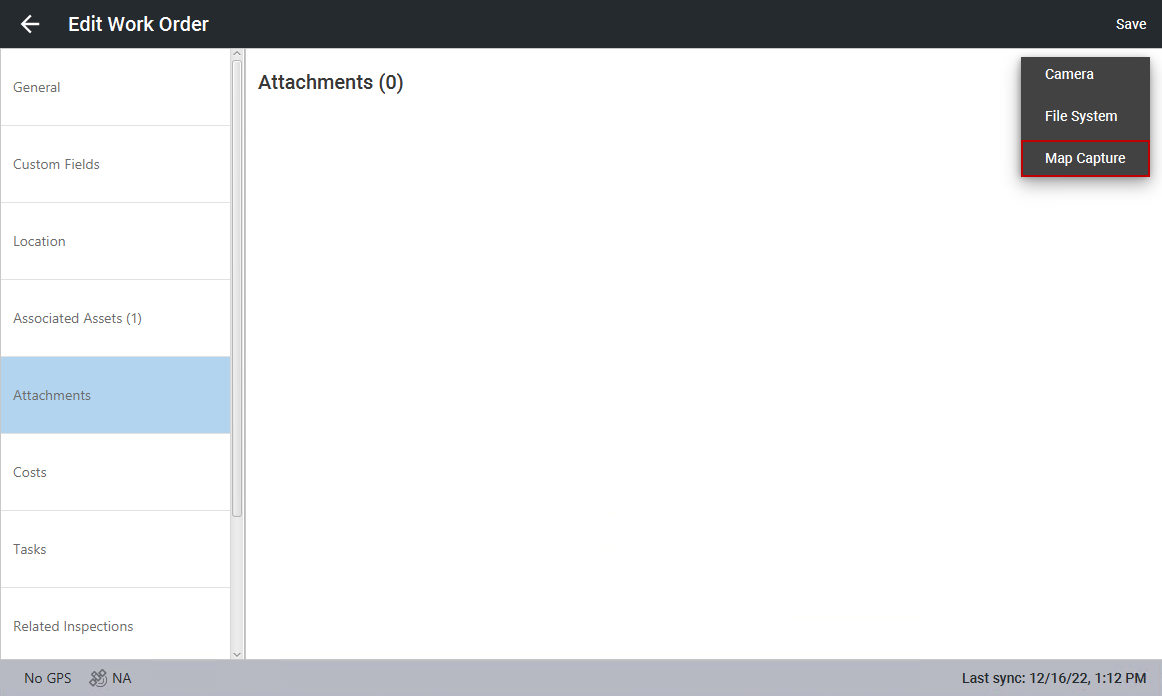
- Click Map Capture.
- When the map opens, navigate to the area you want to capture on the map.
- Click Confirm.
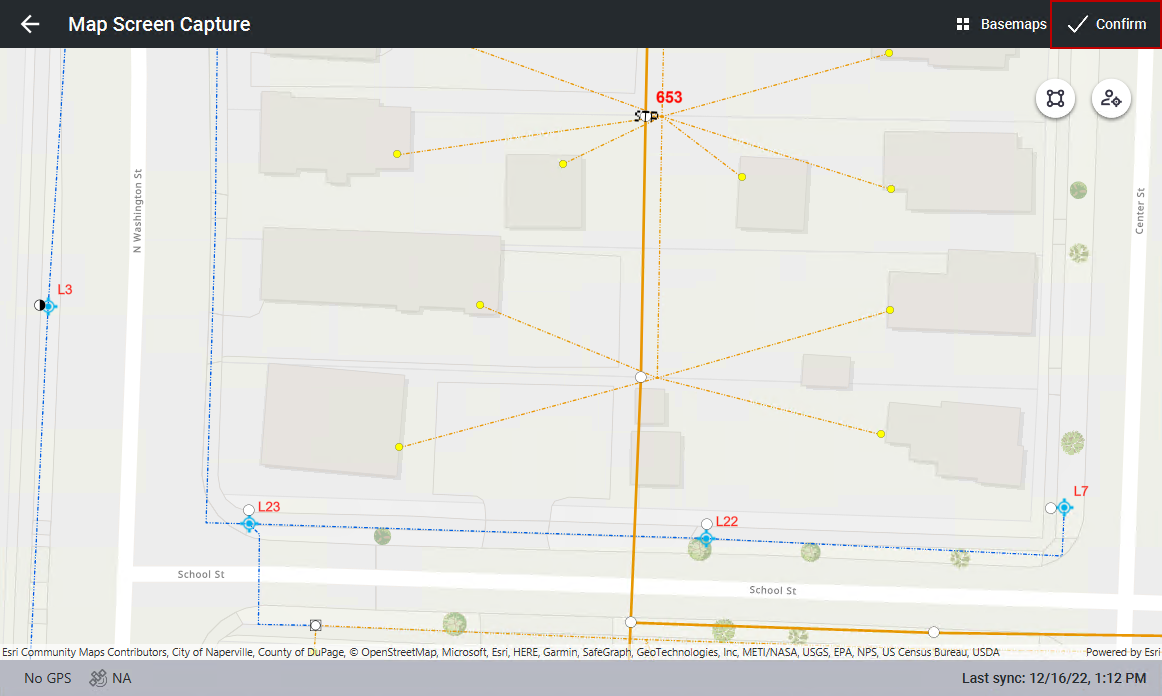
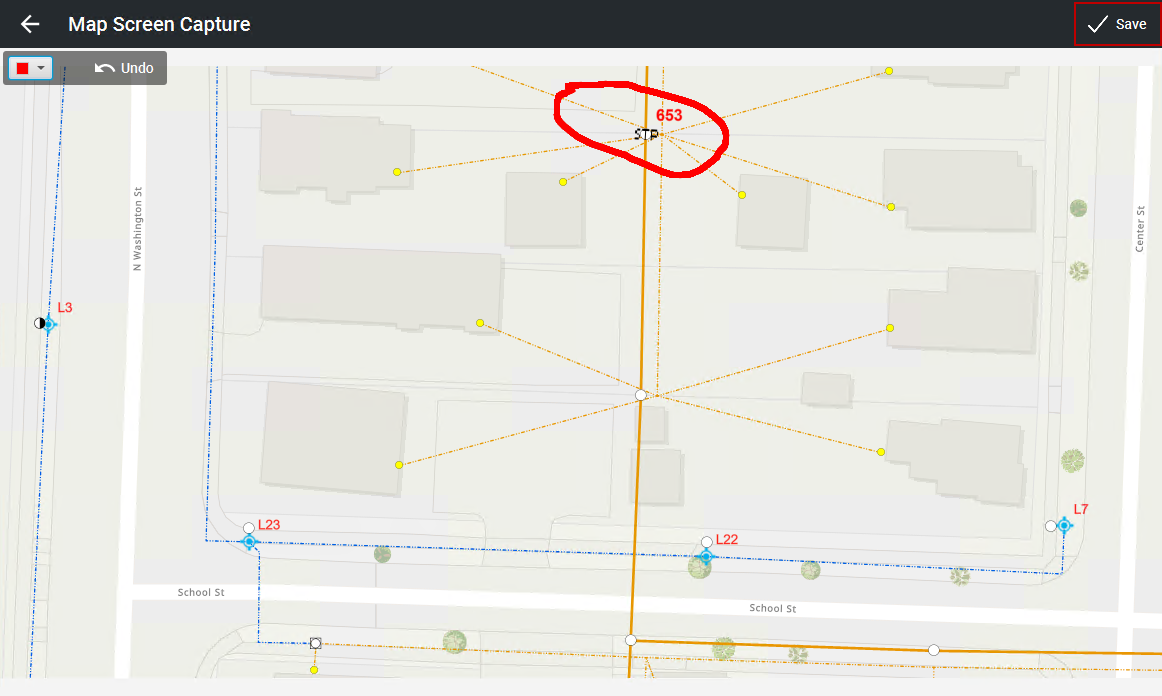
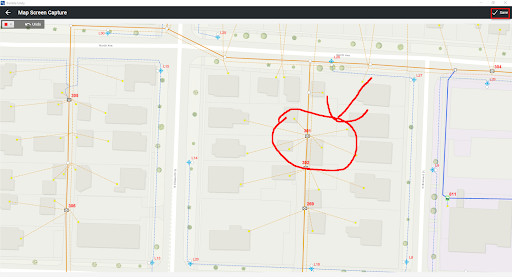
The mark up (or redline) screen opens and allows you to mark up the image.
- Mark up the image as needed. You can use the Undo button to remove a previous markup and use the color palette to change the color of the markups.
- Once you are done marking up the image, click Save.
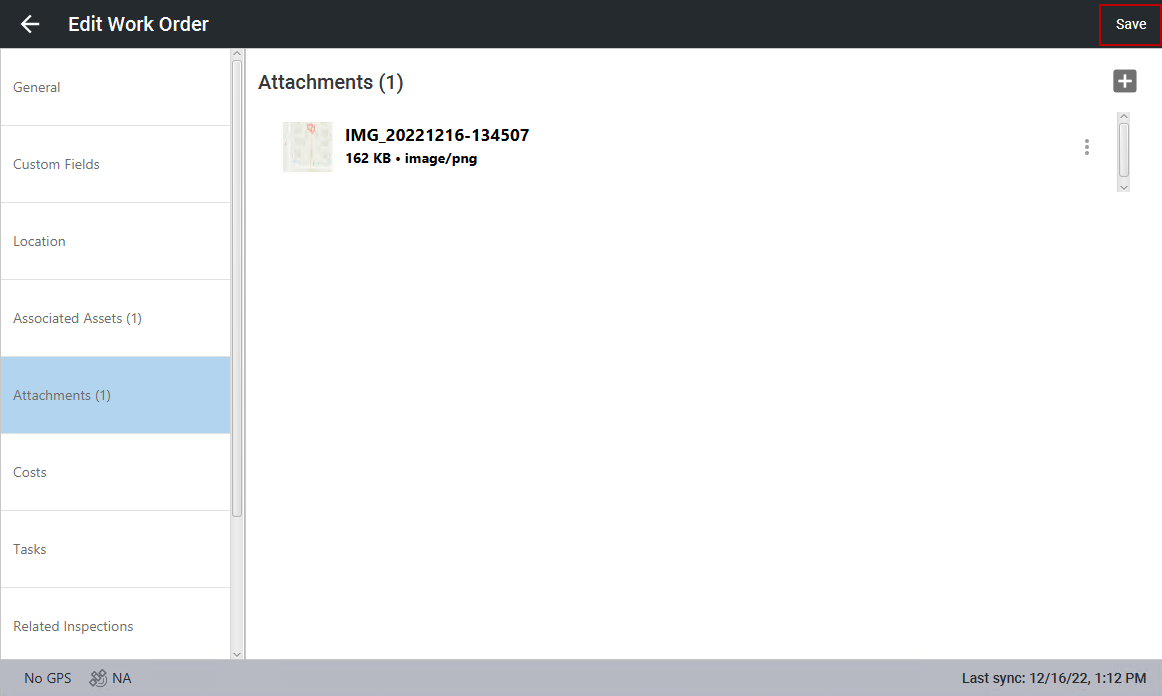
The image and markups are saved to the Attachments section of the work order.
- Click Save to save the work order.
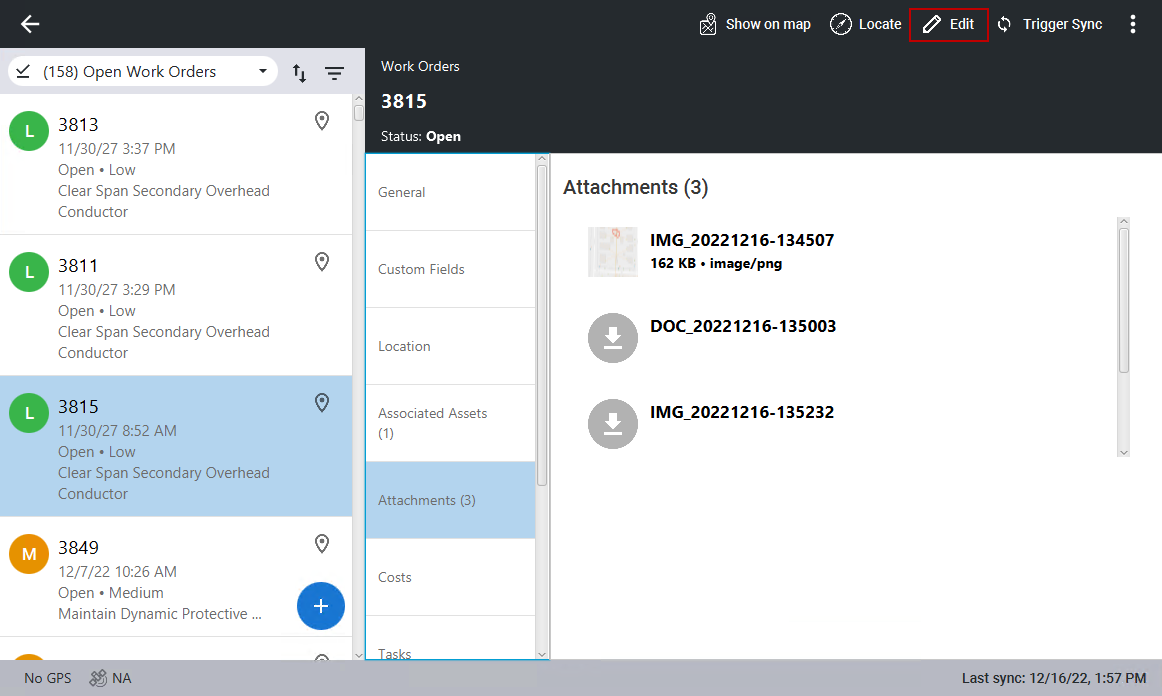
- Select an existing attachment. If it was added in Cityworks, you may need to perform a sync or download the image. To download the image, click the download icon to the left of the image you want.
- Click Edit in the top-right corner.
- To the far right of the image you want to mark up, click the vertical three dots and click Markup.
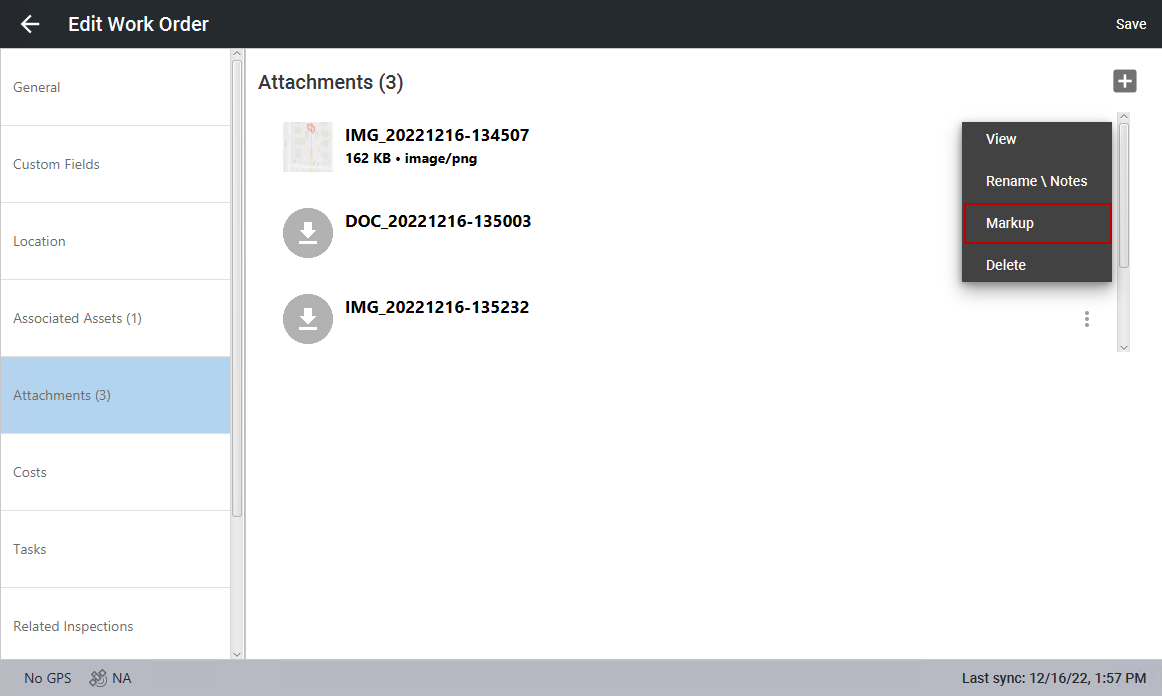
- Mark up the image as needed. You can use the Undo button to remove a previous markup and use the color palette to change the color of the markups.
- Once you are done marking up the image, click Save.
The image and markups are saved to the Attachments section of the work order.