Add a User
This section discusses how to add and configure new PLL users.
|
|
 PREREQUISITES:
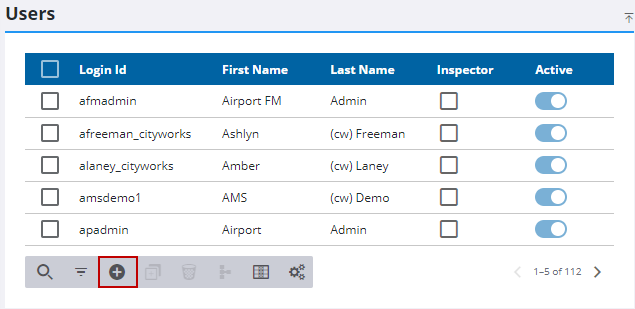
- From the home page, click PLL and click Users.
- On the Users panel, click Add record.
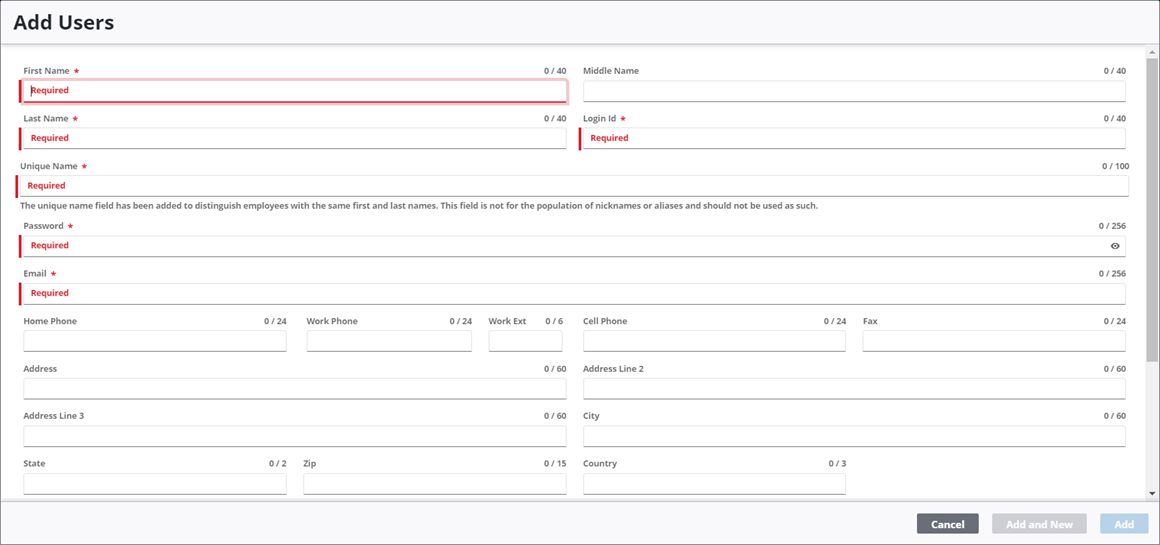
- On the Add Users panel, enter the user's name in the First Name and Last Name fields.
- On the Unique Name field, enter an additional name, if needed, to distinguish the new employee from one or more existing employees who have the same first and last name.
- In the Login Id field, enter a unique identifying code for the user.
 IMPORTANT: When adding a user, the Password must meet the password requirements defined in Preferences. See Configure Global Preferences for more information.
- In the Password field, enter a preliminary password for the user.
- In the Email field, enter the user's email address.
- Enter as much contact information for the user as possible.
- Use the Department drop-down list to select the department the user belongs to.
- If applicable, use the Division drop-down list to select the division the user belongs to.
- The Void Allowed check box is currently under development.
- Select the Public Site Admin check box to give the user administrator permissions for Public Access.
- Select the Inspector check box to designate the user as an inspector and eligible to receive inspection tasks.
- Use the Organizations drop-down list to select the organization (or organizations) the user belongs to.
 NOTE: Organizations are configured in Admin by the PLL administrator. See Organizations for more information.
- Use the Default Organization drop-down list to select one of the user's organizations as their default organization.
- Use the Security Roles drop-down list to select which security role (or roles) the user belongs to.
- Click Add to add the user or click Add and New to create another user.
NOTE: The Review Config panel provides visibility of where a selected data item (such as a case type, PLL user, status code, or other PLL item) is being used. See Review PLL Configurations for more information.