Add a Data Detail to a Case Data Group
|
|
 PREREQUISITES:
- From the home page, click PLL and click Case Data Setup.
 TIP: You can filter the list of records displayed. See Filter Records for more information.
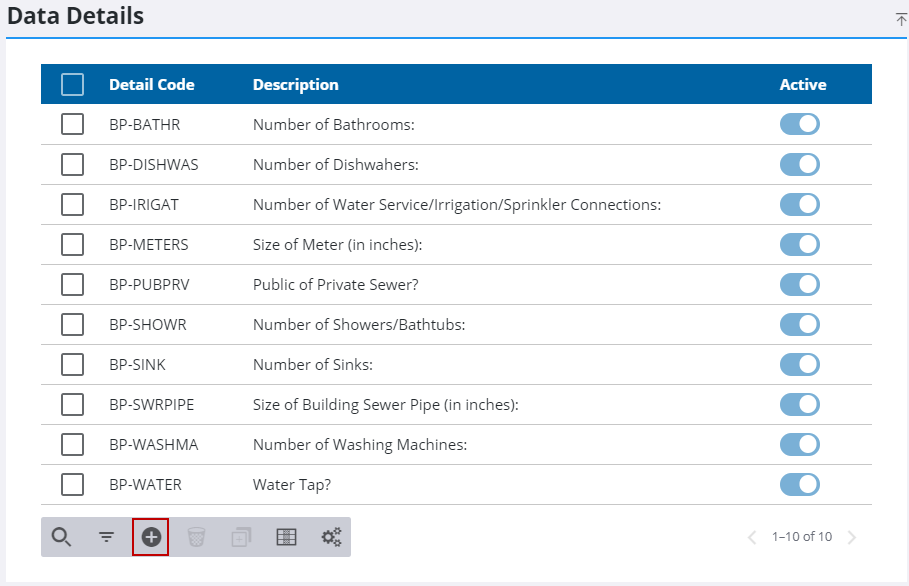
- On the Case Data Setup panel, select a data detail.
- On the Data Details panel, click Add record.
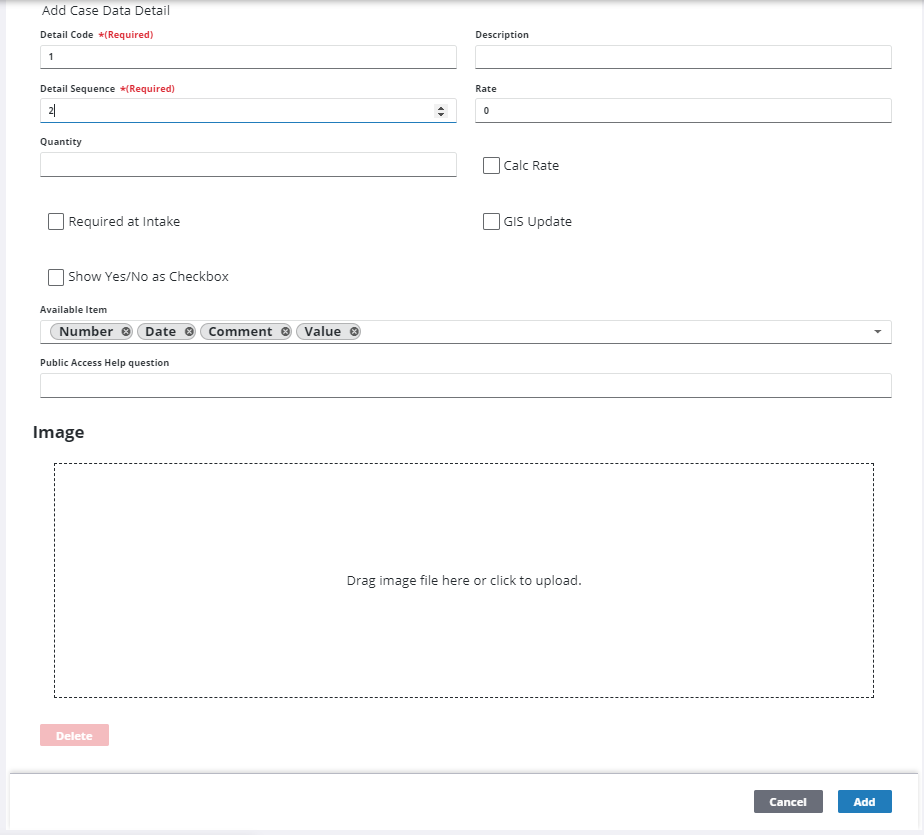
- In the Add Case Data Detail section, enter a code (10 characters maximum).
-
Enter a brief explanation of the detail in the Description field.
- Enter a number in the Detail Sequence field. This number will determine what position the detail will occupy if there is more than one detail in the data group.
-
Select the Calc Rate check box to indicate that the value associated with this detail should be included in any calculations based on the data group.
The Rate and Quantity fields are closely related and apply only to the Value Flag. The rate and quantity will be multiplied together to produce a value that can be used to calculate fees.
- Specify the rate (multiplier) for the item associated with this data detail in the Rate field.
- Specify the quantity in the Quantity field to establish a default quantity for the item in question.
- Use the Image field to upload any relevant images to the data detail.
- Select the Required at Intake check box to make this detail a required item on the Application Input page.
- Select Show Yes/No as Checkbox if you would like yes/no questions to appear as check boxes instead of option buttons.Select the GIS Update Only check box if you want to automatically populate this field with data from the GIS.
 NOTE: When this check box is selected, users cannot enter values manually for this field. This field will be populated automatically when the user attaches a configured asset to the case.
- To assign case data flags to the detail, select the flag(s) you want to add from the Available Item drop-down list.
- In the Public Access Help Question field, provide any information about this data detail that might be useful to Public Access users.
- Click Add.