Add a Custom Form
|
|
 PREREQUISITES:
- From the home page, click PLL and click Custom Form.
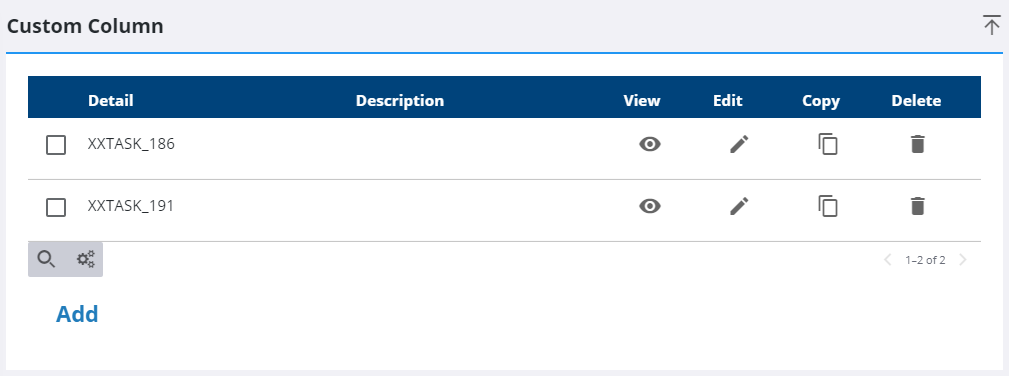
- Click Add on the Custom Column panel.
- Enter a name in the Table Name field. This is a required field.
- Enter a brief definition of the table in the Table Description field.
- In the Add Column section, enter the Column Name. This name is how the custom field is identified in the database.
- Use the Data Type drop-down list to define what kind of data the field accepts. The options are Character, Integer, Decimal, and Date.
- Select an Input Type using the drop-down list. The options include TextBox, CheckBox, DropDown, EncryptedText, MultiLine, MultiSelect, Password, and RadioButton.
 IMPORTANT: The Input Type should correspond to the Data Type. For example, a Character data type is appropriate for a Text Box input type.
 NOTE: If the EncryptedText option is selected for the Input Type, a user in Respond will only see dots as they enter data into that field. The minimum Length for an encrypted field must be set to 100.
- In the Length field, enter the number of characters allowed in the custom field.
- Enter the Scale.
- In the Display Label field, enter the name for the field that users see.
- Enter the Default Text.
- If the field uses the DropDown input type, enter the items listed in the drop-down list in the List Item (Separated by commas) field. Put a comma between items, but not a space.
- If the field is a required field, select the Required check box.
- Click Add.
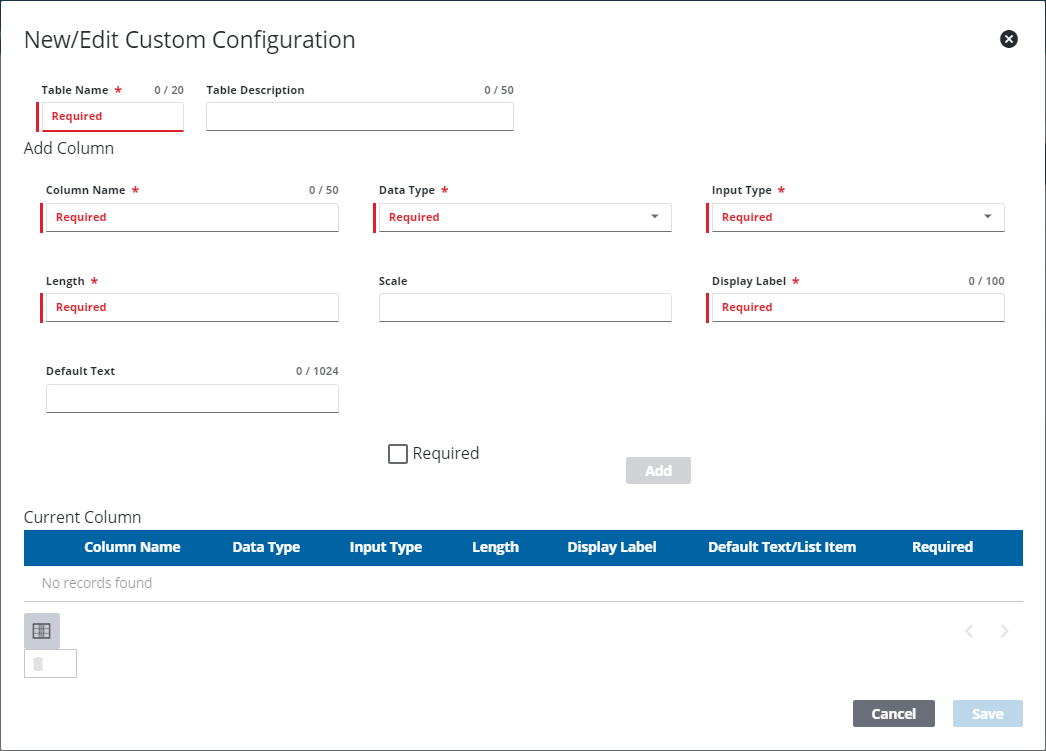
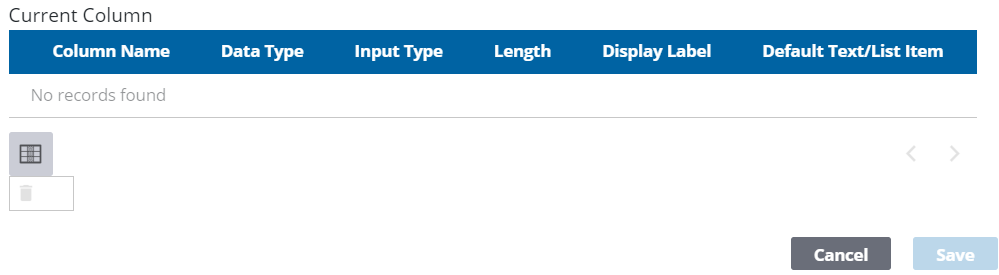
This adds the column to the Current Column list.
- Click Save.
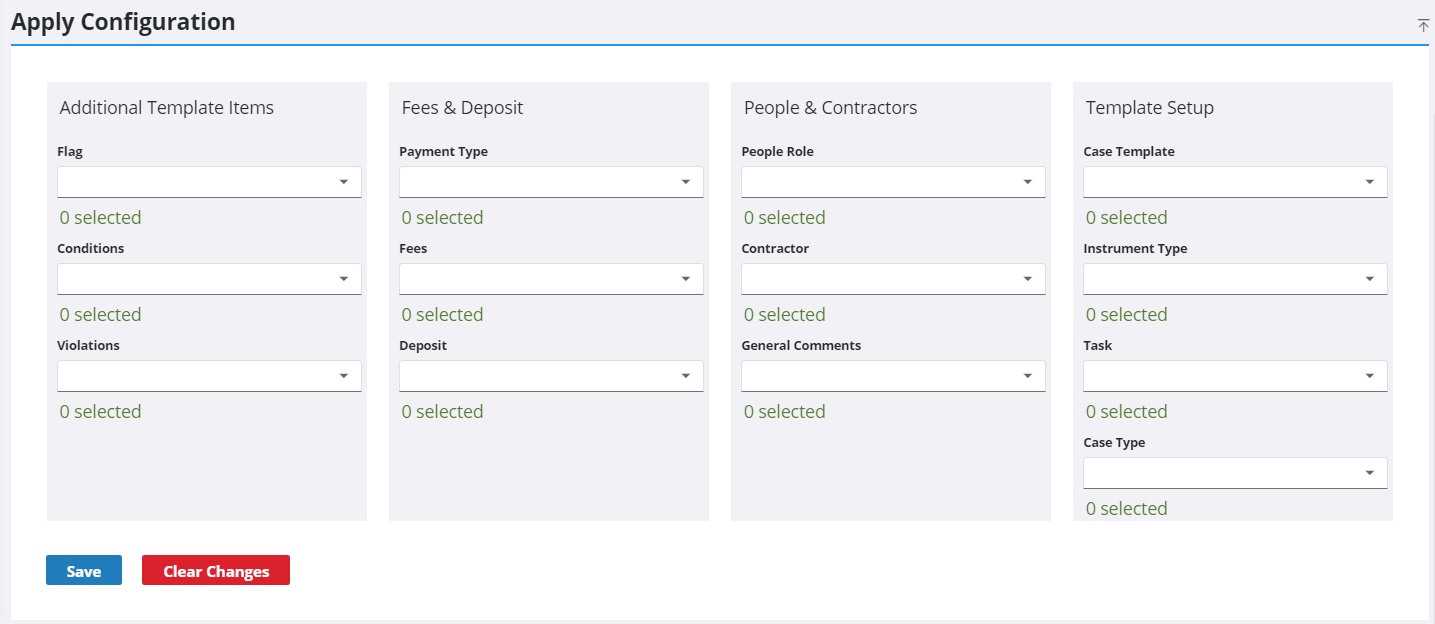
To finish configuring a custom column, follow these steps:
- Select it from the Custom Column panel.
- On the Apply Configuration panel, use the drop-down lists to designate which template components the custom fields in the column displays on.
- Click Save.