Add a Web Scene
Add a Web Scene for use with 3D map functionality.
- Click the Service Resources tab.
- Click Add record on the Service Resources panel.
- Enter a Name for the service.
- Select Web Scene from the Service Type drop-down list.
- Enter the Web Scene Id.
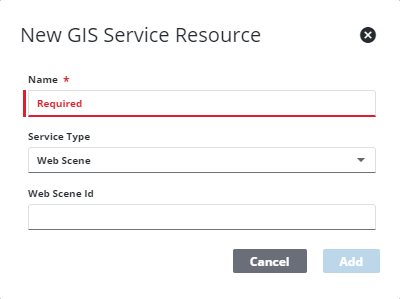
- Click Add.
 TIP: You can filter the list of records displayed. See Filter Records for more information.
- Select the new resource from the Service Resources panel to finish entering the Resource Details.
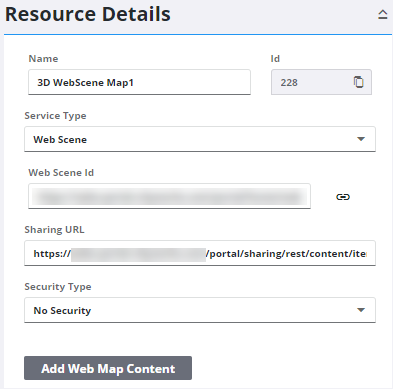
The Id, a unique number assigned to the service resource, appears to the right of the resource Name.
-
Enter the Sharing URL.
- Select the Security Type, either No Security, OAuth2 App, OAuth2 User, or Token.
See Configure Service Resource Security for more information on security types.
- Click the link icon next to the Web Map Id field to return the JSON details for the Web Map.
- To add web map content as a service resource without manually entering it in, click Add Web Map Content. Cityworks creates a new service resource for any service URLs within this web scene that haven't been added yet. Click the new service resource to finish configuring it.
Once a Web Map is added as a resource, add it to a Service Definition. See Add Services to a Service Definition for more information.
 NOTE: Admin automatically saves the changes you make. A notification pops up at the bottom to verify changes have been saved.