Configure Equipment Hierarchy
The Equipment Hierarchy panel is used to organize equipment into categories to make equipment easy to find when adding it to a work order on the Equipment page as well as in ELM. A piece of equipment can reside within more than one category.
- From either the home page or General tab, click Equipment.
The existing categories display in the Equipment Hierarchy panel. The categories are arranged alphabetically within the hierarchy.
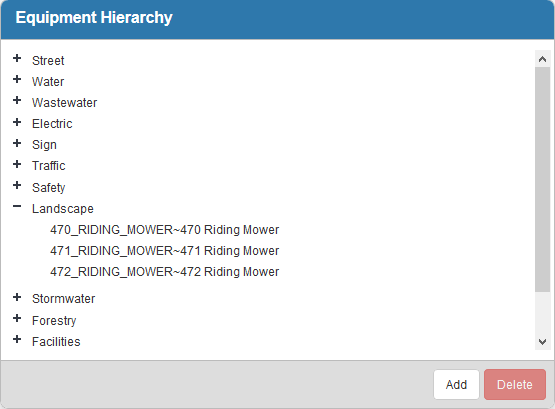
- Click Add to add a new category. Type the name of the category and press Enter or click Add.
- Double-click a category name to edit it.
- Add equipment to the categories. Click the reorder icon next to any piece of equipment in the Equipment panel and drag it to the desired category in the Equipment Hierarchy.
 TIP: You can use <Shift + click> or <Ctrl + click> to select multiple pieces of equipment.
- Once a category has equipment within it, you can click the plus icon next to the category to expand it.
- To remove a piece of equipment from the category, select it and click Delete.
 NOTE: This does not delete the equipment from the system, but removes it from the category.
- To remove a category, select it and click Delete.
NOTE: If you delete a category, it also deletes all the equipment in that category from the hierarchy.
NOTE:
