Configure the Core Application
Once the host is installed, it is time to log in to the host application where the core application is configured.
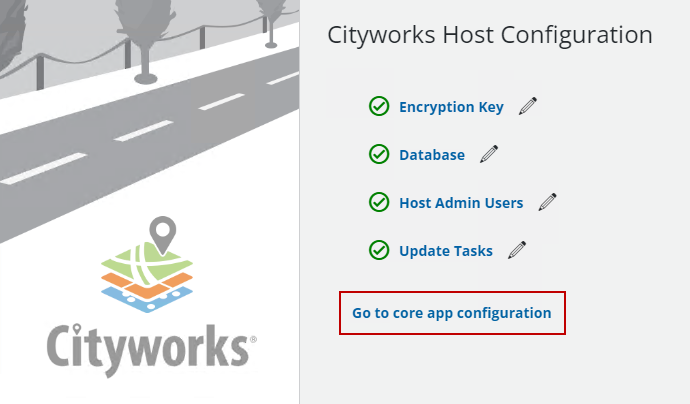
- Click Go to core app configuration.
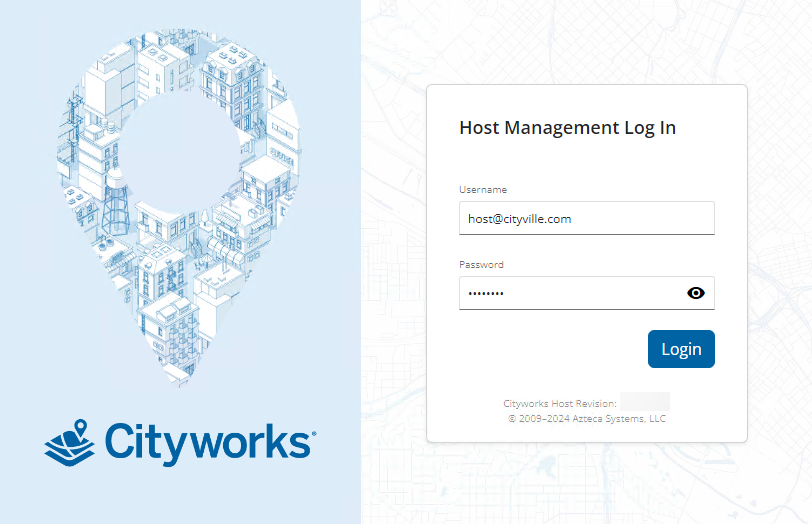
- Log in as the Host Admin User you just created.
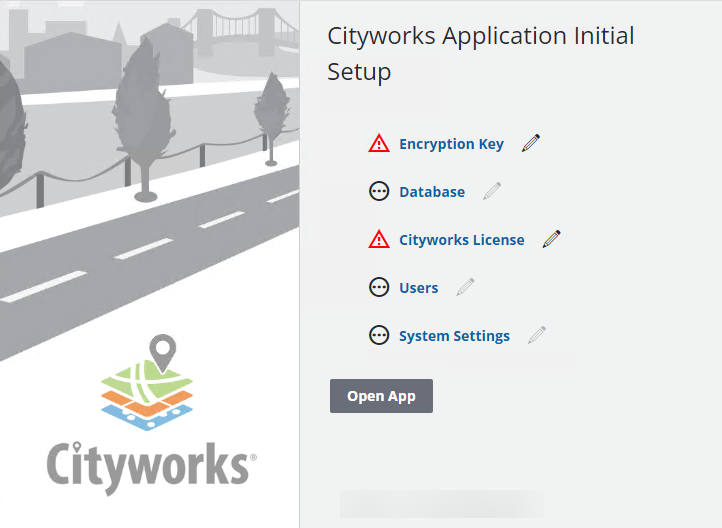
- Click the edit icon next to Encryption Key.
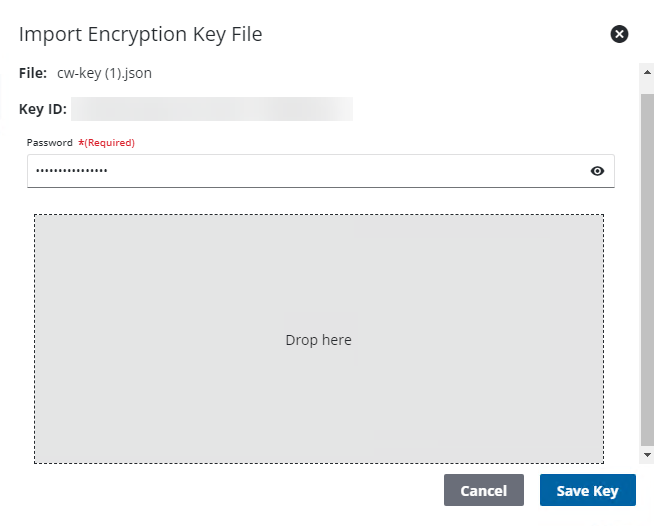
The key file that was created for the host should be used for the core app as well.
- Click Import Key File.
- Enter the Password that was created earlier.
-
- Click Save Key.
- Click Return.
- Click the edit icon next to Database.
- Add the same connection string that you added in the host configuration.
 IMPORTANT: If you are an Oracle user, the azteca user must be used here for the User and Password fields.
- Select the connection string you just added from the Active Connection String drop-down list.
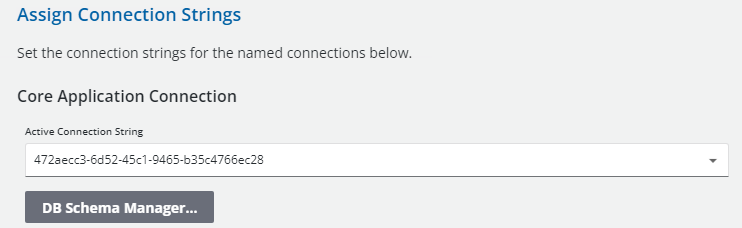
- Next, click DB Schema Manager and click Update Database on the Database Schema Manager panel.
This creates and updates the core database tables to the latest version.
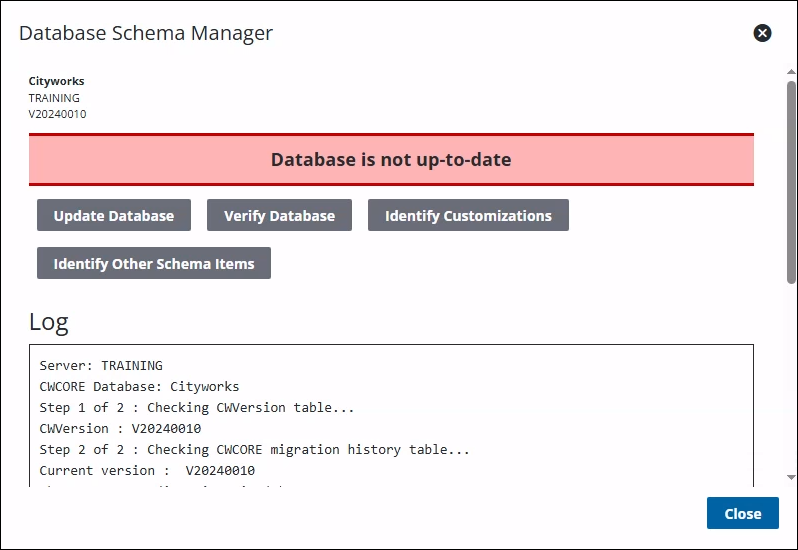
IMPORTANT: The red Database is not up-to-date message might not appear under certain circumstances. Even if it does not appear, you still need to complete the steps to update the database.
The Database Schema Manager panel shows the progress while it checks the CWVERSION and migration history tables. The Log displays messages from Database Schema Manager.
Once it's successfully completed, users receive a message indicating that the database was successfully updated. If not, the log shows where any issues were encountered. The Log also states any data migrations that need to be completed. See Data Migration Manager Guide for more information.
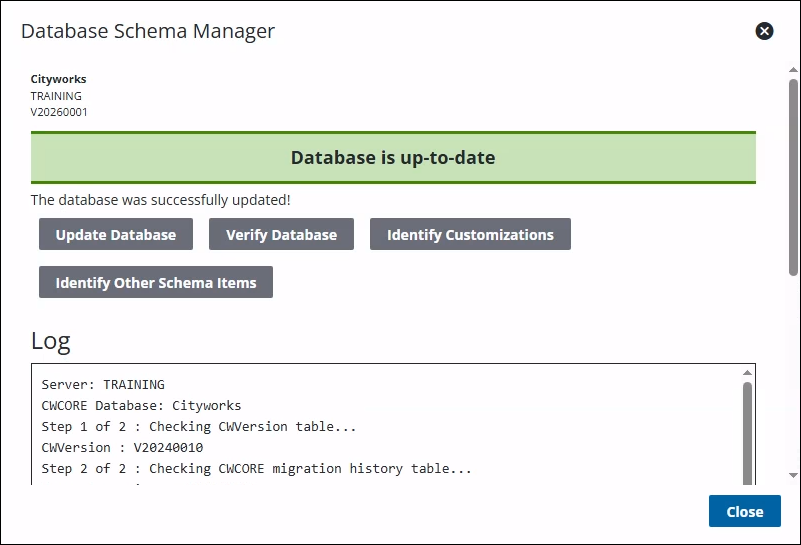
- Click Verify Database to identify any additional schema changes that need to be made. If there are any errors in the log after verifying the database, you can fix them by running the SQL scripts provided at the bottom of the log.
- Click Identify Customizations to locate any customizations in the database.
- Click Identify Other Schema Items to locate anything that's been added to the database, such as additional tables, views, or procedures.
- Click Close.
 TIP: If you need to manually open Database Schema Manager, it can be accessed from the Cityworks 23.

- Click Return.
- Click the edit icon next to Cityworks License.
There are two options for activating your license key: Online Activation or Upload. Online is the preferred method, while Upload is only used in rare cases when a site is unable to reach the authorization servers that Azteca Systems uses. Please note that this is usually caused by a proxy server being involved with internet access at the site. See Offline Activation for more information.
- Click Online Activation to activate the license key.
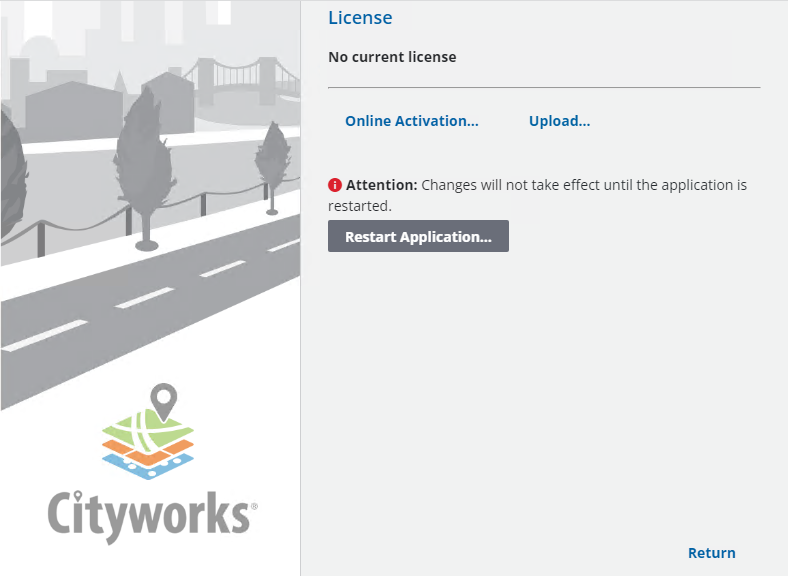
- Enter the License Key number.
- Click Activate.
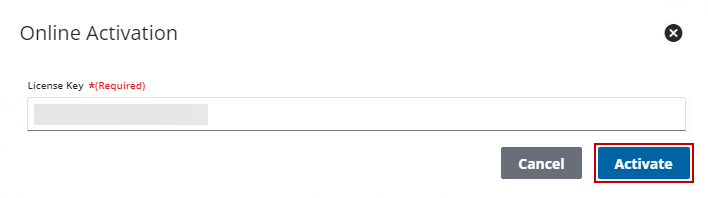
When the license information has been retrieved a success message displays.
- Click Return.
A Cityworks domain and administrator login needs to be created.
- Click the edit icon next to Users.
- Click Add record on the Employees panel.
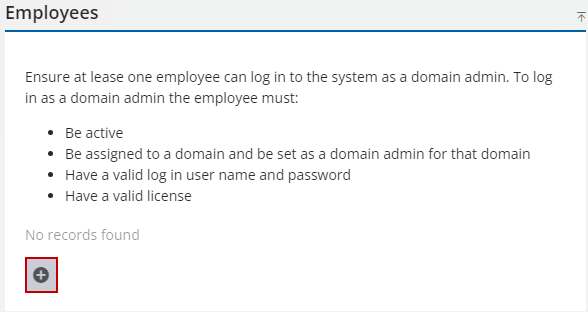
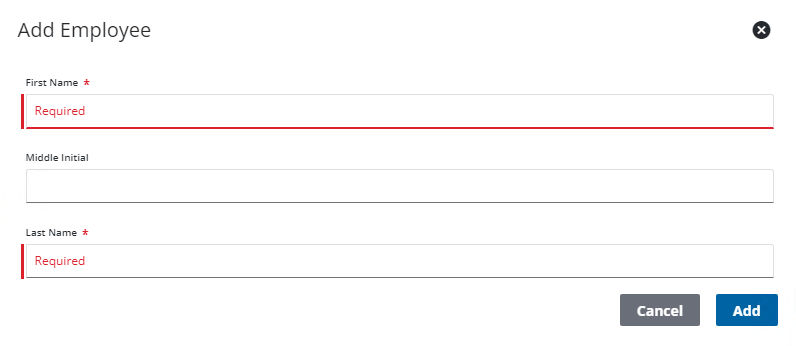
- Enter the First Name, Middle Initial, and Last Name.
- Click Add.
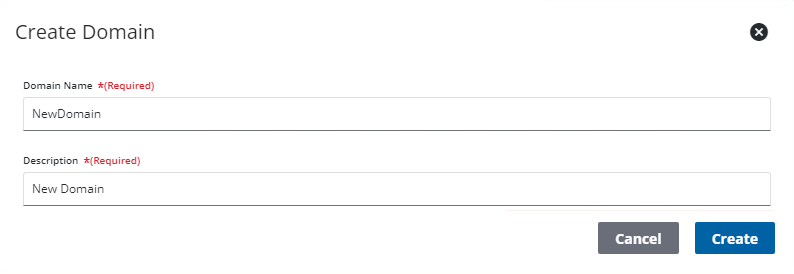
- Click Create New Domain.
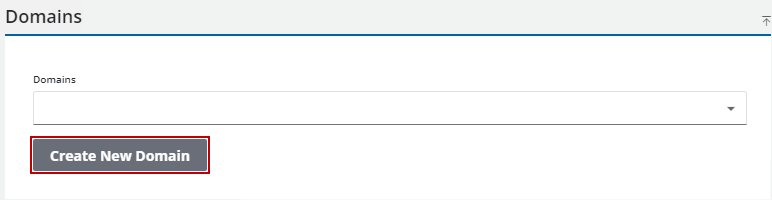
- Enter the Domain Name and Description.
- Click Create.
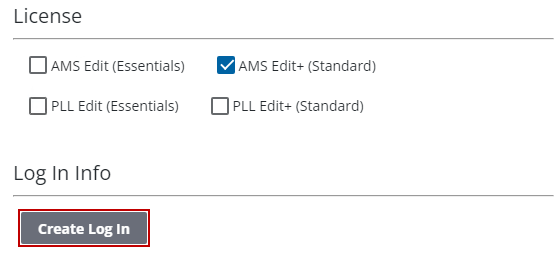
- Select the new user and assign licenses to them.
- Select the user's Domains and Current Domain.
- Click Create Log In.
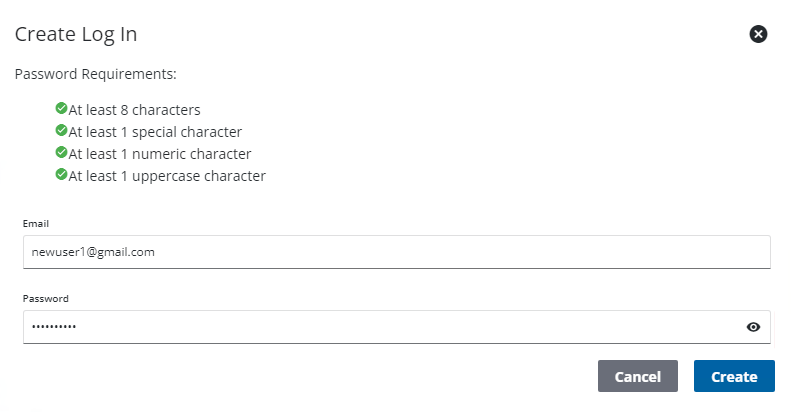
- Enter the Email and Password.
- Click Create.
Now that the user has been created, they can be assigned as the Domain Administrator
- Select the newly created domain from the Domains drop-down list in the Domains panel.
- Click Add record.
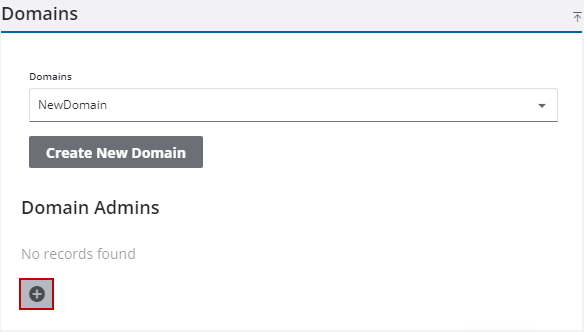
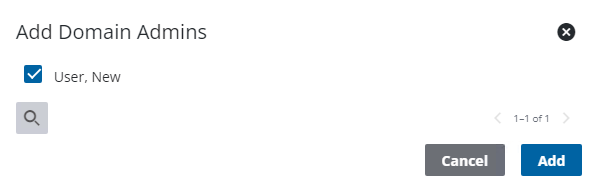
- Select the user and click Add.
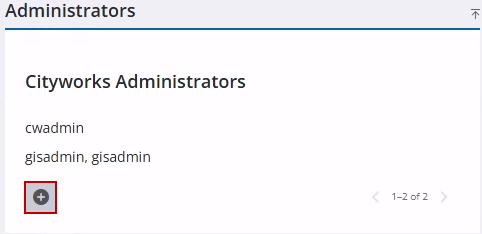
- Click Add record on the Administrators panel to add a Cityworks administrator.
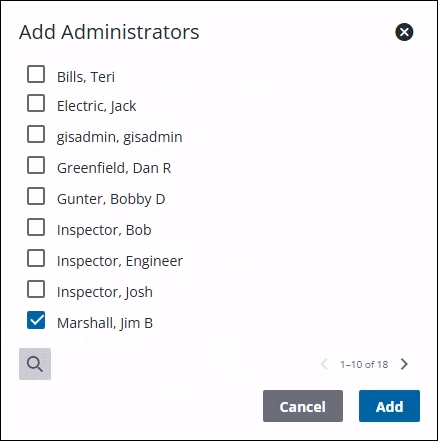
- Select an employee and click Add.
- Click Return.
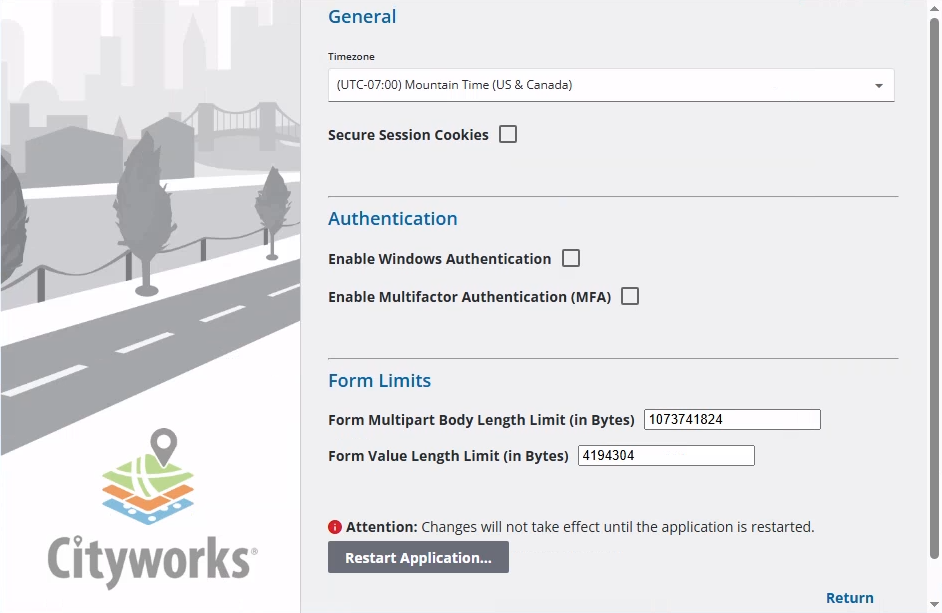
- Click the edit icon next to System Settings.
- Select the Timezone.
- Select Secure Session Cookies to only send session cookies over HTTPS. Selecting the check box might cause issues if your Cityworks site isn’t running in HTTPS or if it’s behind a reverse proxy that terminates HTTPS before it reaches the site.
- Select Enable Windows Authentication to set the site to use Windows Authentication.
IMPORTANT: Starting in 23, Cityworks handles Windows Authentication in the app rather than in IIS. The following settings need to be configured manually in IIS Manager to support this. Anonymous Authentication should be set to Enabled and Windows Authentication should be set to Disabled.
- Select Enable Multifactor Authentication (MFA) to enable MFA in the site. Once it's enabled, set up the Multifactor Authentication preferences for your site in Admin. See Configure Global Preferences in the Admin 3.10 Guide.
- Enter the Form Multipart Body Length Limit (in Bytes). To support attachments larger than 1 GB being uploaded to a work activity, enter 2147483648. Increase the number as needed.
- Enter the Form Value Length Limit (in Bytes). To support attachments larger than 1 GB being uploaded to a work activity, 4194304. Increase the number as needed.
These values need to match what is entered in the settings in the app-settings.yaml file as well. See Attachment File Size Update for more information.
- Click Return.
TIP: To access your new site, enter https://<server>/<site>/login in a browser.
IMPORTANT: If you are installing Cityworks with a brand new database, a site admin (CWDBA) needs to be manually created. See Database Schema Manager for more information.