Configure Controls on a Case Template
The Controls sub panel allows PLL administrators to add and edit functions on a case template and organize them. When a case is created, these functions appear as panels on the Application Input and Summary pages. The Controls sub panel can be accessed either from the Add: Case Template panel or from the Edit: Case Template panel, but the Controls sub panel works the same no matter which panel you use to access it.
|
PREREQUISITES:
|
To add functions to a case template, complete these steps:
- Open PLL Admin.
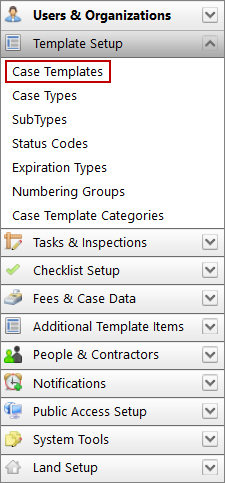
- On the PLL Admin page, click Case Templates on the PLL Admin menu panel and select Template Setup.
- Add a new case template or click Edit record next to an existing template.
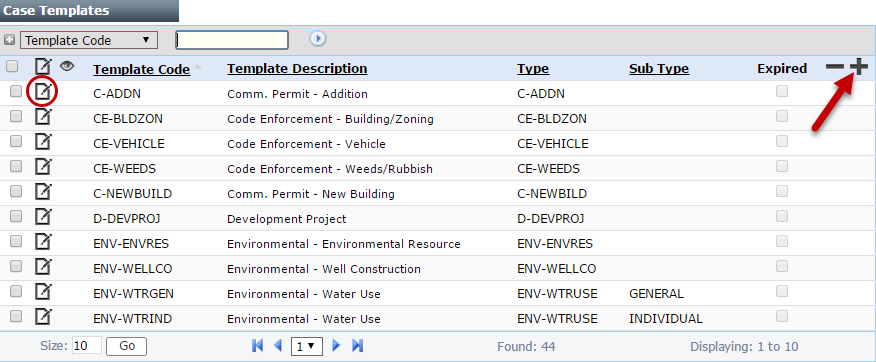
 NOTE: Search or filter the records on this panel to quickly find the one(s) you want. See Search and Filter Records for more information.
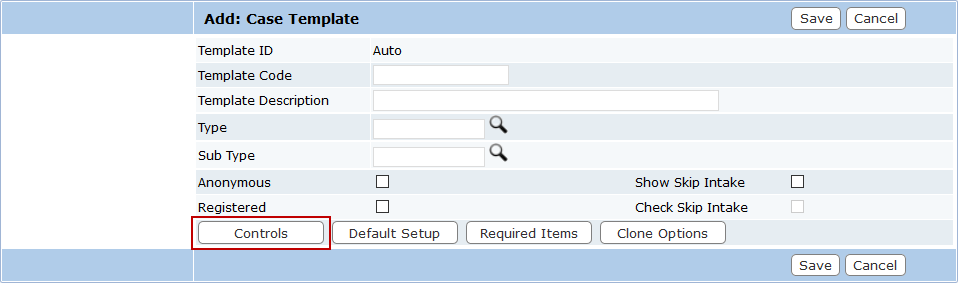
- When the panel (either add or edit) opens, click Controls near the bottom of the panel.
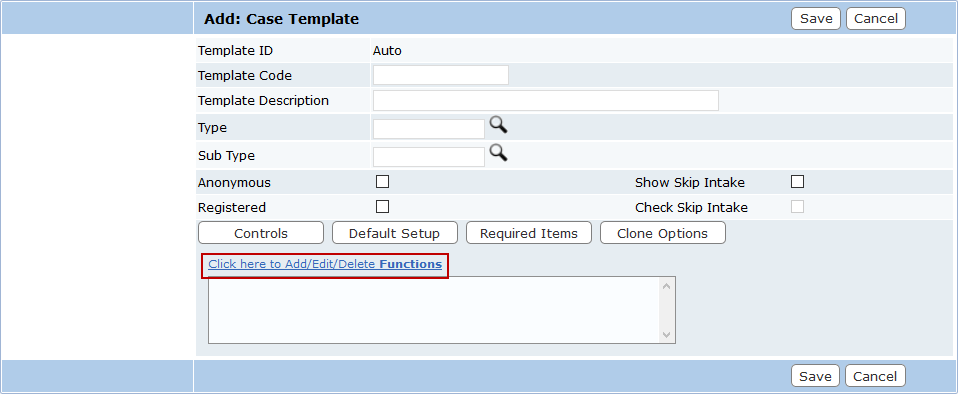
- The sub panel will display below the Add: Case Template or Edit: Case Template panel and contains a single field and a link that says Click here to Add/Edit/Delete Functions. Click the link.
The new window contains two fields: Available Controls and Selected Controls. The window also contains four arrow buttons.
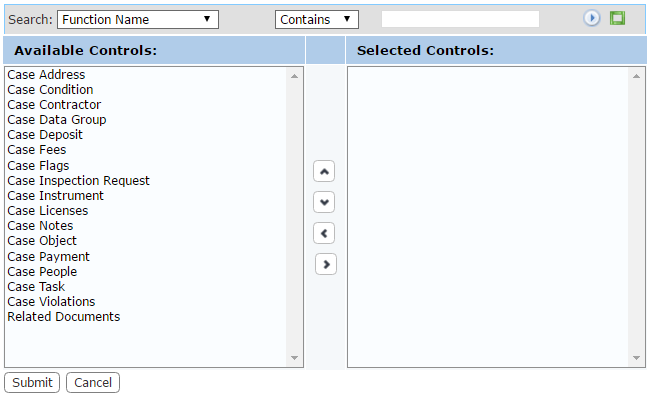
The field on the left displays all the available items. The field on the right lists which items are accessible to end users when they use this case template.
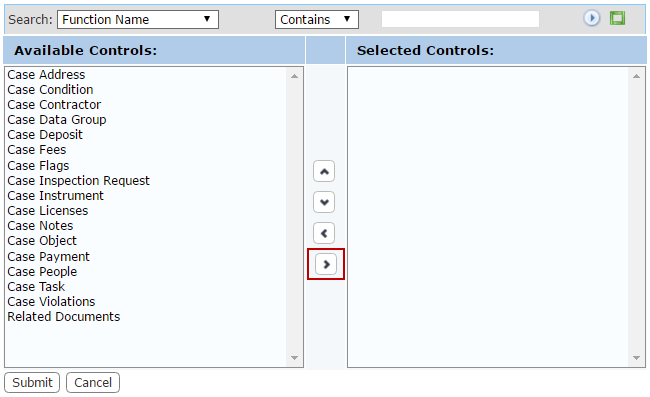
- Select items in the Available Controls field by clicking on them.
 TIP: Use <Ctrl + click> or <Shift + click> to select multiple items.
- When you have selected the items you want, click Move highlighted item(s) to Selected List to add them to the Selected Controls field.
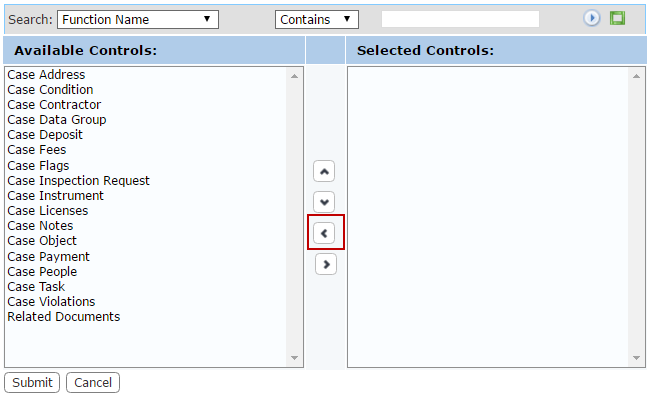
Items may be removed from a template by selecting the item you wish to remove in the Selected Controls field and clicking Remove highlighted item(s) from Selected List.
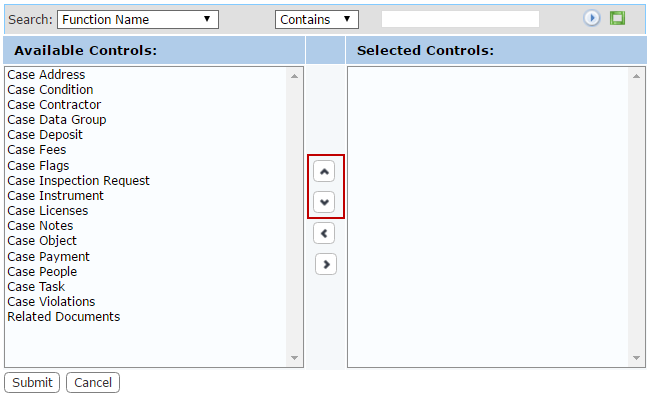
You can move an item up or down in the Selected Controls field by selecting the item you wish to move and then clicking Move selection up or Move selection down until the item is in the desired place. These items will appear on the Application Input and Summary pages in the same order as they appear in this field.
- When you have added and arranged the items you want, click Submit. This will add the items to the template and close the add window.
- After you have finished selecting items, click Save on the add or edit panel.

Documentation Feedback Form
Please give us feedback about this Cityworks guide.
If you have a feature enhancement request, please see the Ideas page on MyCityworks.
Last updated 2/4/2020.
Copyright© 2010–2019 by Azteca Systems, LLC. All rights reserved.