Add a Condition
This section will discuss how to set up a new condition.
|
|
 PREREQUISITES:
To add a new condition, follow these steps:
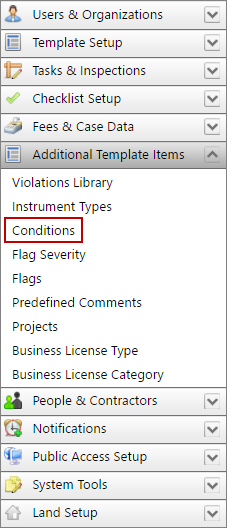
- Click Additional Template Items on the PLL Admin menu and select Conditions.
- On the Conditions panel, click Add record near the upper, right-hand corner.
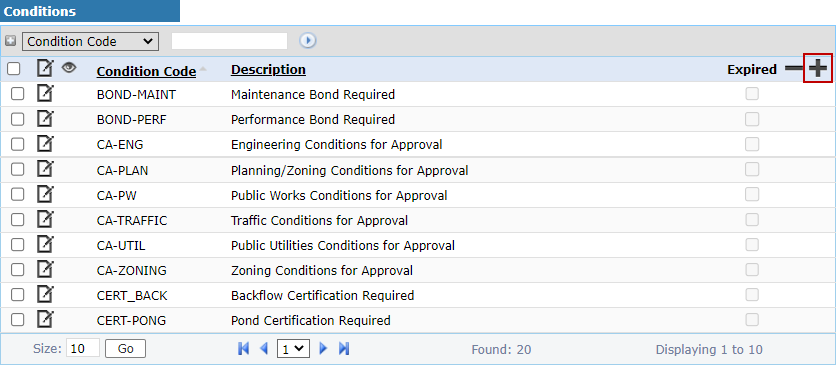
 NOTE: Search or filter the records on this panel to quickly find the one(s) you want. See Search and Filter Records for more information.
- When the Add: Conditions panel opens, enter a name (10-character maximum) for the condition in the Condition Code field.
- Enter a brief explanation of the condition in the Description field (for example, deadlines, requirements, additional resources, etc.).

- Provide information about the condition (for example, deadlines, requirements, additional resources, etc.) in the Condition Detail field. Other details, such as contact information, may be added to the Condition Comment field.

- Use the Pre Post Exist drop-down list to indicate when the condition must be fulfilled: before a permit is issued (Pre), before it is finalized or completed (Post), or throughout the permit process (Exist).
- Click Lookup next to the Discipline Code field to open a selection window and choose a discipline or trade required for the condition.
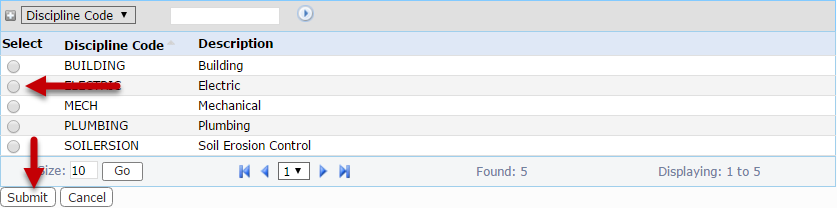
- Select the option button next to the discipline you wish to add and click Submit.
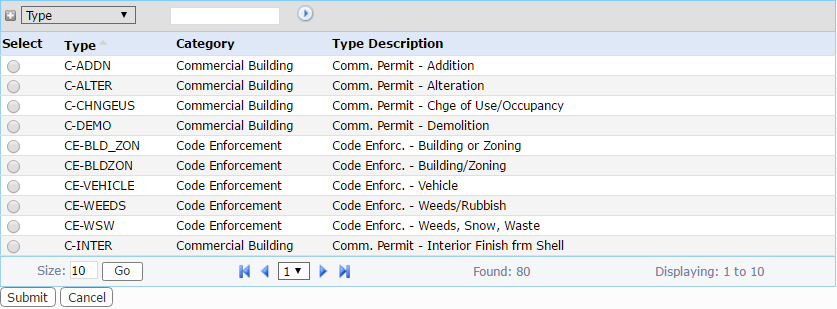
- Click Lookup next to the Type field to select a case type that the condition will apply to.
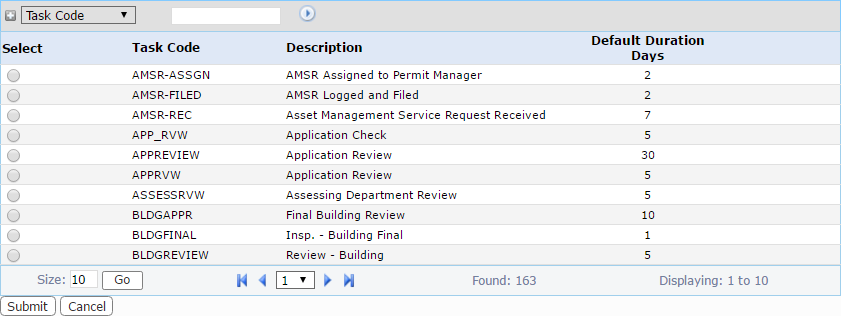
- Click Lookup next to the Task Code field to select a task this condition will apply to.
- Select the Anonymous and Registered check box if the condition will be available to guest users and registered Public Access users respectively.
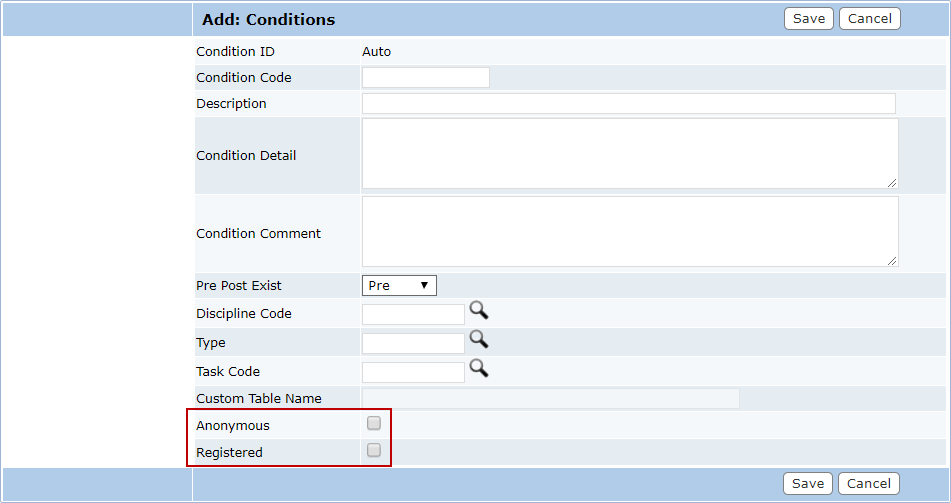
- Click Save.

