Enable Inspection Scheduling in Public Access
Public Access allows users to schedule inspections for a case from the Public Access portal. Enabling this option requires several conditions to be met in PLL Admin. When determining which inspector is available to do an inspection for inspections scheduled in Public Access, the system first looks for an Assigned To user on the task. If there isn’t an Assigned To user on the task, the system looks at the Discipline. If that isn’t set, the system looks for a Task Map Layer and sees if there is an Assigned To user in the GIS.
The first step is to configure the inspection task that is used to schedule inspections in Public Access.

- On the Task panel,
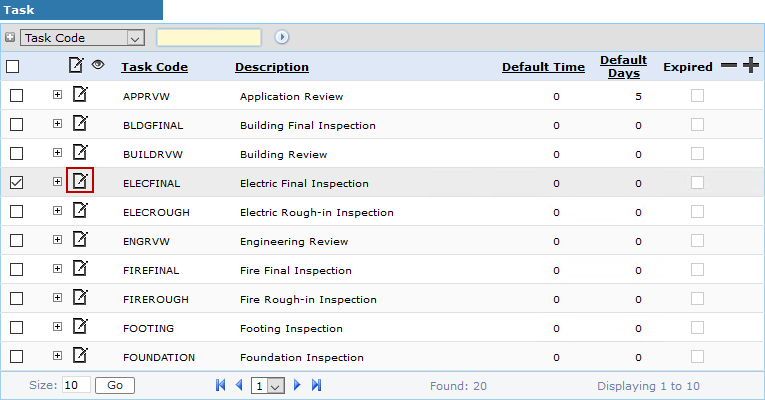
 NOTE: Search or filter the records on this panel to quickly find the one(s) you want. See Search and Filter Records for more information.
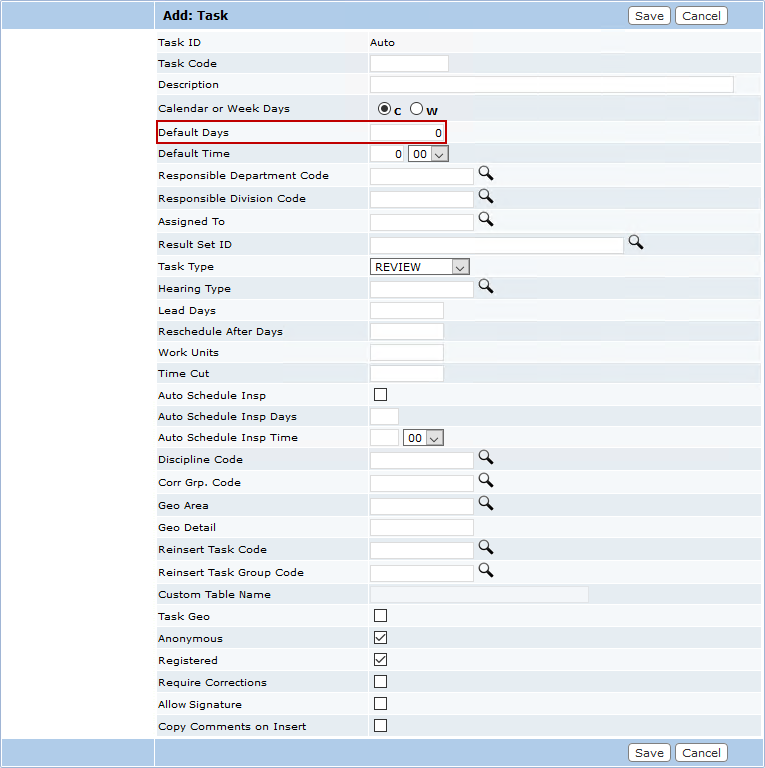
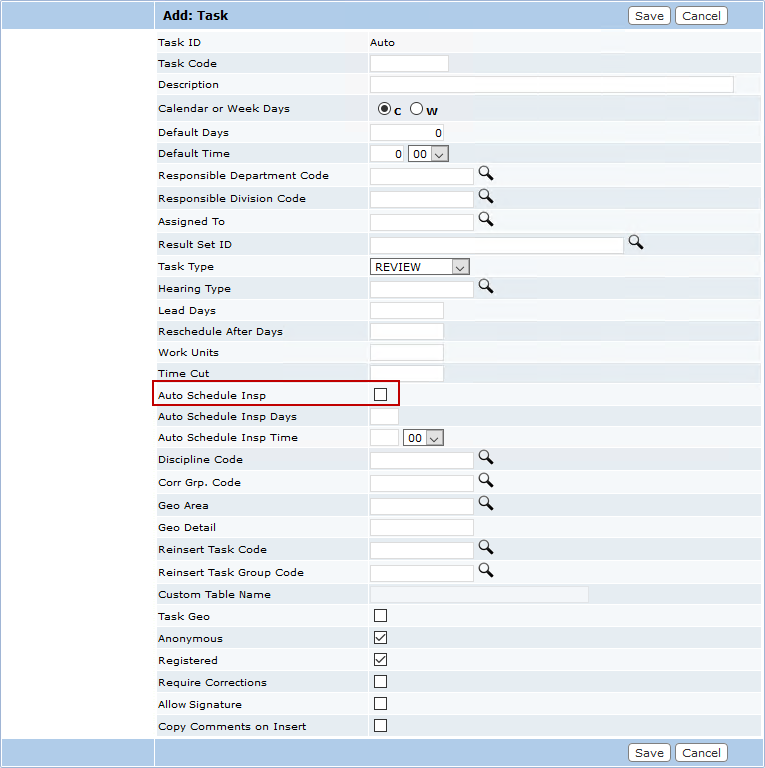
- On the Add: Task or Edit: Task panel, make sure the Default Duration Days field is set to zero. Any other value interferes with scheduling inspections from Public Access.
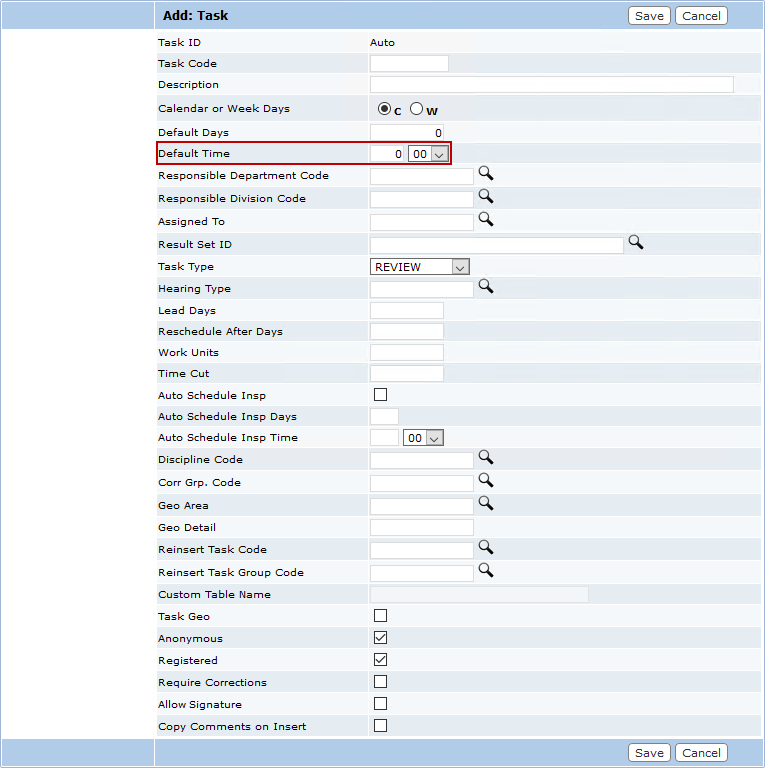
- In the Default Duration Time (hours) field, enter the estimated number of hours required to complete the inspection.
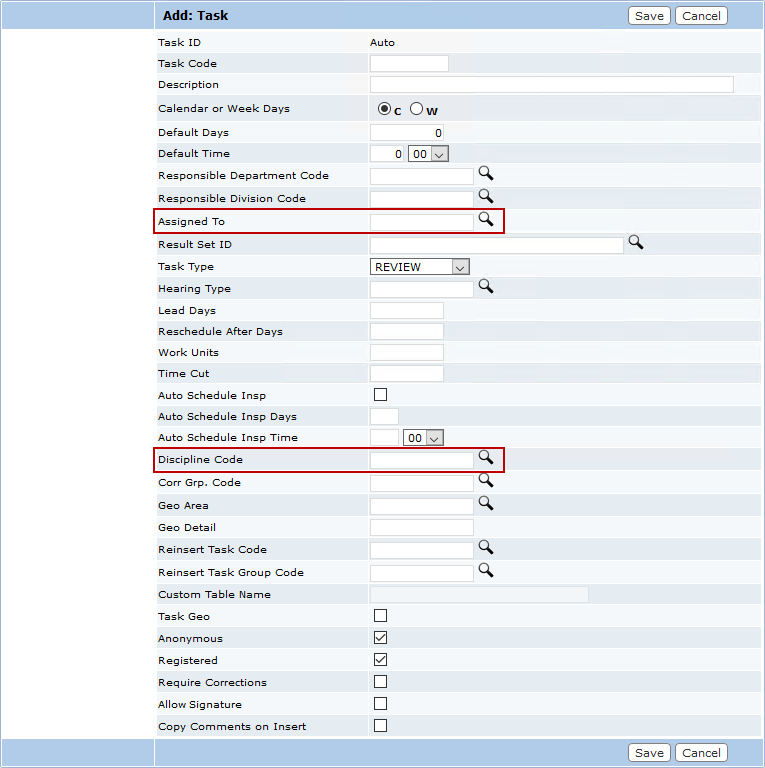
- You must either define a Discipline Code on the inspection task or define a specific inspector to handle this type of inspection in the Assigned To field.
 IMPORTANT: If you don't have one or the other of these options set up, users are not able to schedule this inspection from Public Access.
IMPORTANT: If you use a discipline code, the discipline must have at least one inspector assigned to it. Disciplines are associated to an inspector on the Inspector Setup panel. You can assign multiple disciplines to a single inspector. See Make a User an Inspector for more information.
 TIP: You can assign a default inspector to a specific discipline on the Add: Discipline and Edit: Discipline panels. If multiple inspectors are available at the requested date and time, the inspection is assigned to the default inspector first. See Disciplines for more information.
- Make sure the Auto Schedule Insp check box is cleared. If this option is selected, it interferes with the scheduling feature in Public Access.
The next step is to configure the inspector's schedule.
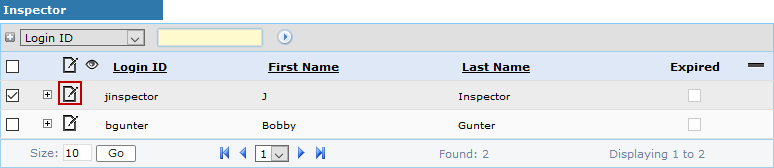
- Select Inspector Setup from the PLL Admin menu panel.

- On the Edit: Inspector panel, set the inspector's workload by selecting a day of the week using the Select Workload Day drop-down list and the Clock fields, then
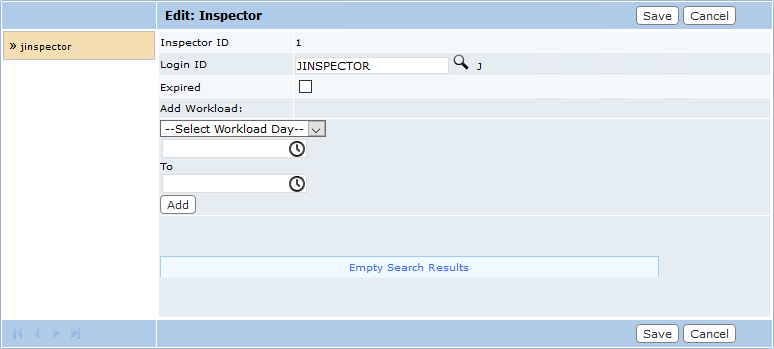
NOTE: The ending time is the end of the inspector's day, so if the end time is 5:00 p.m. nobody can schedule an inspection that goes past 5:00 p.m.
IMPORTANT: The inspector workload must be set up for inspection scheduling to work properly.
- If an inspector is taking time off work, be sure to add those days under Inspector Days Off. Inspections are not assigned to inspectors on their days off. See Inspector Days Off for more information.
IMPORTANT: If the Calendar or Week Days setting on the inspection task is set to Calendar, inspection scheduling does not take into account holidays or days off. If it is set to Week Days, inspection scheduling does take into account holidays and days off. See Holidays for more information on configuring holidays.
The next step is to configure related preferences.
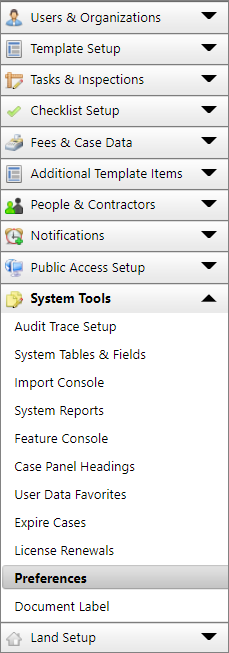
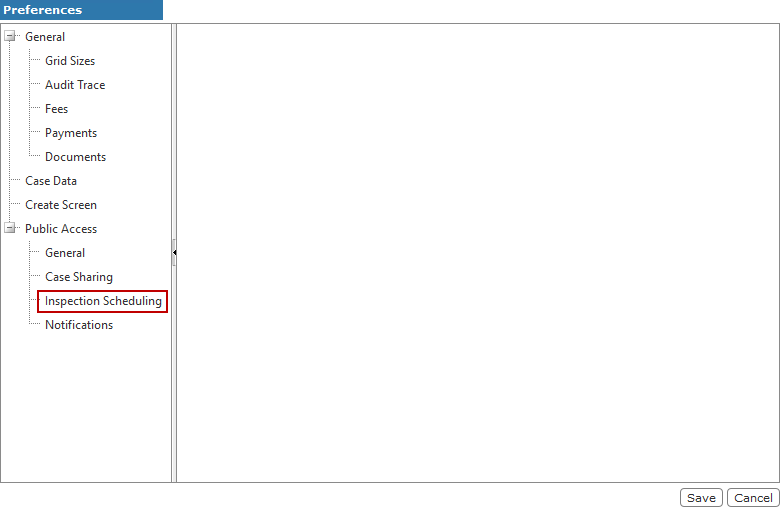
- On the Preferences panel, expand the Public Access option and select Inspection Scheduling.
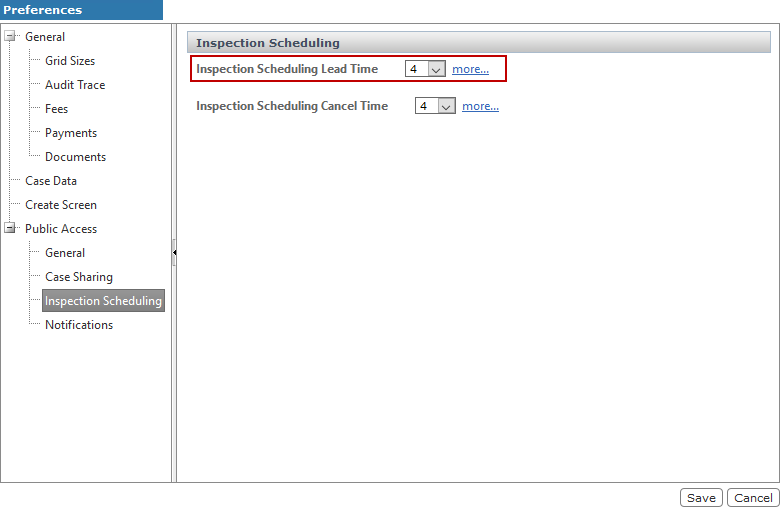
- Use the Inspection Scheduling Lead Time drop-down list to select the earliest time, from the initial request, that users can schedule an inspection. For example, if you select 4, the earliest time a user is able to schedule an inspection is 4 hours from the time they request the inspection.
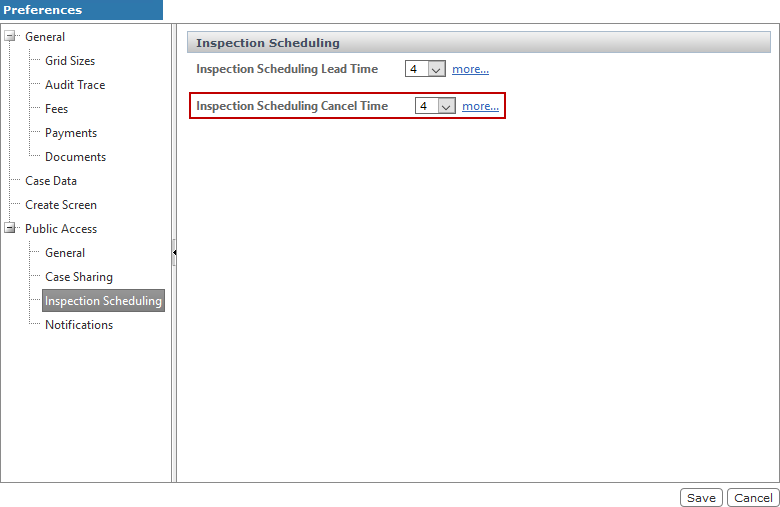
- Use the Inspection Scheduling Cancel Time drop-down list to set the latest time an inspection can be canceled. For example, if you select 4, users are able to cancel an inspection until 4 hours before the appointed time. After that, the inspection cannot be canceled.
NOTE: Be aware that the Public Access site has a timeout setting that can affect scheduling or canceling an inspection. For example, if the timeout setting is 20 minutes and the Inspection Scheduling Lead Time is 4 hours, a user could log in to the site 4 hours and 5 minutes before the inspection is scheduled and wait 15 minutes to reschedule or cancel the inspection. That allows the user to reschedule or cancel inside the lead time.

