Add a Task Map Layer
This section will discuss how to set up task map layers.
|
|
 PREREQUISITES:
 NOTE: If you want to configure a task map layer to automatically assign a task to a specific user, the Field value needs to be mapped to a GIS field that contains the exact username. For example, if the username is cityworks, there must be a GIS field for usernames and that field must be populated for each asset. If the GIS data contains the username cityworks and there is a user with that username, the task will be assigned to that user.
To create a task map layer, follow these steps:
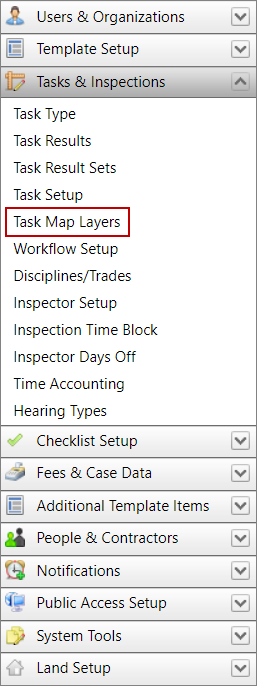
- Click Tasks & Inspections on the PLL Admin menu panel and select Task Map Layers.
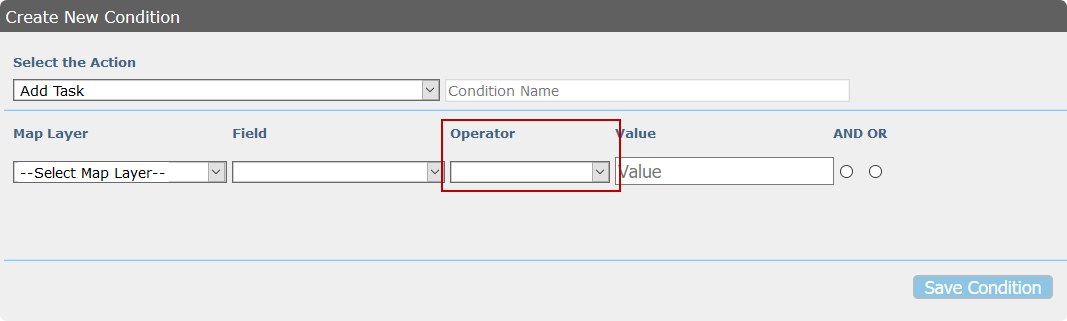
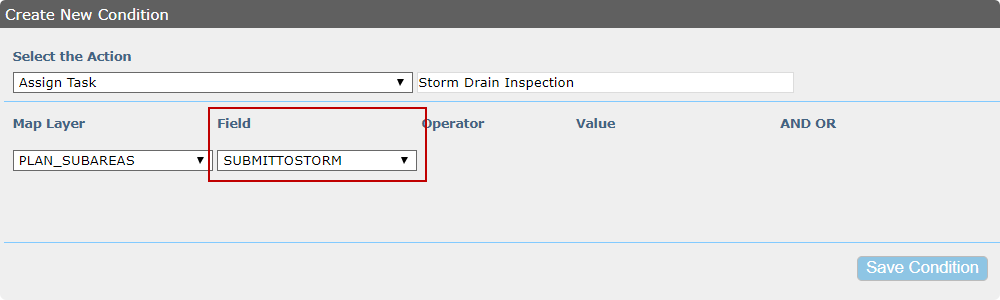
- On the Create New Condition panel, click the Select the Action drop-down list to select the action you wish to occur (Remove Task, Add Task, or Assign Task) and enter a name or description for the condition in the Condition Name field.
 IMPORTANT: If a Remove Task action removes the only task within a milestone, any subsequent tasks in the workflow will also be removed.
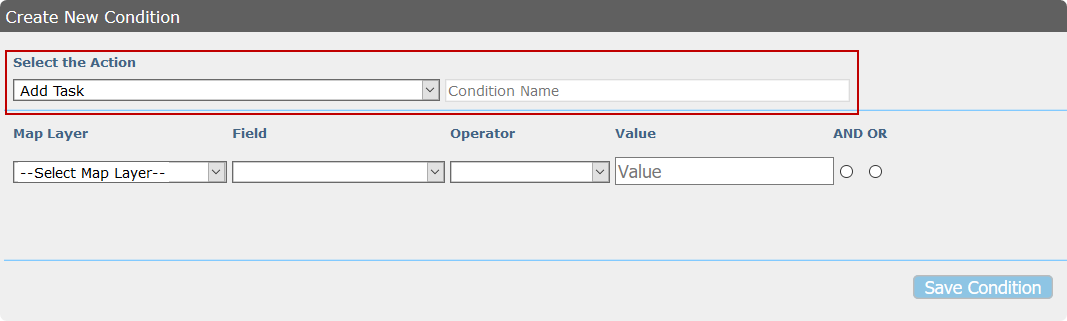
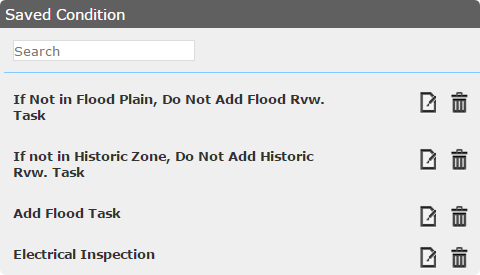
The value you enter in the Condition Name field will appear in the Saved Condition field below.
-
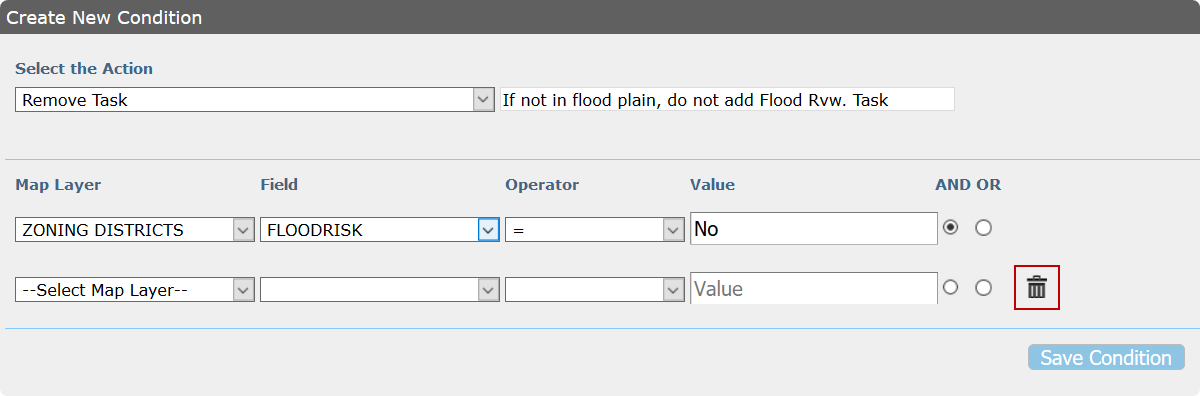
Select a map layer using the Map Layer drop-down list.
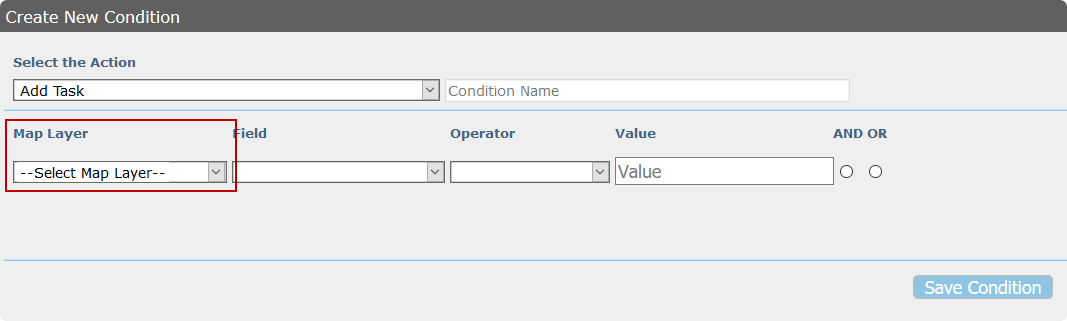
This will automatically populate the Field drop-down list with a selection of database fields associated with the selected map layer.
-
Use the Field drop-down list to select the field that will trigger the condition.
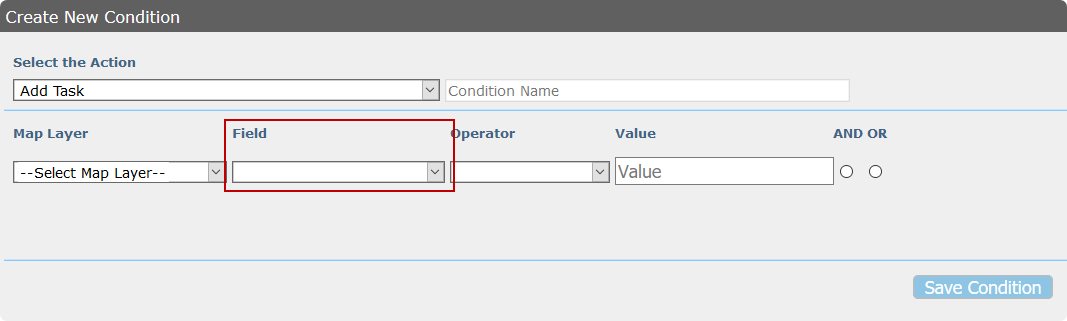
The Operator field will populate once you have selected a field, and each field may have different operators associated with it.
-
Select an operator from the available options.
- Enter a value in the Value field.

IMPORTANT: The value you enter in the Value field must match what is set up in the GIS in order for the condition to take effect. For example, if the GIS specifies a value of YES, you must enter YES in the Value field for the specified task to be added or not added to the workflow based on the condition you created.
- Select the AND or OR option buttons to add additional criteria to the condition.
![]()
- Repeat steps 3–5 for any additional criteria you have added.
- Click the Delete the condition icon next to any extra map layers that you do not wish to keep.
- Click Save Condition.
- Select the condition from the Saved Condition panel. Its information will automatically load in the Assigned Actions panel.
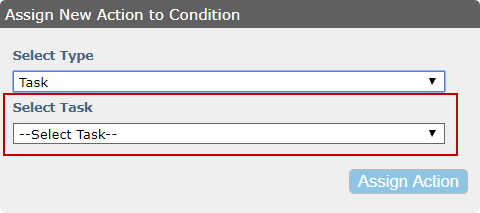
- On the Assign New Action to Condition panel, select an item from the Select Type drop-down list.
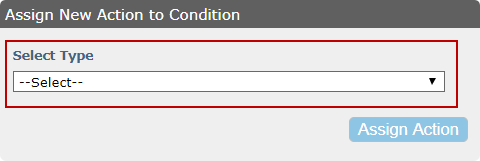
- Use the Select Task drop-down list to choose which task will or will not be added to or removed from the workflow or assigned to a user.
IMPORTANT: The tasks you wish to add or remove from the workflow based on these conditions must be included in the task group assigned to the case template. This is because the task needs a milestone number so Cityworks knows where to put it in the workflow when the condition parameters are met. See Workflows for more information.
- Click Assign Action.
- Select a map layer using the Map Layer drop-down list.

- Use the Field drop-down list to select the field that will trigger the condition.
- Click Save Condition.
- Select the condition from the Saved Condition panel. Its information will automatically load in the Assigned Actions panel.
- On the Assign New Action to Condition panel, select an item from the Select Type drop-down list.
- Use the Select Task drop-down list to choose the task that will be assigned to the user specified in the GIS.
IMPORTANT: The tasks you wish to add or remove from the workflow based on these conditions must be included in the task group assigned to the case template. This is because the task needs a milestone number so Cityworks knows where to put it in the workflow when the condition parameters are met. See Workflows for more information.
NOTE: There are multiple methods of assigning a user to a task's AssignedTo field, prioritized as follows:
User assigned directly to the task through the Task Setup tool
User assigned based on Discipline Code settings
User assigned based on the Task Map Layer setup
This does not prevent the user from manually selecting a user while in the case.
- Click Assign Action.

