Configure Layout
Public Access Admin allows administrators to customize the user interface of Public Access.
If you are using reCAPTCHA, you can translate the text and links that are shown on the login and guest access registration pages. You should not customize or remove parts of the text as it likely violates the reCAPTCHA licensing.
|
|
 PREREQUISITES:
To customize the user interface for Public Access, follow these steps:
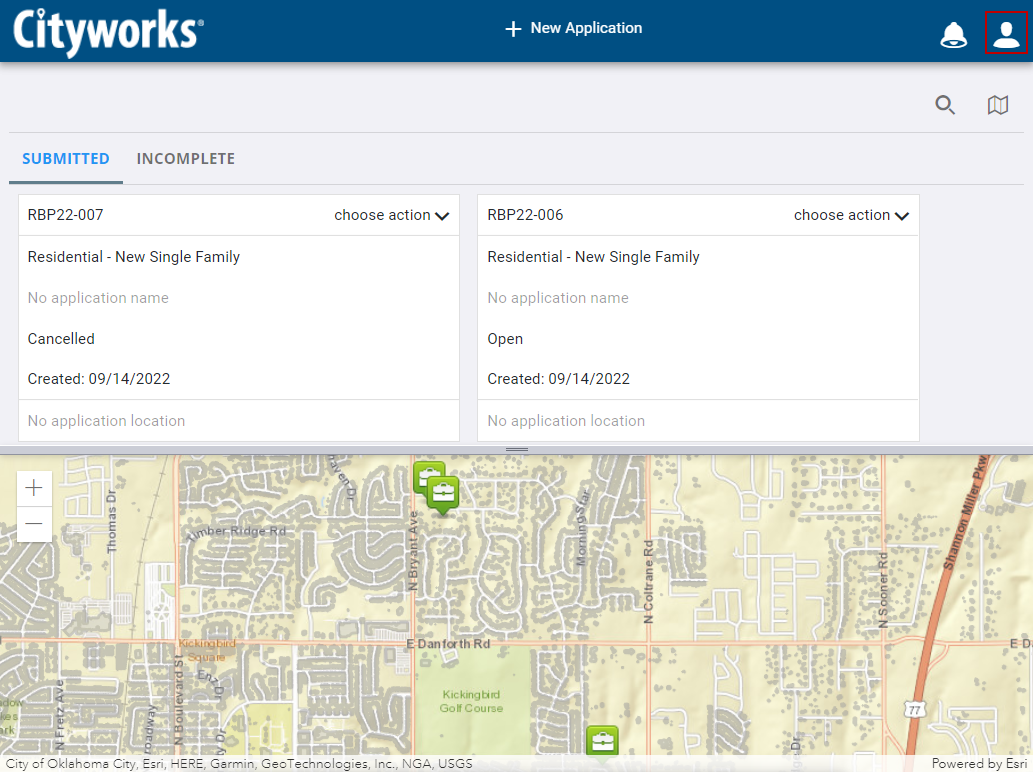
- Open the user menu.
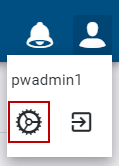
- Click Admin.
- Click the Layout tab.

- On the Profile panel, use the Layout drop-down list to select the page, panel, or tool you want to customize.

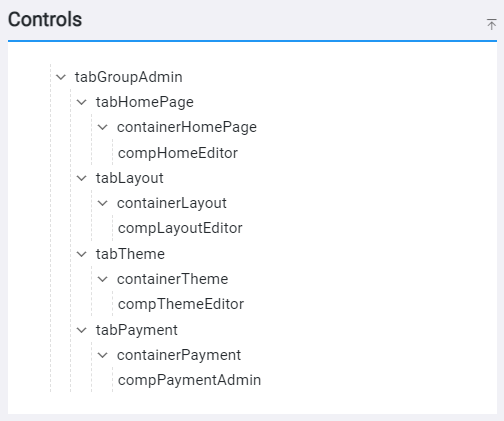
The Controls panel shows controls that are nested within the panels of the selected layout. Controls refer to the panels, buttons, fields, drop-down lists, combo boxes, calendars, check boxes, and option buttons that appear on a page.
- Select a control on the Controls panel.
When you click on a control, the information for that control displays on the Control Details panel and the Layout Strings panel.
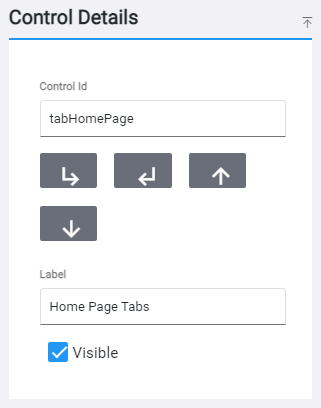
The Control Details panel is where you can modify panel and field visibility, whether or not a panel will be collapsed when viewing, and to update the control label.
- On the Control Details panel, use the arrows to move the control up and down or in and out of panel and container controls.
- Enter the name of the control in the Label field.
- Select the Visible check box to make the control visible to users.
The Layout Strings panel shows a list of controls on the selected Layout, rather than breaking them up into panels like in the Controls panel.
- On the Layout Strings panel, click in the field and enter the new text for the control you want to customize, such as the label (also known as the field name) or page title.
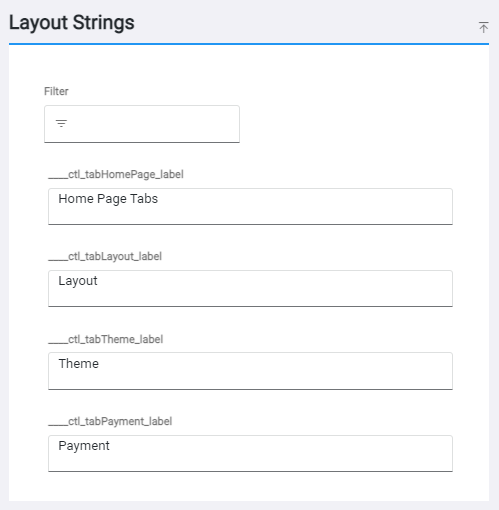
 NOTE: Use the Filter field at the top of the panel to filter the Layout Strings panel and find the control you want to customize.
- Click Save Profile on the Profile panel.