Add or Edit Material
Material is used to add or update material.
|
|
 PREREQUISITES:
- Click Config on the Storeroom toolbar and click Material.
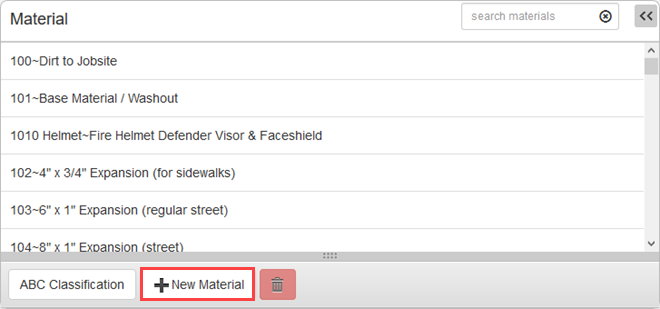
The Material panel lists all materials. You can filter this list by typing the first few letters or numbers of the material's description in the search box in the top-right corner.
- Click New Material to add a new material.
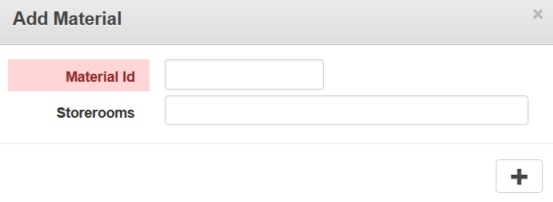
- Enter the Material Id.
- Click in the Storerooms field and select a storeroom. To filter the list, type a few letters of the storeroom name in the field. To add more storerooms, click in the field again and select another storeroom. You can remove a storeroom by clicking the X next to it.
- Click the plus icon.
- To finish adding the material, select it from the list and enter the material information in the Material Details and Assembly Parts sections below the Material panel including the information, description, and cost. See Add Assembly Parts to a Material for more information on building an assembly.
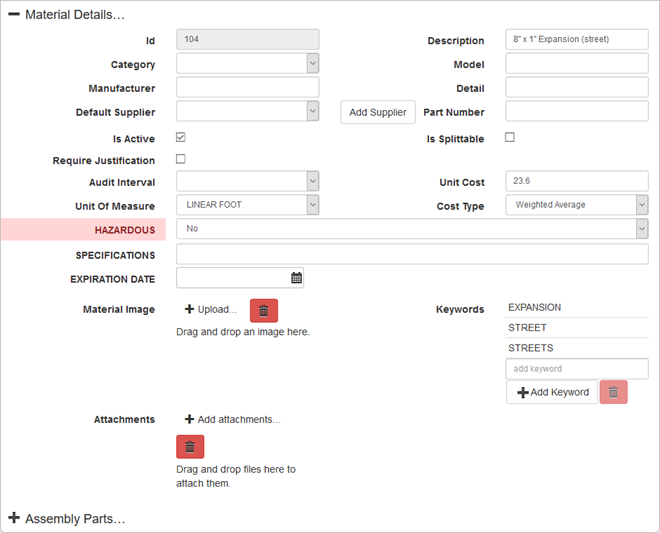
For an explanation of the fields found on this page, see Material Details Fields.
- To edit a material, select it from the Material panel and make the desired changes.
 NOTE: Storeroom automatically saves the changes you make. A notification will appear in the top of the window that says Data Saved when you make changes to the page.
To add material to the material hierarchy, see Configure Material Hierarchy.

Documentation Feedback Form
Please give us feedback about this Cityworks guide.
If you have a feature enhancement request, please see the Ideas page on MyCityworks.
Last updated 1/3/2020.
Copyright© 2014–2019 by Azteca Systems, LLC. All rights reserved.