Add or Edit Material
Material is used to add or update material.
|
|
 PREREQUISITES:
- Tap
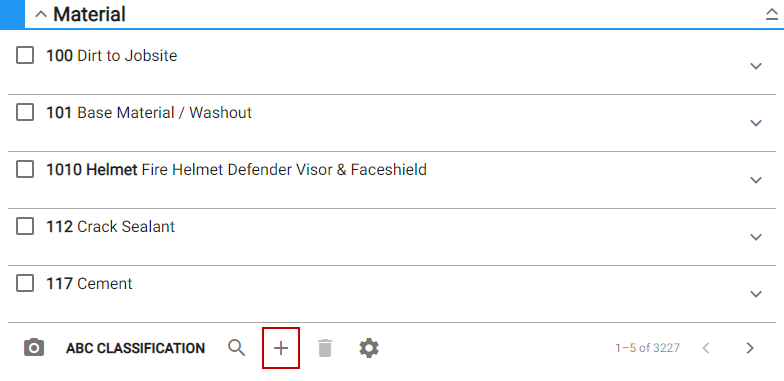
- Tap Material.
The Material panel lists all materials. You can filter the material in the list by tapping Filter records and entering the first few letters or numbers of the material name, bin location, or part number. Tap the gear icon to adjust the number of rows shown in the panel. The number set in this panel, will persist on all other administrative pages.
- Tap
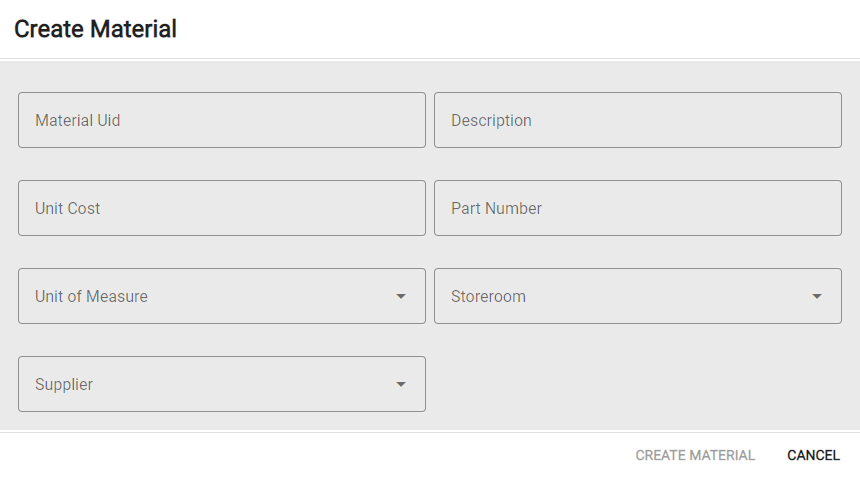
- Enter the Material Uid, Description, Unit Cost, Part Number, and Unit of Measure.
- Select a Storeroom and Supplier for the material.
- Tap Create Material.
- To finish adding the material, tap the arrow to the right of the material name to reveal the details.
- Enter the material information in the
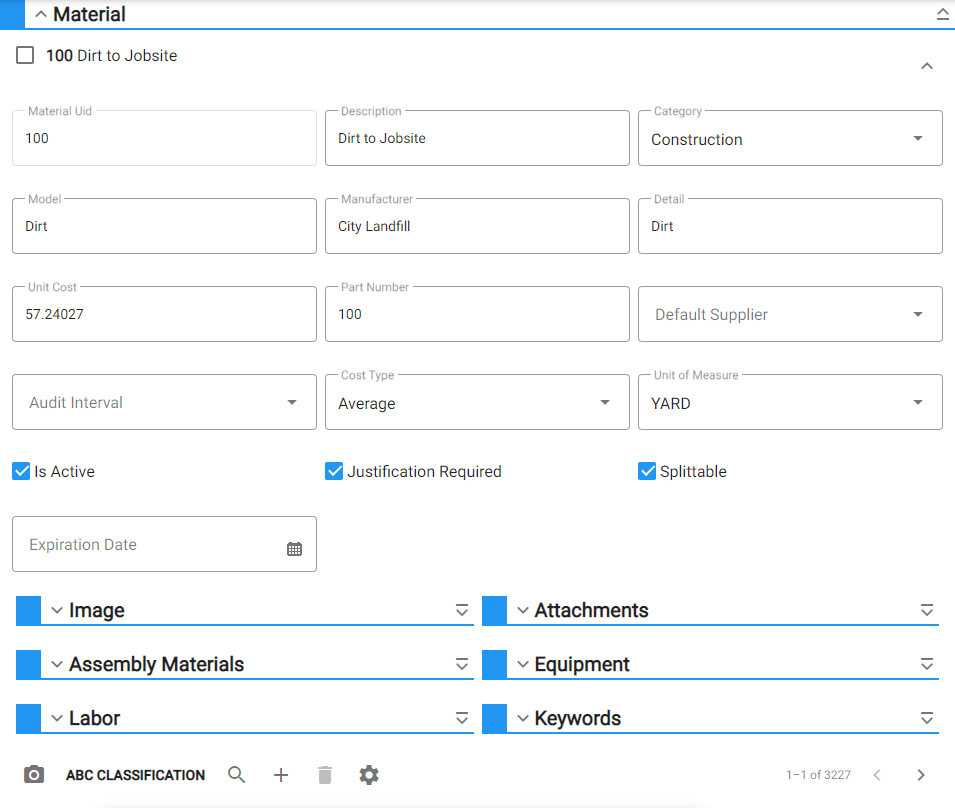
For an explanation of the fields found on this page, see Material Details Fields.
- To edit a material, tap the arrow to the right of a Material panel and make the desired changes.
See Add an Image to a Material, Add an Attachment to a Material, Add a Keyword to a Material, Add Assembly Parts to a Material, Add Equipment to a Material, and Add Labor to a Material for more information.
 NOTE: Storeroom automatically saves the changes you make. A notification will appear at the bottom of the window that says Changes Saved when you make changes to the page.