Assign Material to an Account
When you issue material, you can assign it to a specific account.
|
|
 PREREQUISITES:
- Tap Issue from the menu.
- On the Material panel, select a Storeroom from the drop-down list. This changes the list of materials. Materials can only be selected from one storeroom at a time.
-
Select materials from the list. See Search Materials for more information on using the search tabs to find materials.
- Enter the information in the Issue panel, including the desired Account.
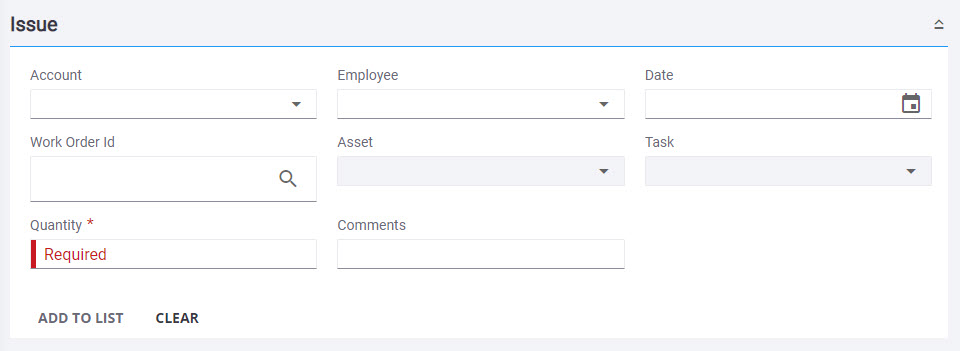
For an explanation of the fields found on the Issue panel, see Issue Transaction Fields.
- Tap Add to List to add the material to the Pending Issues panel.
See Navigating the Pending Issues Panel for more information.
- To add an attachment, tap Attach and browse to the desired file.
- Tap Commit

- Tap Sign or Close on the Transaction Complete panel.
If you don't wish to sign the transaction now, see Capture a Signature on an Existing Issue Transaction for more information.
The selected material is now assigned to the desired Account.