Add Attachments
Attachments can be added to inspections in the Trimble Unity mobile app and they will appear in Cityworks.
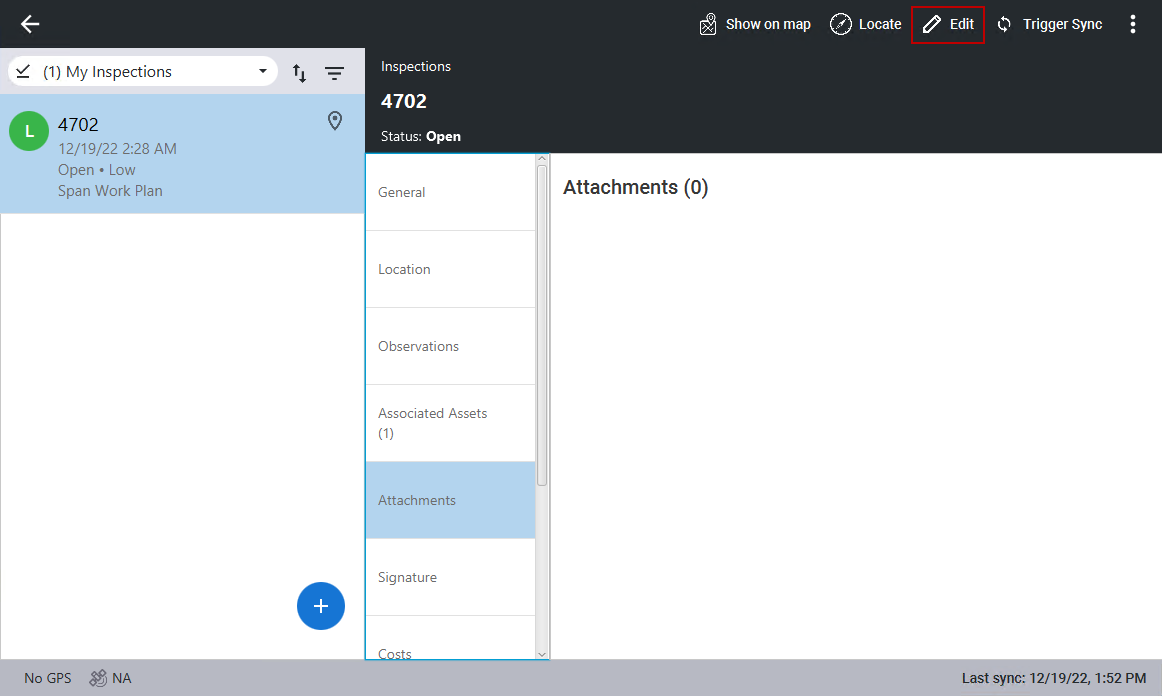
- Select an inspection from the list.
The inspection details open.
- Click Attachments.
- Click Edit in the top-right corner. If you are already in edit mode, you don't need to click Edit.
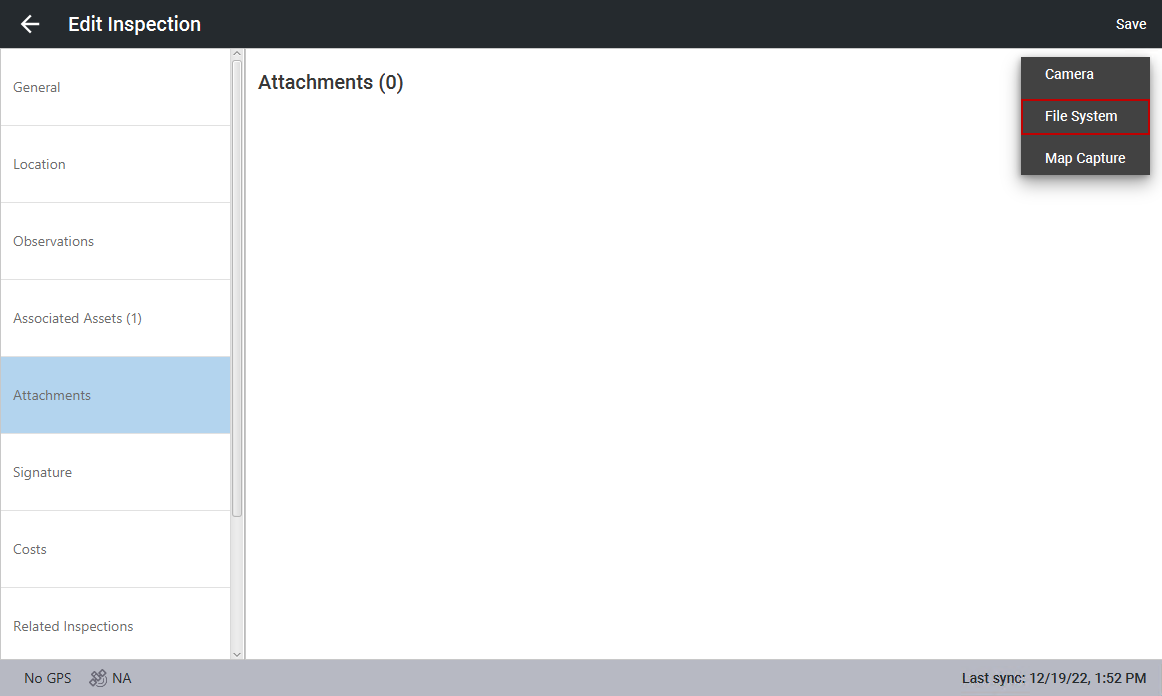
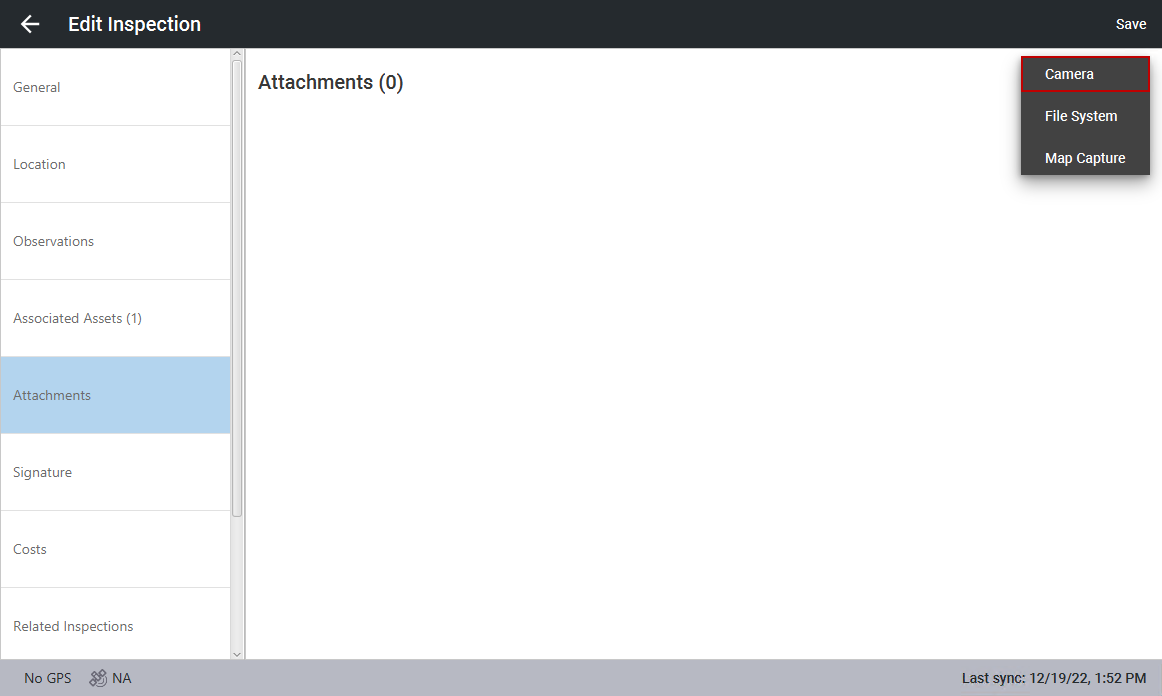
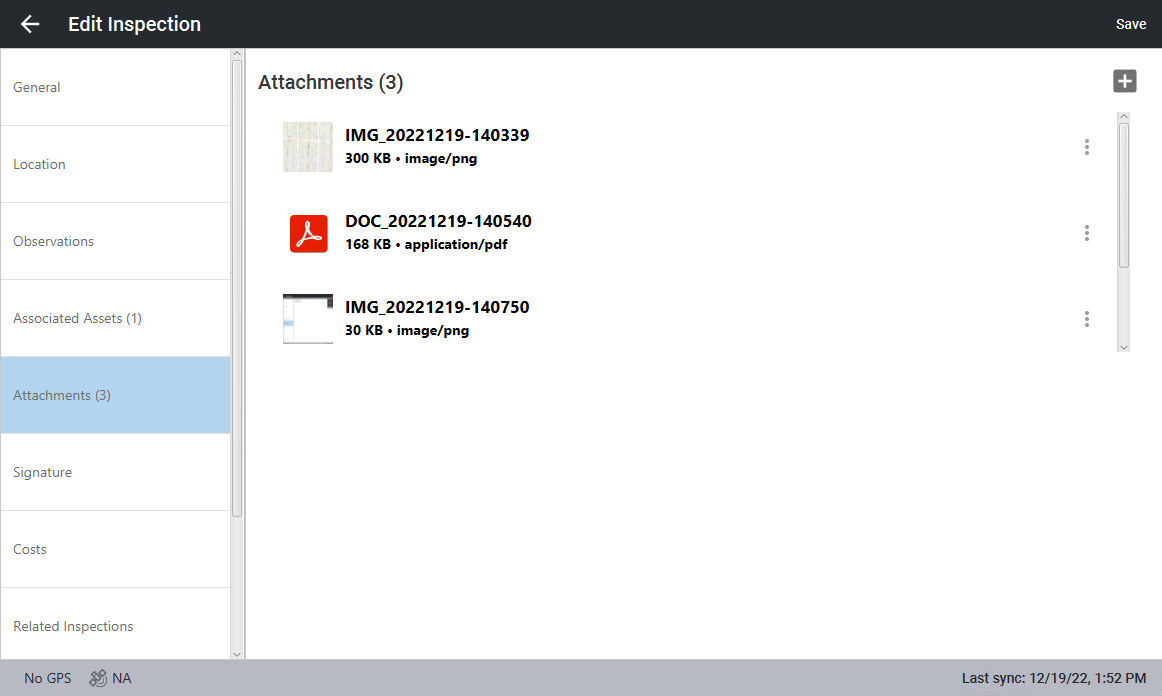
- Click the add icon in the top-right corner.
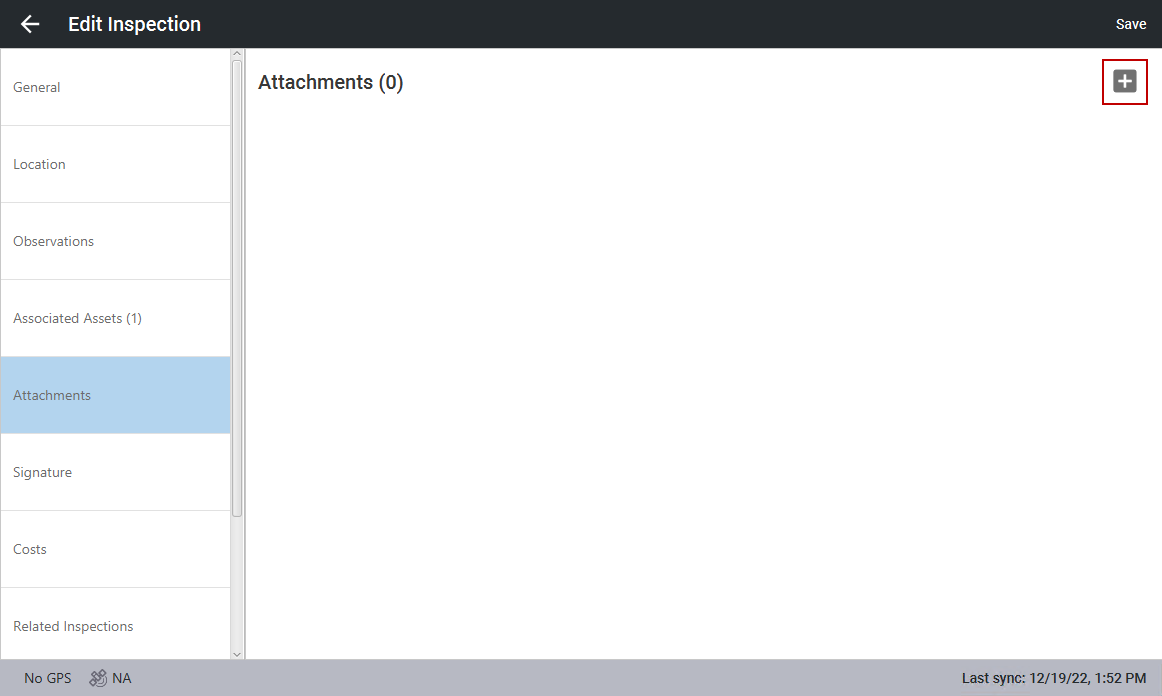
From here you can add a screenshot of the map (Map Capture), add a file from your computer (File System), or take an image using your device (Camera).
- Click Map Capture.

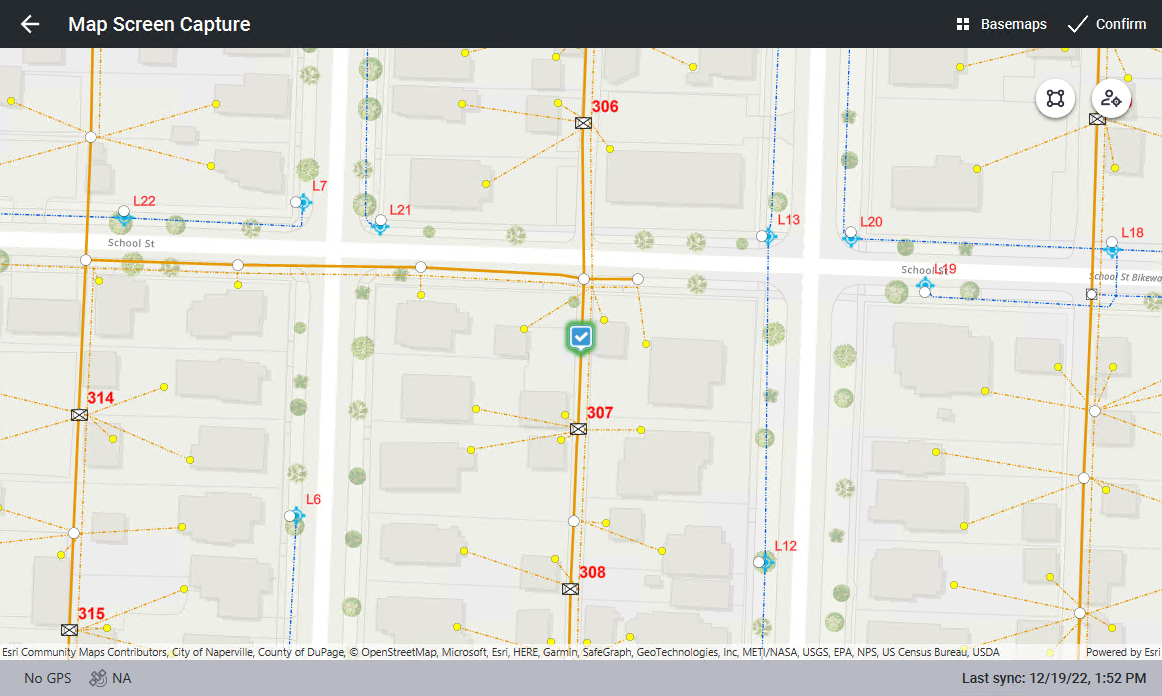
- When the map opens, navigate to the area you want to capture on the map.
- Click Confirm.
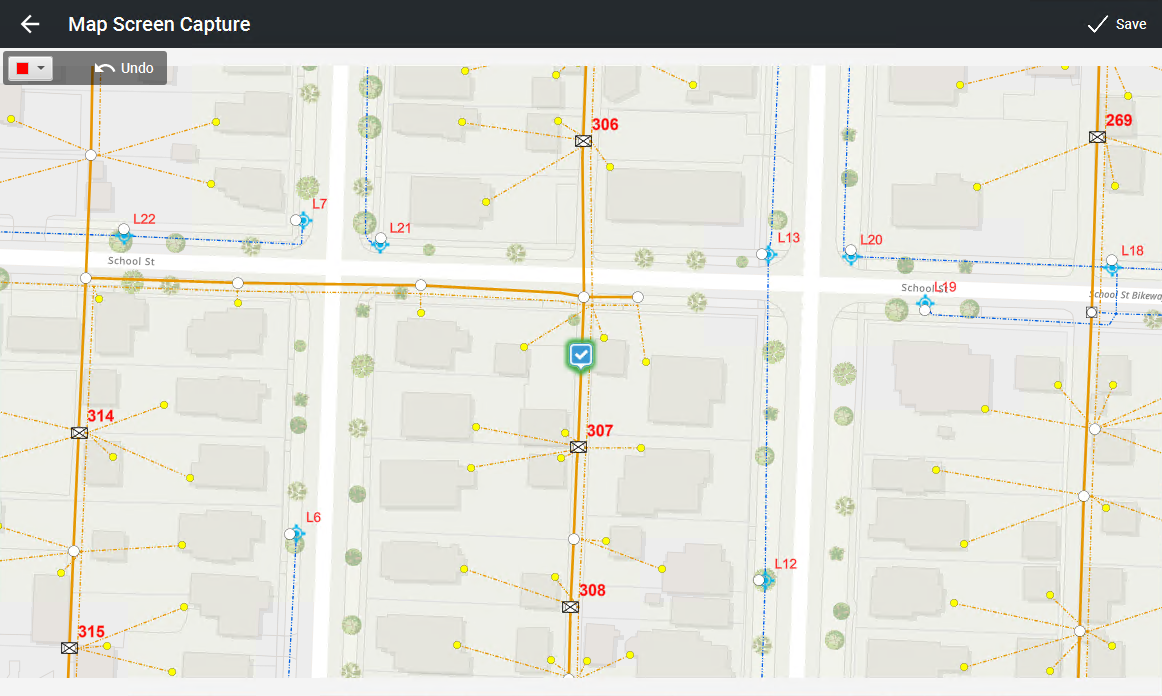
The mark up (or redline) screen opens and allows you to mark up the screenshot. See Mark Up Attachments for more information.
- Once you have marked up the attachment or if you don't want to mark up the attachment, click Save to save the attachment to the inspection.
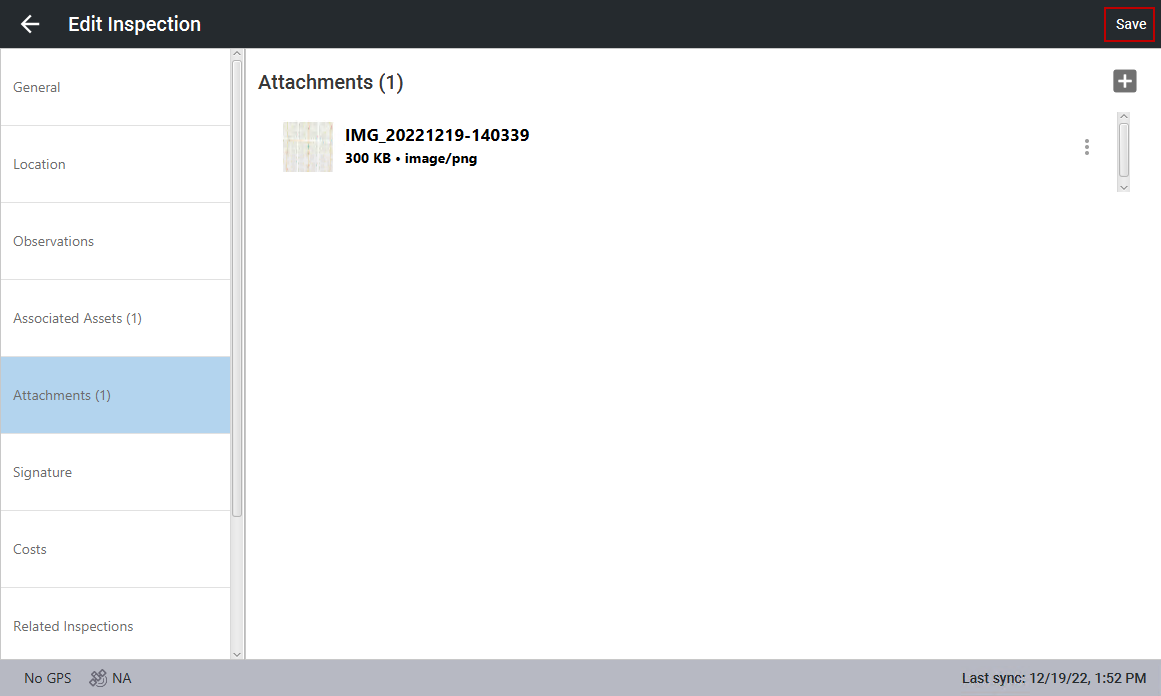
The attachment is shown on the inspection.
- Click Save.
- Click File System.
- In the window that opens, navigate to the file you want to attach to the inspection and click OK.
The attachment is shown on the inspection.
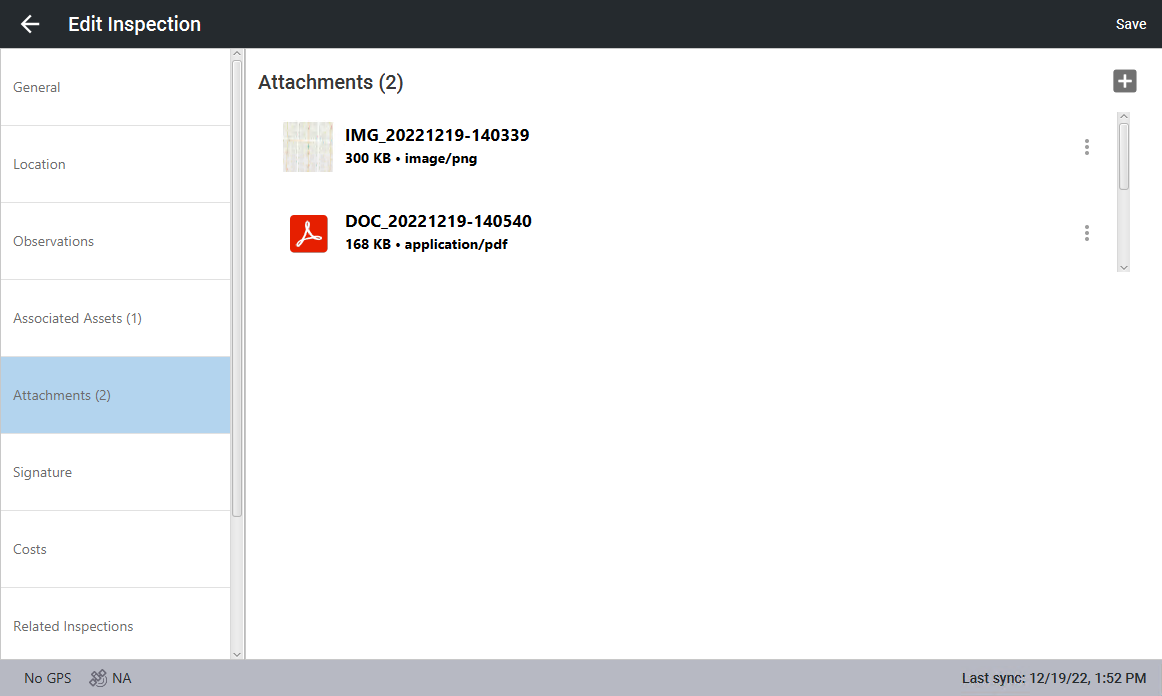
- Click Save.
- Click Camera.
The device's camera opens.
- Take the picture.
The attachment is shown on the inspection.
- Click Save.