Add a Security Role
Adding a security role involves selecting all the security functions a user in the new security role will need in order to do their job. A complete description of the available security functions is available in Security Functions.
|
|
 PREREQUISITES:
- From the home page, click PLL and click Security Roles.
- At the bottom of the Security Roles panel, click Add record.

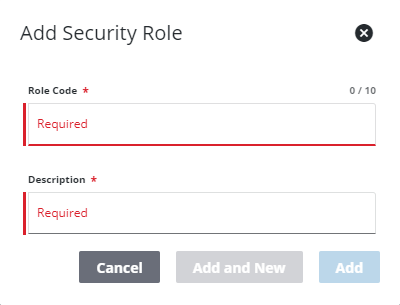
- In the Add Security Role panel, enter a Role Code and Description for the new security role and click Add. The new role will appear in the Security Roles panel.
- Click on the new role within the Security Roles panel. This will reveal the Details, Assigned Users,
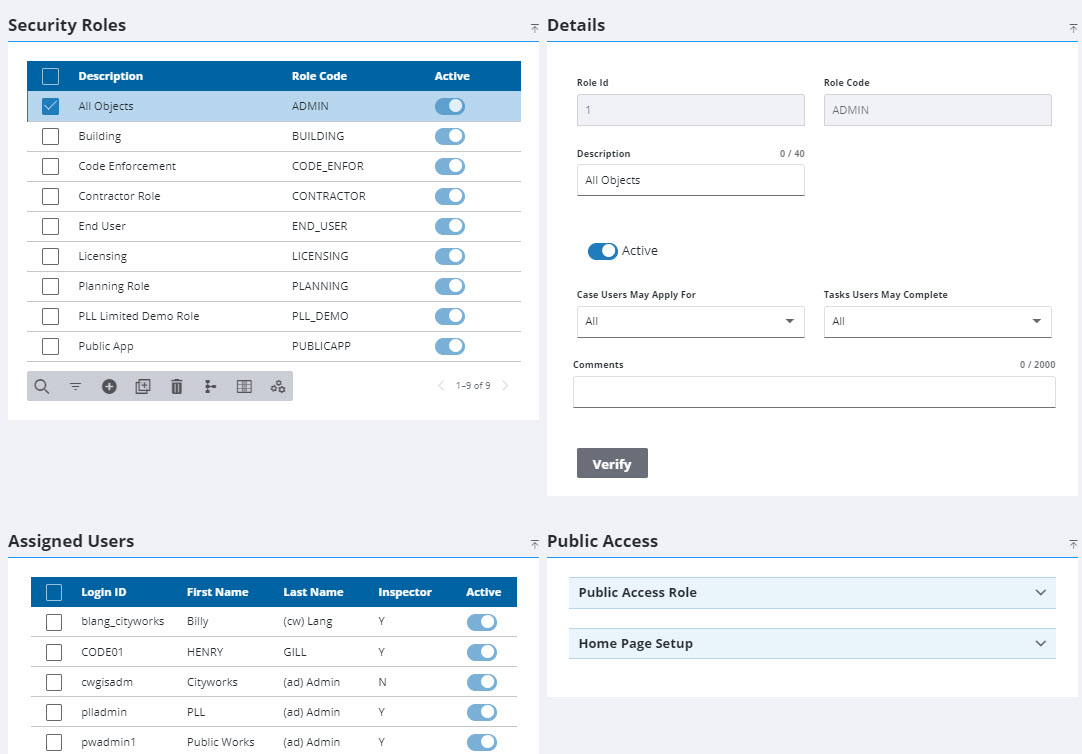
- Assign or remove permissions, add or remove users, and edit details as needed for the new security role.
- Click Verify in the Details panel to save changes.
 NOTE: The Review Config panel provides visibility of where a selected data item (such as a case type, PLL user, status code, or other PLL item) is being used. See Review PLL Configurations for more information.
 IMPORTANT: In order to use Public Access, a Public Access Role must be defined. This can be any role within the database and will be the role the Public Access user has access to.
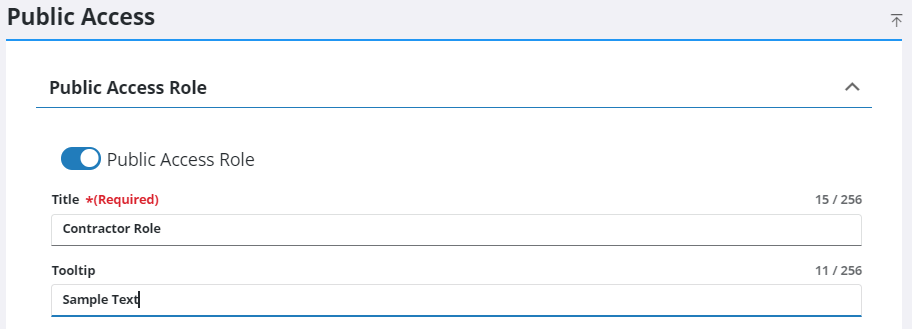
- In the Public Access panel, open the Public Access Role section.
- Turn on the Public Access Role switch to give the security role the public access role property; turn the switch off to remove the Public Access Role property.
- If desired, enter a short description in the Tooltip field.
The custom text in the Tooltip field will appear when a user hovers over the title of the user role with their cursor in the Public Access interface.
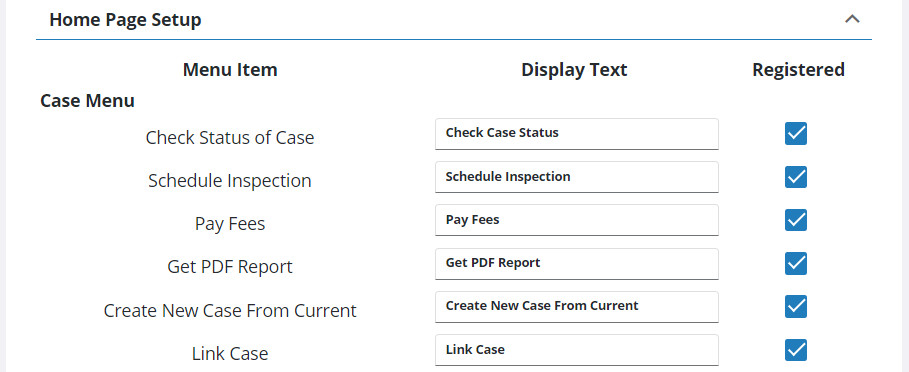
- On the Public Access panel, open the Home Page Setup section and edit the Display Text field for each menu item, as desired.
- Select the check boxes in the Registered column to designate which items will be visible to users who have logged in with a verified user ID and password.
Clearing a check box for an item in the Registered column will remove visibility of that item on the Public Access home page from users who are assigned the security role that is being edited.
NOTE: Admin automatically saves the changes you make. A notification pops up at the bottom to verify changes have been saved.