Upgrade to Cityworks 23.2 and Newer in Oracle
Historically, all Cityworks tables were owned by the AZTECA schema. Starting in 23.x, the CWHOST schema was added. In Oracle, this requires adding the CWHOST user. Additionally, to support future functionality, the CWDB_USER must be created.
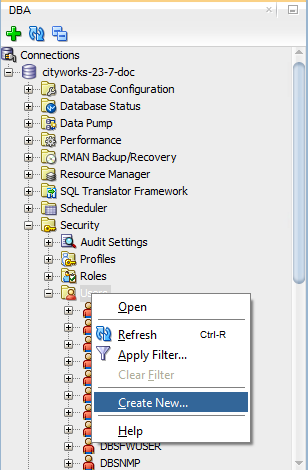
- In the DBA panel, expand your database, expand Security, and right-click Users.
- Click Create New.
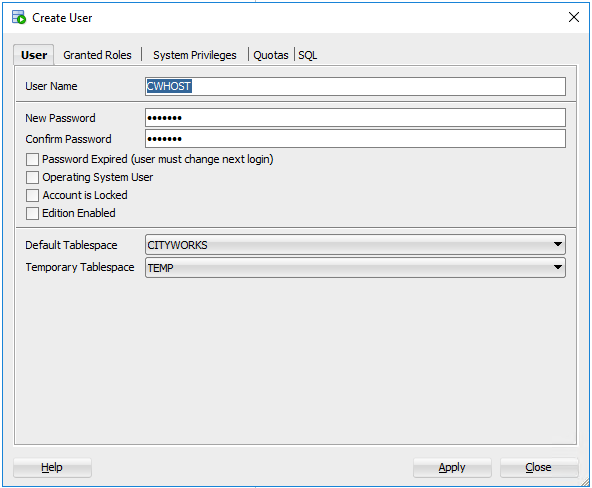
- Enter CWHOST in the User Name field.
- Enter the password in the New Password and Confirm Password fields.
- Select Cityworks from the Default Tablespace and Temp from the Temporary Tablespace drop-down lists.
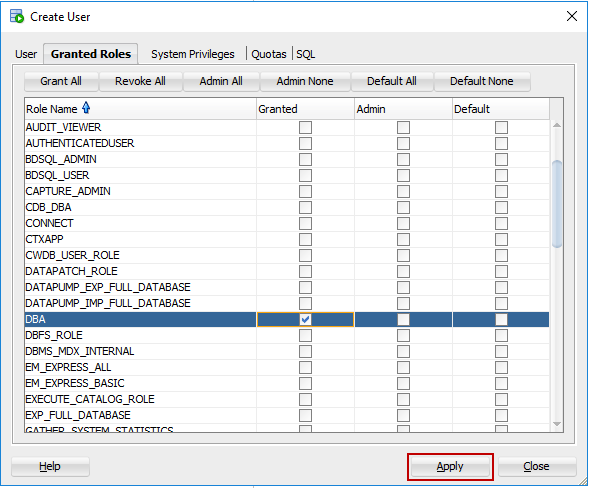
- Click the Granted Roles tab.
The following roles are automatically given to the CWHOST user in SQL, and similar roles should be granted for Oracle:
- Connect
- Create Schema
- Create/Alter/Drop Table
- Create/Alter/Drop View
- Create/Alter/Drop Procedure, and Function
- Create/Alter/Drop Constraint
- Create Role
- Grant
- Select/Insert/Update/Delete
- Execute
Next the CWDB_USER role needs to be created to prevent any errors when running the installer.
- Click Create New.
- Enter CWDB_User in the User Name field.
- Enter the password in the New Password and Confirm Password fields.
- Select Cityworks from the Default Tablespace and Temp from the Temporary Tablespace drop-down lists.
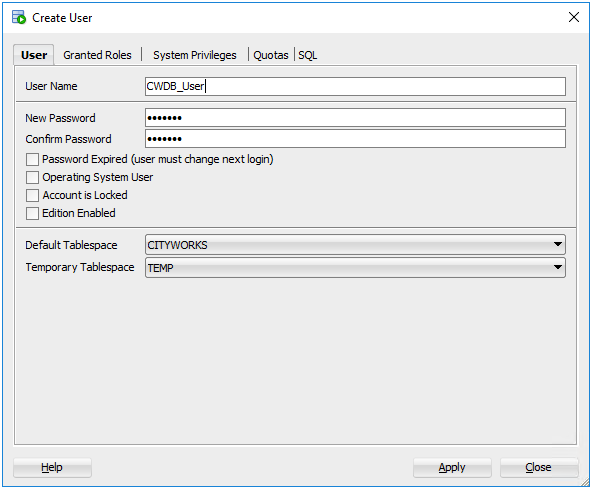
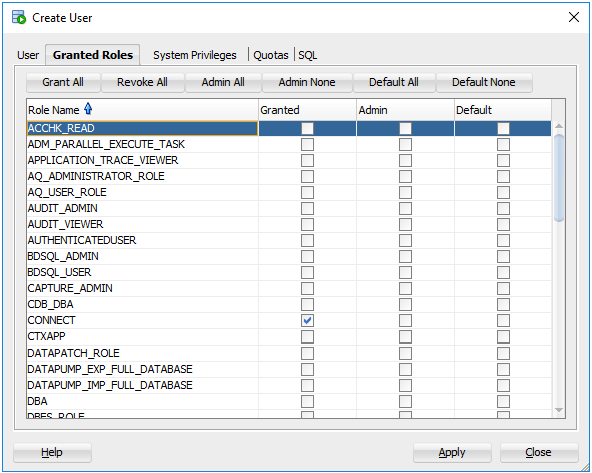
- Click the Granted Roles tab.
The following roles are automatically given to the CWDB_USER user in SQL, and similar roles should be granted for Oracle:
- Select/Insert/Update/Delete on AZTECA tables
- Select on AZTECA Views
- Execute within AZTECA schema
Now that those new Users are created, the Database Manager needs to be run. Only clients on 23.1 or older need to run the Database Manager before upgrading to 23.2 or newer.
- On MyCityworks, from the 23.2 or newer download pages, download the Database Manager file.
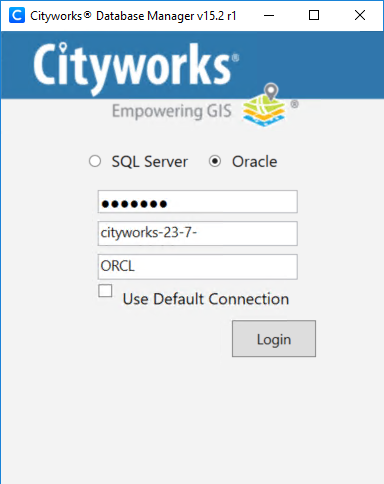
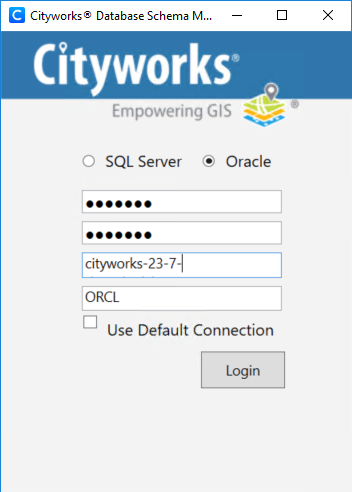
- Select Oracle and log in.
- Click Update to V2023XXXX.
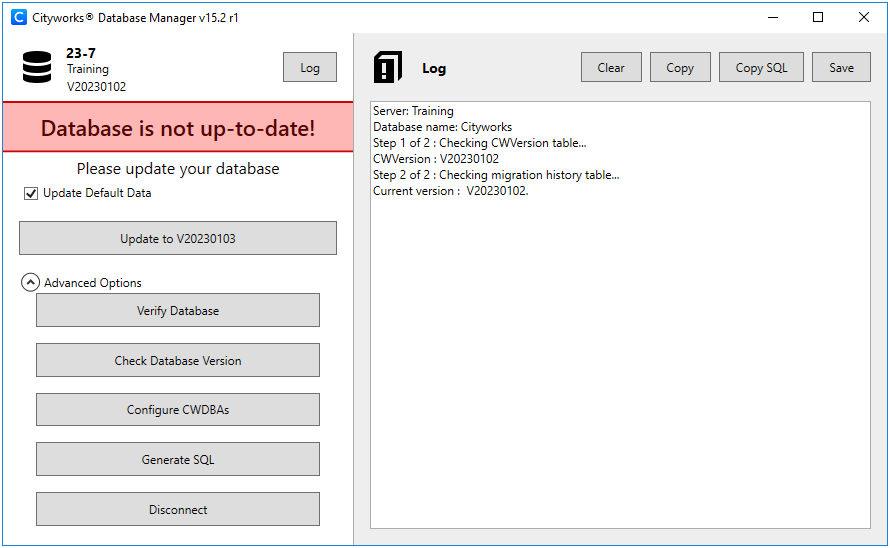
Once it’s successfully completed, users will receive a message indicating that the database was successfully updated.
- Click Verify Database next.
- Now, download the 23.x host installer file from MyCityworks that you want to upgrade to.
- Next, the Database Schema Manager should be run.
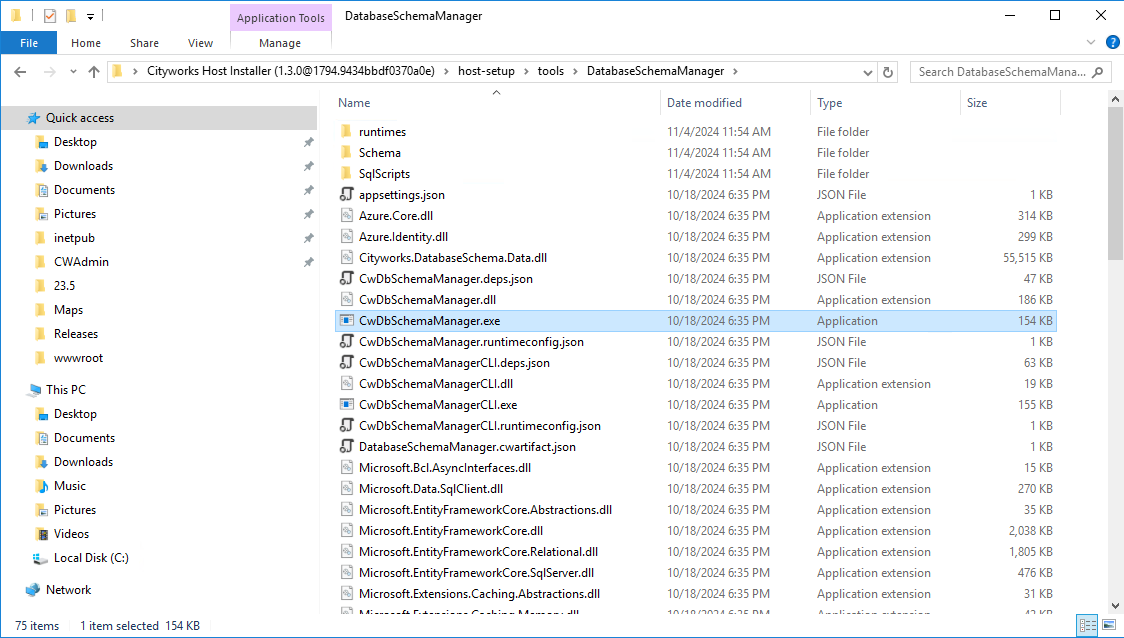
- Extract the download. Navigate to host-setup > tools > DatabaseSchemaManager and double-click CwDbSchemaManager.exe.
- Select Oracle and log in.
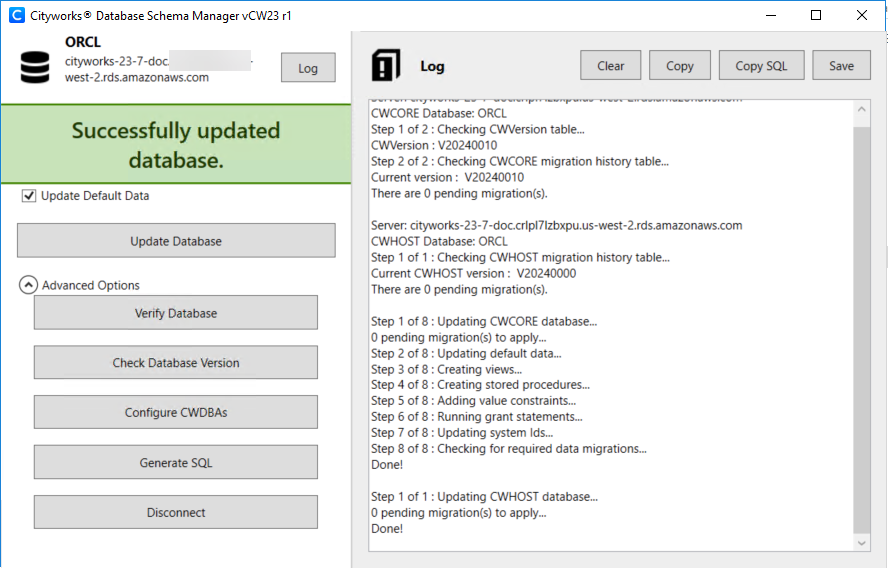
- Click Update Database.
Once it’s successfully completed, users will receive a message indicating that the database was successfully updated.
If any data migrations are needed, run those. See the Data Migration Manager 1.0 Guide for more information.
Now that you’ve followed these steps that are unique to Oracle, you can continue to follow the steps in Update Cityworks.
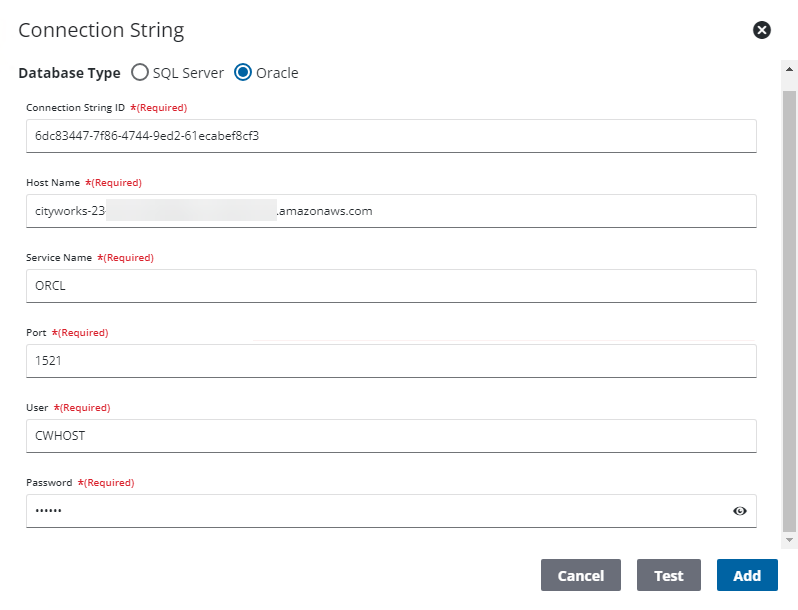
The most notable difference for SQL and Oracle clients, is that when you are adding connection strings for the host, you’ll select Oracle and enter the User and Password you created for the CWHOST user. This is noted in Update Cityworks.